131 of 271
Z-Belt Idler Assembly Replacement
The z-belt idler assembly has internal bearings that may get damaged by a machine fault or an operator
error such as over tensioning the z-drive belt.
Replacement Part Needed:
• Z-Belt Idler Assembly
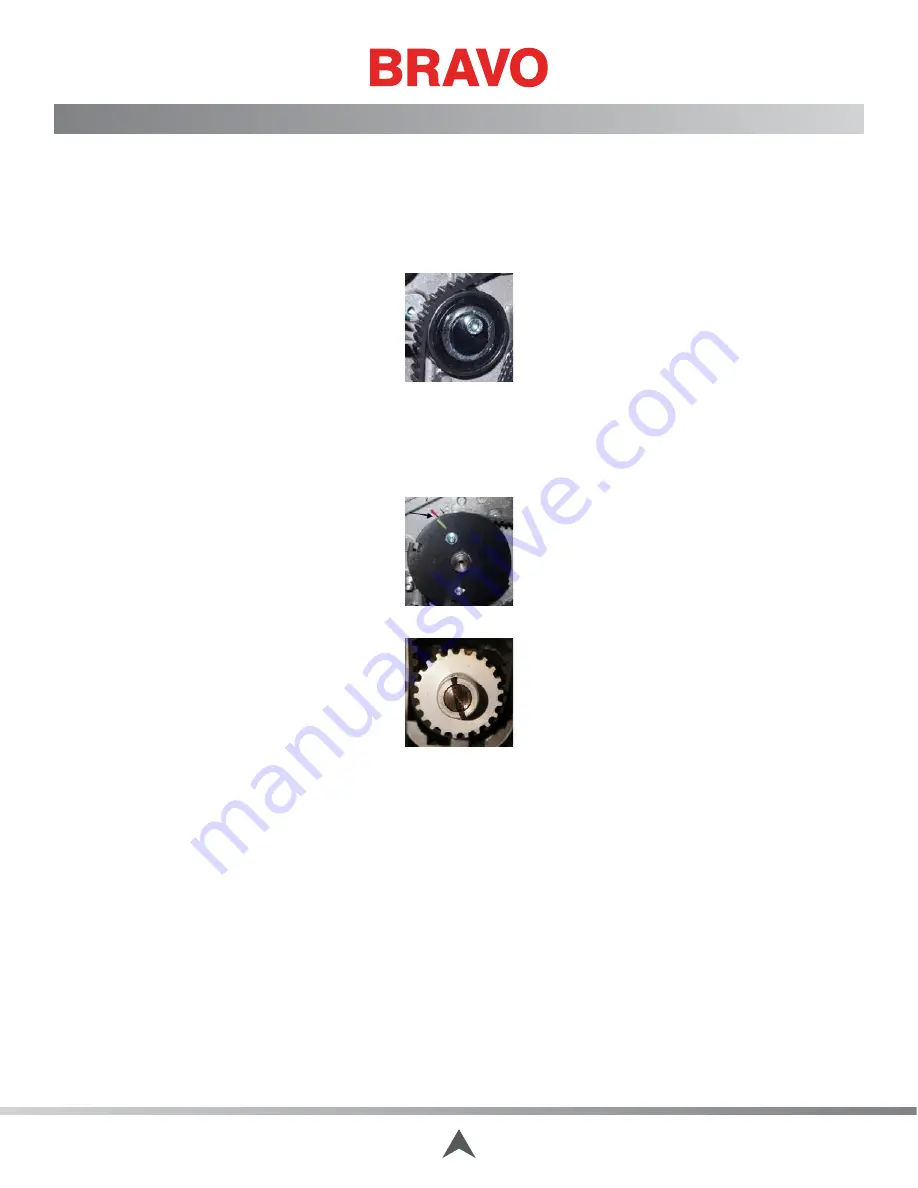
Figure 1 - Z-Belt Idler Pulley
1. Remove either the left or the right arm covers and the back screw on the other one. (It does not
matter which one.)
2. Remove the upper arm back cover.
Figure 2 - Index Mark on Z-Index Flag
Figure 2 - Lower Z-Shaft Pulley
3.
To preserve synchronization of the upper and lower z-shafts, make index marks on the z-index flag
and the bottom pulley as shown in Figures 2 and 3 above.
4. Slowly loosen the screw mounting the z-belt idler pulley to release the tension on the belt, then
remove the idler pulley.
5. Mount the replacement idler pulley with the same screw from the old one, leaving the screw
loose.
6.
Tension the z-drive belt and tighten the idler pulley using the procedures specified for installing
the z-drive belt, keeping the index marks (Figures 2 and 3) lined up.
7. Install the covers in the reverse order you removed them with.
8. Power the machine up and perform a function test for about 5 minutes to make sure the z-axis
movements are satisfactory.
Table of Contents

