67 of 271
Needle To Hook Gap Inspection Procedure
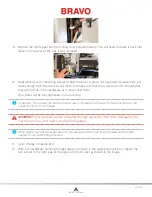
15. You can now inspect the needle to hook gap (front to back position of the rotary hook).
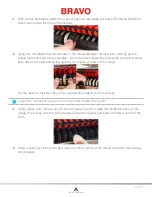
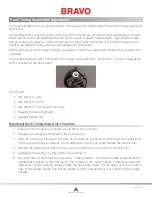
The needle to hook gap refers to the gap between the hook point and the needle scarf. To check this
gap, stand on the right side of the machine, then look behind the needle. You should see the hook point
directly behind the needle scarf (it may be helpful to use a magnifying glass to do this). The space be-
tween the needle scarf and the hook point is the needle to hook gap. Use the following image to locate
the gap.
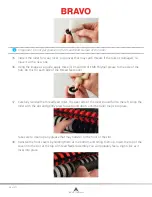
Once you have located the needle to hook gap, you can check the gap width. The width of the gap
should be between 0.004 and 0.012 inches / 0.10 and 0.30mm (approximately 1-3 thread widths). As a
guide, the image above displays the correct needle to hook gap width.
16. If the needle to hook gap or the rotational hook timing are not correct, proceed to the next sec-
tion to perform hook timing adjustment.
Adjustment Procedure
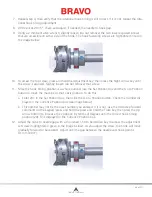
1. Open the Tools>Maintenance menu and then click the Head Timing tab. Click the Head Up button
(or on the machine keypad, press the Adjustment key and the Up Arrow key.
2. Use the machine keypad to move the needle case to the closest needle noted in the machine
base.
3. If the needle is bent or damaged, replace the needle.
4. Start by checking the machine to the hook timing position (201.5 ±.5°)
Since the hook timing position is a whole number (use the Set Position box and the Go to Position
button to move the machine to that z-axis position. To do this,
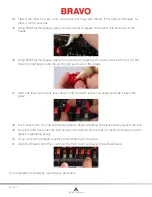
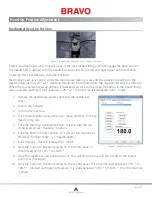
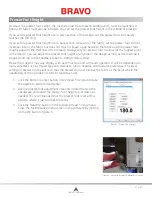
a. Enter 201 in the Set Position box, then click the Go to Position button. Check the number dis-
played in the Current Z Position box (see image below).
Table of Contents

