


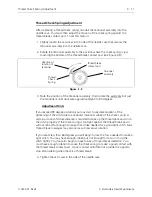


Installation
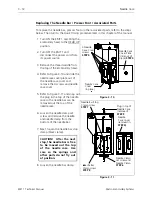
The Melco EMT 1 Embroidery Peripheral uses a shaft encoder on the rear of the
head to provide the information required by the CPU.
Note:
This procedure leads to a calibration which requires the use of a special
service tool: the Melco head up alignment pin tool (995338-01) or the
Melco 10 needle head up fixture (p/n 995673-01).
CAUTION! If the Z shaft encoder is replaced, DO NOT OPERATE THE
EMBROIDERY PERIPHERAL until the new Z shaft encoder is properly
calibrated!
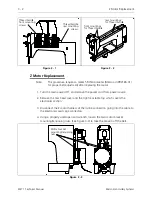
To replace the encoder follow these steps:
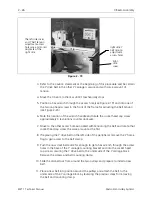
1. Turn the machine OFF, then disconnect the power cord from the power source.
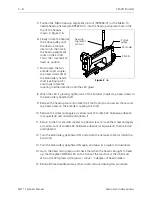
2. Remove the cover from the rear of the embroidery head.
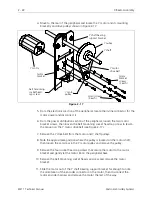
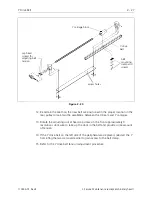
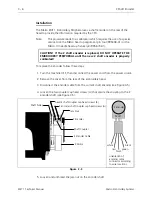
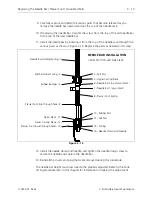
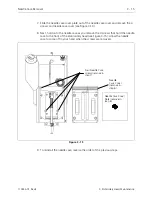
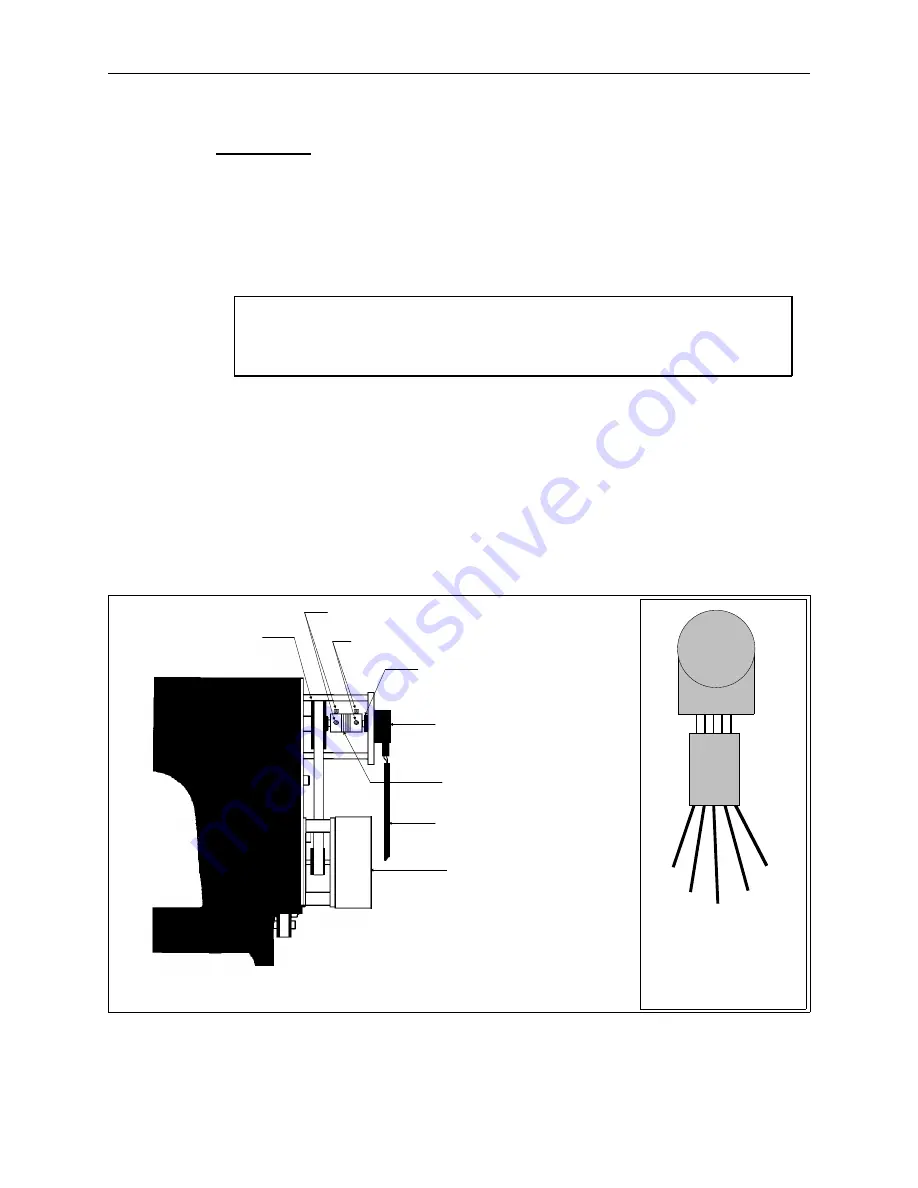
3. Disconnect the encoder cable from the current shaft encoder (see Figure 3-5).
4. Loosen the two coupler cap head screws (A) that secure the coupling to the Z
encoder shaft (see Figure 3-5).
5. Loosen and unthread the jam nut on the encoder shaft.
Shaft Pulley
Z Encoder
Z Motor
Z Encoder Cable
Shaft Coupler
head Z shaft coupler cap head screws (B)
Jam Nut
Z encoder shaft coupler cap head screws (A)
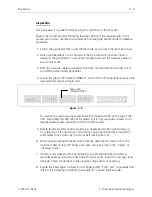
54321
green
black
black
red
white
orientation of
encoder cable
connector according
to wire locations
Z encoder
Figure 3 - 5
3 - 6
Z Shaft Encoder
EMT 1 Technical Manual
Melco Embroidery Systems


