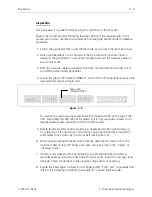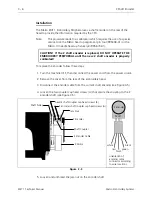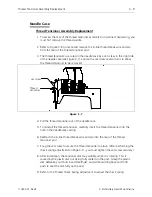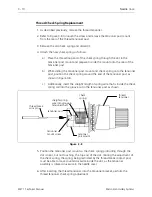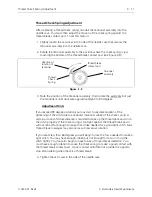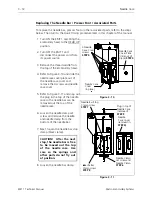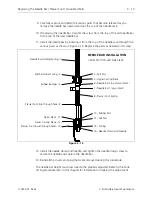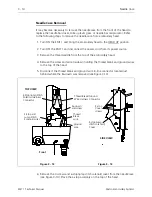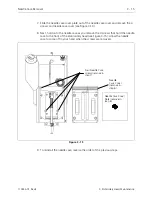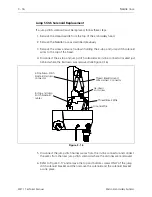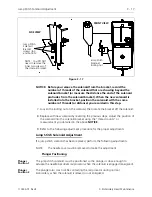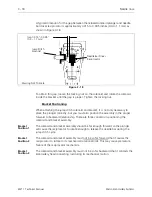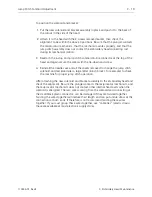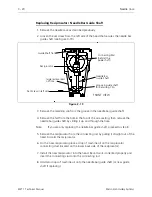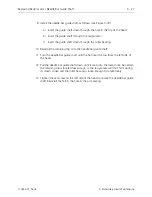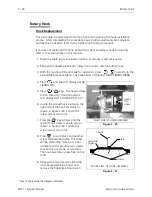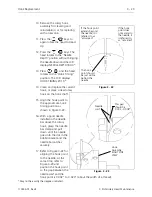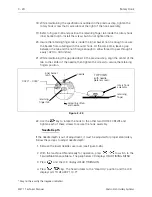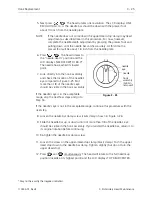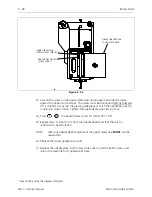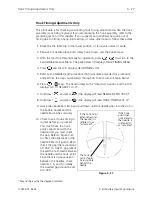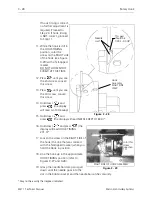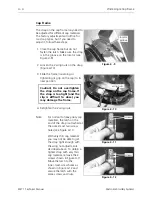
To position the solenoid and bracket:
1. Put the new solenoid and bracket assembly in place and push it to the back of
the cutout in the side of the head.
2. Attach it to the head with the 2 screws removed earlier, then check the
alignment to be within the above 3 positions. Be sure that the plunger contacts
the reciprocator mechanism, that the mechanism works properly, and that the
jump stitch assembly does not contact the embroidery head connecting rod
during its mechanical motion.
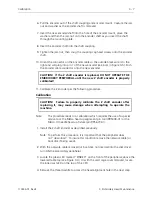
3. Reattach the e-stop and jump stitch solenoid in-line connector at the top of the
head and again secure the wires with the tie-down and screw.
4. Reinstall the needle case and all the covers removed to change the jump stitch
solenoid and test embroider a large letter (6 inch block I, for example) to check
the machine for proper jump stitch operation.
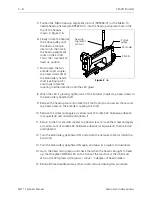
After attaching the new solenoid and bracket assembly to the embroidery head and
check the alignment. Be sure the plunger contacts the reciprocator mechanism, and
the reciprocator mechanism does not contact other internal head parts when the
solenoid is energized. The two wires coming from the solenoid and connecting at
the small black plastic connector, can be damaged if they are twisted together.
Twisting the wires together will reduce their length and can put undue stress at the
connections at both ends. It therefore is not recommend twisting these wires
together. If you must group these wires together, use "cable ties" (plastic straps)
these are available at most electronic supply stores.
Jump Stitch Solenoid Adjustment
3 - 19
110344-01, Rev B
3. Embroidery Head Maintenance

