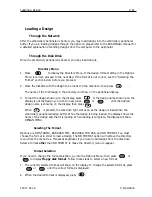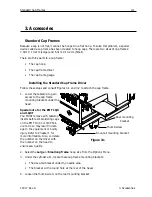
Standard Cap Frames
3-3
11817 Rev. A
3. Accessories
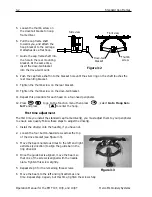
Using the Cap Hoop Gauge
Because the cap hoop is curved, it is difficult to control on a flat surface. The cap hoop gauge
clamps to a table edge to resolve this problem. Once the gauge is clamped, snap the cap hoop
into it to hoop the cap. Hoop the cap according to the instructions on the next page.
Hooping a Cap
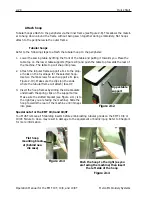
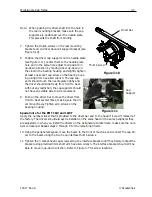
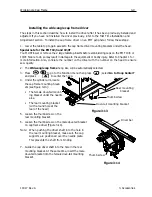
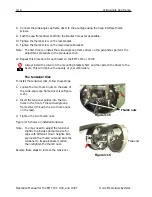
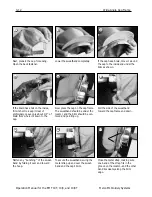
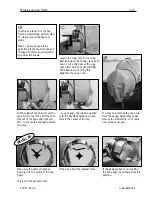
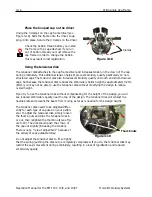
To hoop a cap, follow these steps and see Figure 3-4
1. With the latch on the left side,
open the cap frame and rest the
cover on the arm of the gauge.
2. Remove any cardboard or packing
material from the cap.
3. If the cap has a sweat band, pull it
to the outside. If the cap has a
braided cord, move it to the inside
of the cap.
4. If you are using backing, place it
inside the cap.
5. Slide the cap on the hoop frame so
that:
•
The brim of the cap is away
from you
•
The front of the cap is up
•
The sweat band is under the square retainer at the center of the frame
•
The sides of the cap are inside the outer arms of the cap frame
6. Push the cap onto the cap frame until the embroidery field is centered. Since caps come in dif-
ferent styles and sizes, you will have to determine how far forward the cap should be.
7. Hook the wire of the hoop latch over the catch, but do not fasten it.
8. Pull the cap as straight, fold free, and taut as possible.
9. Use your right hand to grasp the cap securely from underneath while fastening the frame
latch with your left hand.
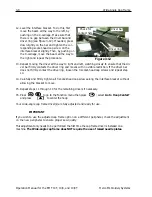
10. Pull the elastic cord of the frame over the brim of the cap to secure it.
11. Snap the hoop out of the frame gauge.
Figure 3-4
Brim holder
Summary of Contents for EMT 10/4
Page 52: ...2 28 Quick Start Operation Manual for the EMT 10T 10 4 and 10 4T Melco Embroidery Systems ...
Page 108: ...6 10 Error Messages Operation Manual for the EMT 10T 10 4 and 10 4T Melco Embroidery Systems ...
Page 126: ...INDEX Operation Manual for the EMT 10T 10 4 and 10 4T ...
Page 127: ...Quick Ref erence Guide for the EMT 10T 10 4 and 10 4T 11817 Revision A ...

