Standard Cap Frames
3-5
11817 Rev. A
3. Accessories
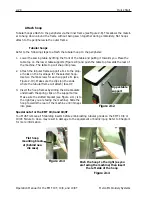
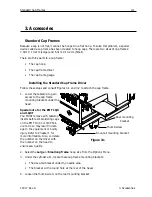
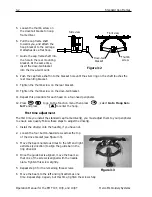
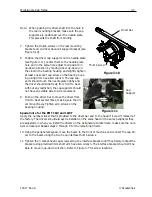
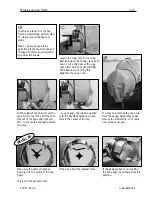
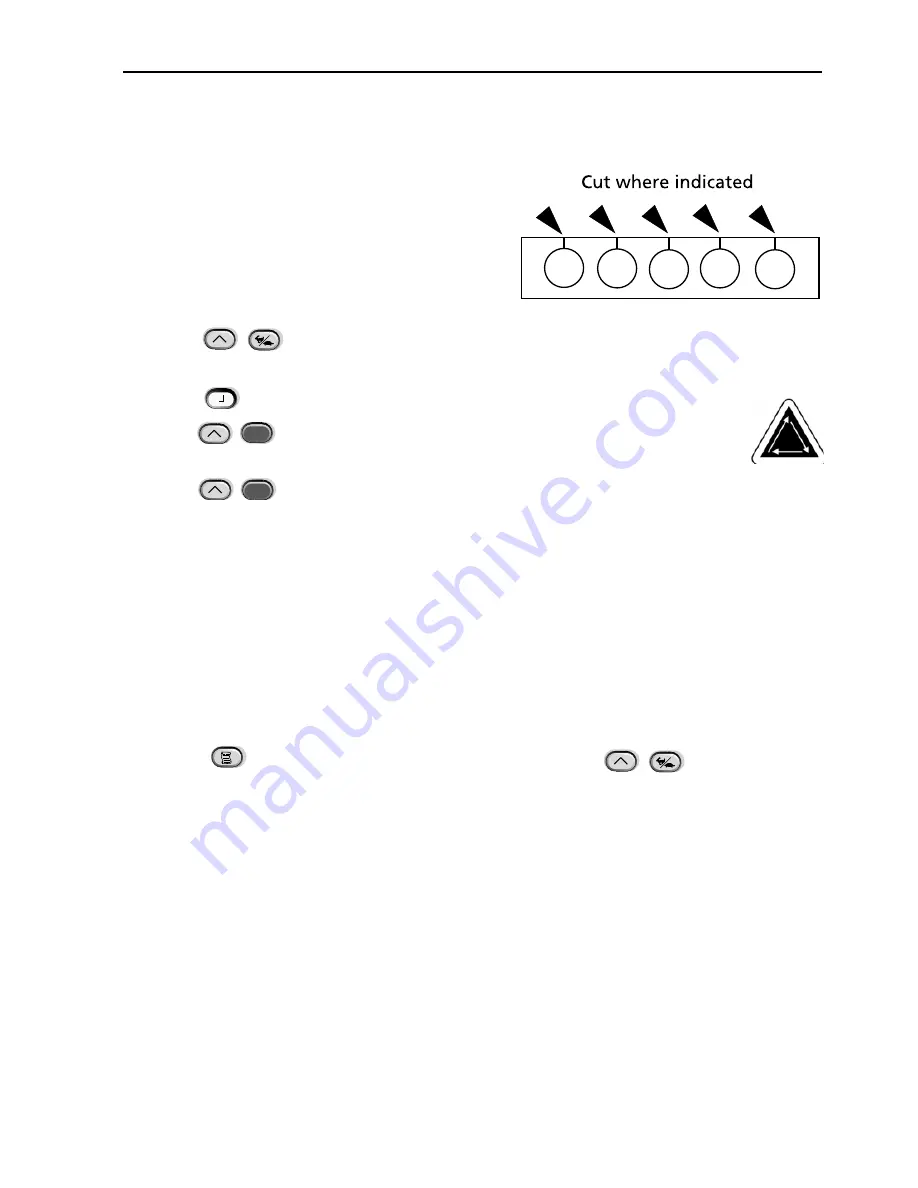
5. The spacers must be cut on one side with a pair of
scissors prior to installation. Refer to Figure 3-6 for
the correct areas to cut.
6. Slide the spacer (with the cut side facing upward)
in between the presser feet and the needle bars .
Use a small flat-bladed screwdriver to push the
spacer over the needle bars.
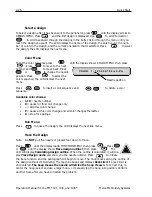
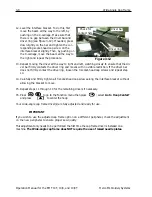
7. Press
from the
Main menu
and the
display shows: HEAD TIMING MENU.
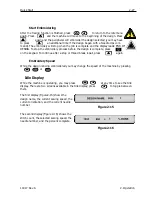
8. Press
and the display shows: HEAD TIMING ON.
9. Press
. The machine rotates to the “Head up” position and the display
shows: ONE REVOLUTION 110.0.
10. Press
. The head rotates to NEEDLE DEPTH. The presser foot should be 0.040"
from the needle plate.
11. Verify the presser foot is clearing the needle plate by 0.030 to 0.050". If needed, add or
remove the necessary combination of the 0.020 or 0.040 spacers to achieve the appropriate
clearance. Go to step #9 to rotate the machine to HEADUP to add or remove spacers.
Note: If you add too many spacers, you may overcompress the presser foot springs and damage
the springs or impair the quality of the embroidery.
12. Replace the lower needle case cover.
13. Repeat for all sewing heads on the EMT 10/4 or 10/4T.
14. Press
to exit the Head Timing Menu; then press
to return to
the
Main menu
.
When you return to sewing flat or tubular goods, reverse the above procedure to remove the
raised needle plates and the extra spacers.
Figure 3-6
▲
▲
▼
Summary of Contents for EMT 10/4
Page 52: ...2 28 Quick Start Operation Manual for the EMT 10T 10 4 and 10 4T Melco Embroidery Systems ...
Page 108: ...6 10 Error Messages Operation Manual for the EMT 10T 10 4 and 10 4T Melco Embroidery Systems ...
Page 126: ...INDEX Operation Manual for the EMT 10T 10 4 and 10 4T ...
Page 127: ...Quick Ref erence Guide for the EMT 10T 10 4 and 10 4T 11817 Revision A ...

