3-10
Wide-Angle Cap Frame
Operation Manual for the EMT 10T, 10/4, and 10/4T
Melco Embroidery Systems
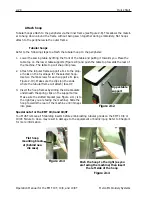
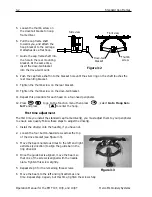
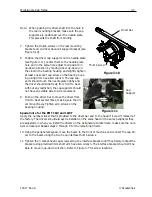
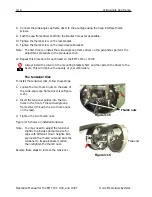
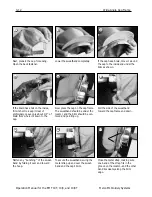
8. Connect the wide-angle cap frame driver to the x-carriage using the hoop interface thumb
screws.
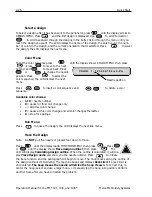
9. Push the cap frame driver shaft into the bracket hole as far as possible.
10. Tighten the thumb screw on the rear bracket.
11. Tighten the thumb screw on the male dove-tail bracket.
Note: The first time you install the wide-angle cap frame driver on the peripheral, perform the
adjustment procedure in the previous section.
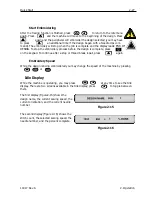
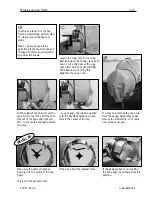
12. Repeat this procedure for each head on the EMT 10/4 or 10/4T.
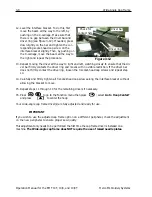
Always install the driver on the mounting brackets first, and then attach the driver to the
beam. This will improve the quality of your embroidery.
The tensioner disk
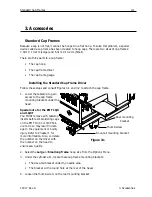
To install the tensioner disk, follow these steps:
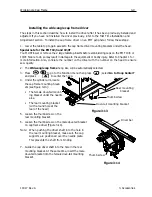
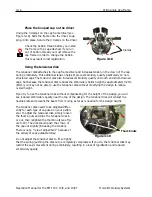
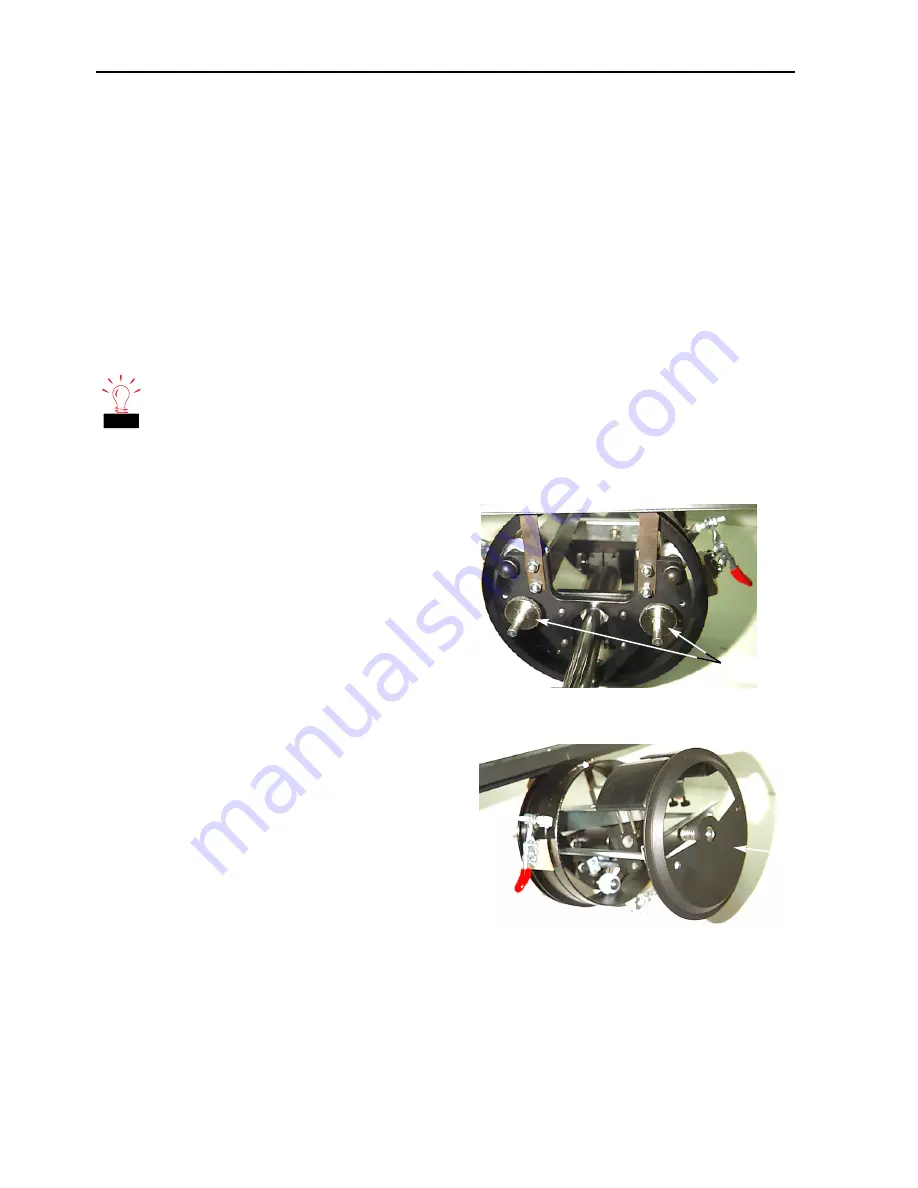
1. Loosen the two thumb nuts on the back of
the wide-angle cap frame driver (see Figure
3-15).
2. Insert the tensioner guides into the two
holes in the front of the wide-angle cap
frame driver (through the two thumb nuts
on the rear).
3. Tighten the two thumb nuts.
Figure 3-16 shows an installed tensioner.
Note: You may need to adjust the tensioner
slightly to provide optimal tension for
caps with different crown heights. Sim-
ply loosen the thumb nuts and slide the
tensioner to its appropriate location,
then retighten the thumb nuts.
Reverse these steps to remove the tensioner.
Figure 3-15
Thumb nuts
Figure 3-16
Tensioner
Tip
Summary of Contents for EMT 10/4
Page 52: ...2 28 Quick Start Operation Manual for the EMT 10T 10 4 and 10 4T Melco Embroidery Systems ...
Page 108: ...6 10 Error Messages Operation Manual for the EMT 10T 10 4 and 10 4T Melco Embroidery Systems ...
Page 126: ...INDEX Operation Manual for the EMT 10T 10 4 and 10 4T ...
Page 127: ...Quick Ref erence Guide for the EMT 10T 10 4 and 10 4T 11817 Revision A ...

