Wide-Angle Cap Frame
3-13
11817 Rev. A
3. Accessories
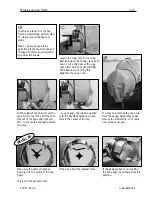
To achieve a snug fit of the cap
frame's metal straps, perform step
17 whenever you change cap
styles.
Step 17 does not need to be
performed if the cap style has not
changed. In this case, simply latch
and close the buckle.
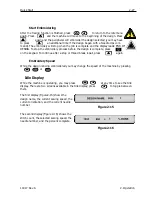
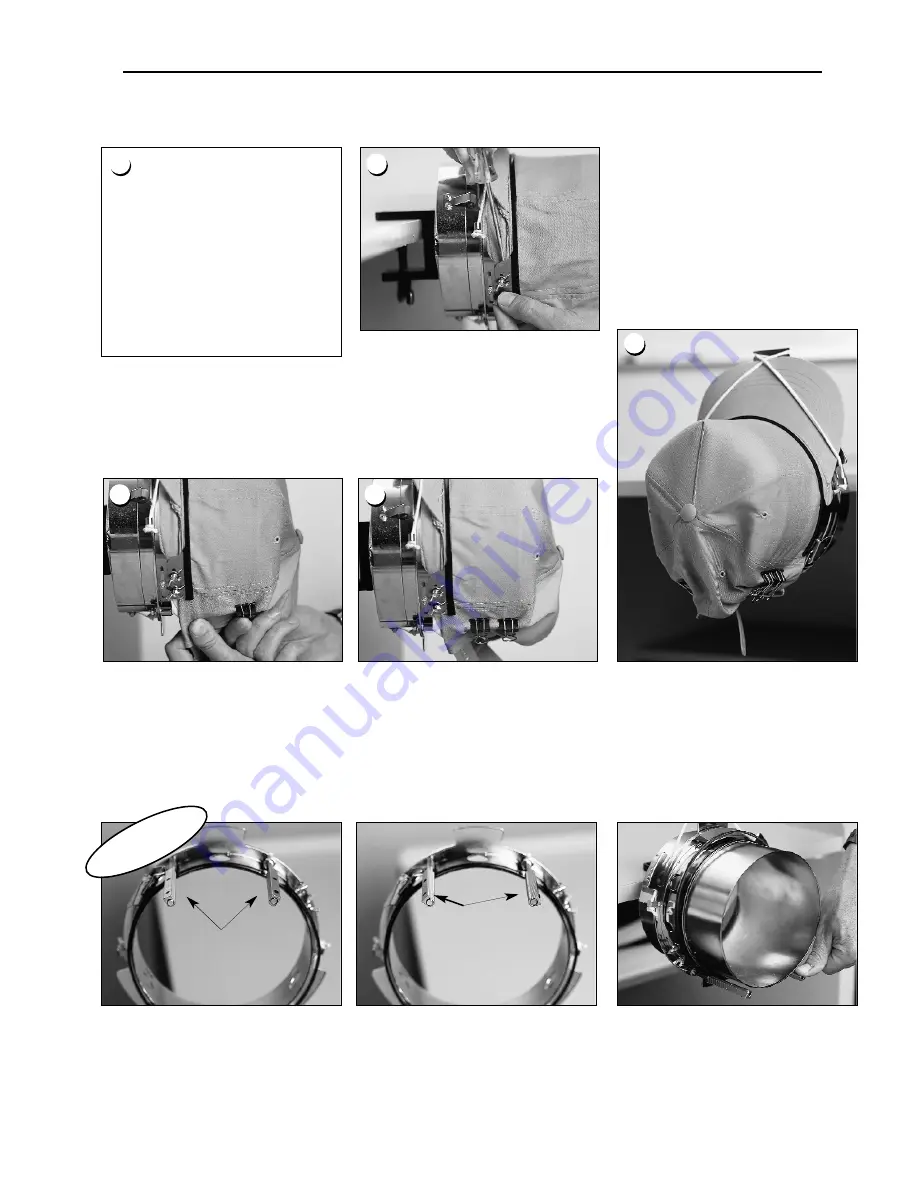
16
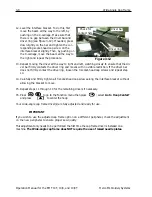
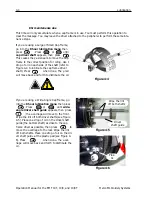
Loosen the wing nuts on the strap,
latch and close the buckle...then push
down on the strap above the wing
nuts with a hard tool. Use MODER-
ATE pressure when doing this.
Retighten the wing nuts.
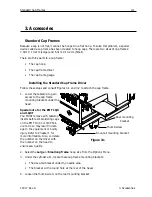
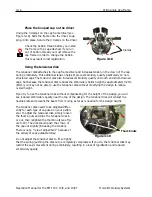
17
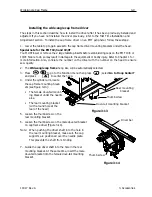
Pull the elastic brim holders over the
cap's brim to the front. Pull the wrin-
kles out of the cap using light ten-
sion. To secure the cap fabric, attach
two clips...
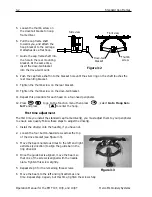
18
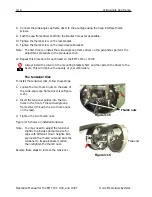
...to each post. The clips are applied
with the handles angled down and
toward the center of the cap.
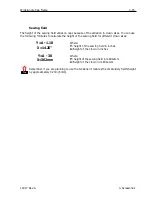
19
You may now remove the cap hoop
from the gauge. Remember to also
remove the rubber strip. Your cap is
now properly hooped.
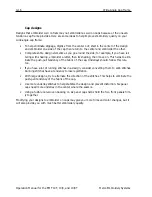
20
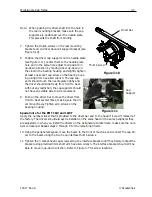
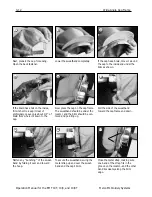
SPECIAL TIP
Make sure the posts are aligned
properly with the center of the cap
frame.
This is how they should look!
If they look like this, readjust them.
If the posts are bent and touching
the cap gauge, bend them back into
position.
±
±
±
±
Summary of Contents for EMT 10/4
Page 52: ...2 28 Quick Start Operation Manual for the EMT 10T 10 4 and 10 4T Melco Embroidery Systems ...
Page 108: ...6 10 Error Messages Operation Manual for the EMT 10T 10 4 and 10 4T Melco Embroidery Systems ...
Page 126: ...INDEX Operation Manual for the EMT 10T 10 4 and 10 4T ...
Page 127: ...Quick Ref erence Guide for the EMT 10T 10 4 and 10 4T 11817 Revision A ...

