3-22
Bobbin Winder
Operation Manual for the EMT 10T, 10/4, and 10/4T
Melco Embroidery Systems
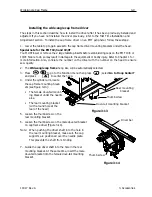
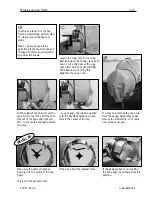
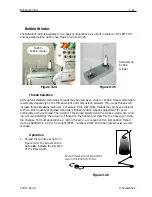
2. Place an empty bobbin spool (P/N 008499-01) on the winder shaft and make 6-8 tight wraps
of thread around the spool in the direction shown. Break or trim off the thread tail close to
the spool.
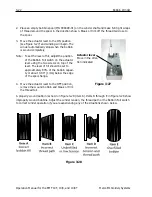
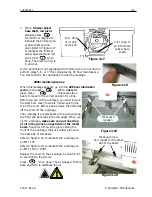
3. Move the actuator lever to the ON position
(see Figure 3-27) and winding will begin. The
winder automatically stops when the bobbin
is wound completely.
Note: To set the level of fill, adjust the position
of the Bobbin Full switch on the actuator
lever using the two screws on top of the
lever. The level of fill should be set to
approximately 80% of the bobbin capaci-
ty or about 0.04" [1mm] below the edge
of the spool flange.
4. Move the actuator lever to the OFF position,
remove the wound bobbin and break or trim
the thread tail.
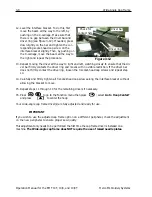
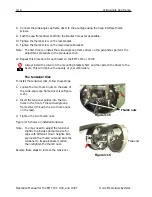
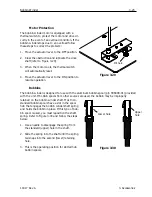
A properly wound bobbin is shown in Figure 3-28 (item A). Items B through E in Figure 3-28 show
improperly wound bobbins. Adjust the winder tension, the thread path or the Bobbin Full switch
to correct winder operation if you are experiencing any of the situations shown below.
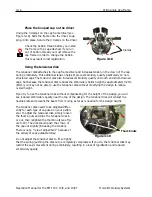
Figure 3-28
Figure 3-27
Actuator lever
Move in the direc-
tion indicated
Summary of Contents for EMT 10/4
Page 52: ...2 28 Quick Start Operation Manual for the EMT 10T 10 4 and 10 4T Melco Embroidery Systems ...
Page 108: ...6 10 Error Messages Operation Manual for the EMT 10T 10 4 and 10 4T Melco Embroidery Systems ...
Page 126: ...INDEX Operation Manual for the EMT 10T 10 4 and 10 4T ...
Page 127: ...Quick Ref erence Guide for the EMT 10T 10 4 and 10 4T 11817 Revision A ...

