Maintenance
4-1
4. Operator Maintenance
This chapter outlines machine maintenance; in addition, operators and maintenance personnel
must attend a Melco approved training course prior to maintaining the machine.
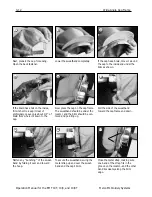
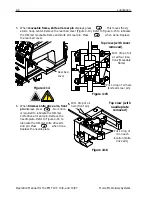
Installing a Needle
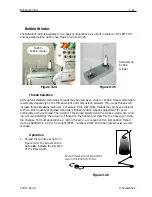
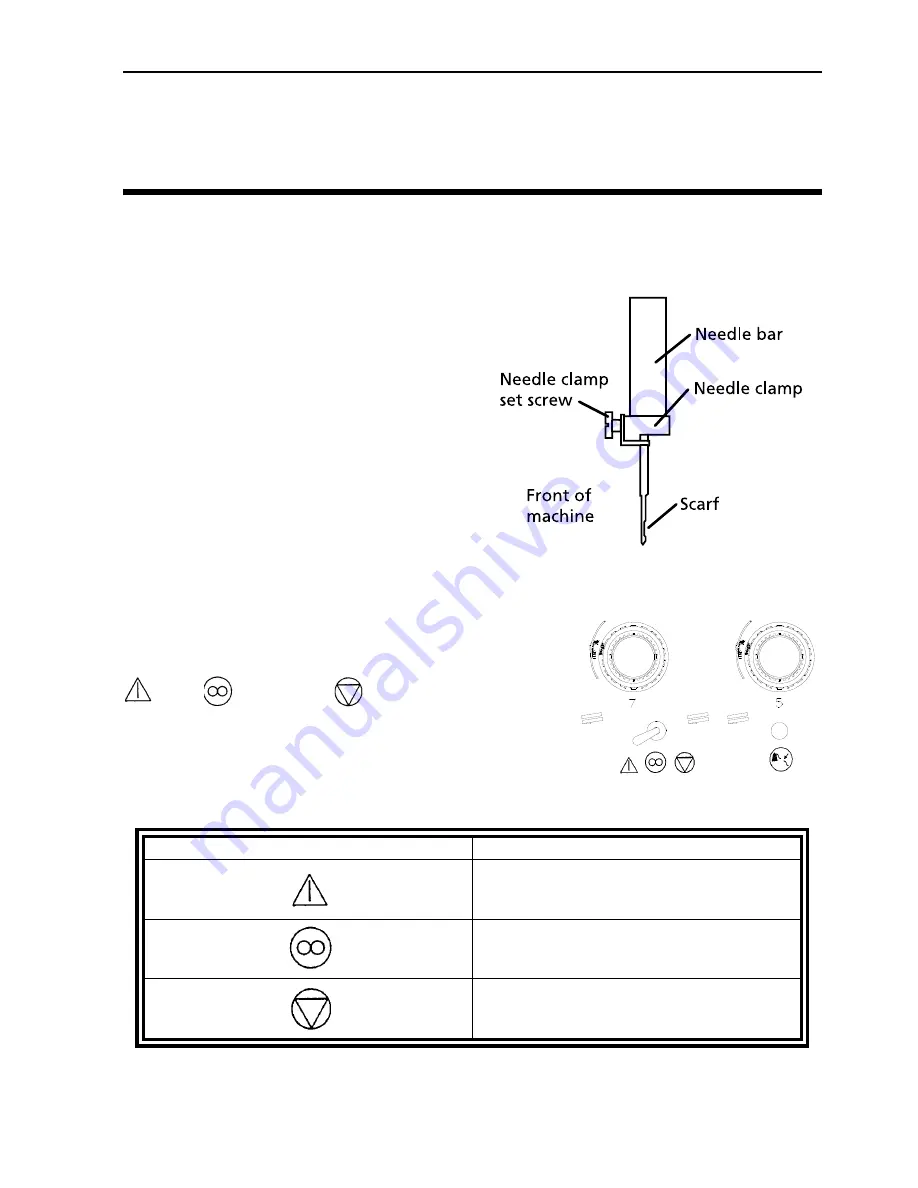
Each needle has a needle clamp set screw hold-
ing it in place as shown in Figure 4-1. Use the
small flat-blade screw driver from the tool kit
and follow these steps to replace a needle:
1. Turn the set screw counterclockwise until
the needle can slide down and out of the
needle bar. Do not remove the set screw.
2. With the scarf of the new needle toward
the rear of the head, slide the needle into
the needle bar as far as it will go, and re-
tighten the set screw. The eye of the needle
should be facing directly forward.
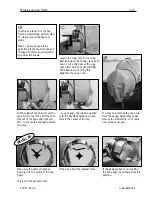
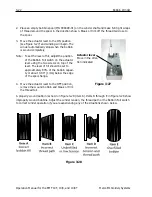
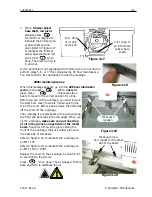
Thread Break Switch
Each head has a thread break switch below the tensioners with
(ON),
(AUTO), and
(OFF) positions (see Figure
4-2). The switch controls whether the individual head stitches as
it moves through a design. The table below summarizes the
functions of the switch.
11817 Rev. A
4. Operator Maintenance
Figure 4-1
Figure 4-2
SETTING
FUNCTION
Sews during thread break and framing
recovery. Use to restitch an area.
Only heads with thread breaks will sew
during thread break recovery or framing.
Should be used for normal operation.
Disables the sewing head.
Summary of Contents for EMT 10/4
Page 52: ...2 28 Quick Start Operation Manual for the EMT 10T 10 4 and 10 4T Melco Embroidery Systems ...
Page 108: ...6 10 Error Messages Operation Manual for the EMT 10T 10 4 and 10 4T Melco Embroidery Systems ...
Page 126: ...INDEX Operation Manual for the EMT 10T 10 4 and 10 4T ...
Page 127: ...Quick Ref erence Guide for the EMT 10T 10 4 and 10 4T 11817 Revision A ...


