Rev 1.4
Mellanox Technologies
31
3.
Unplug all power supplies.
4.
Disconnect all cables.
5.
Disconnect any grounds if hard wired.
6.
Unscrew three of the four screws connecting the gateway brackets to the rack.
7.
While supporting the gateway unscrew the last screw.
8.
Slide the gateway out of the rails. This is easier with two people.
9.
Remove the rail/slides from the other side of the rack.
See the Mellanox Website for instructions to disassemble the gateway for proper WEEE disposal.
2.4.5 Power Connections and Initial Power On
The gateway ships with one Power Supply Unit. A second PSU can be ordered for redundancy.
Each supply has a separate AC receptacle. The input voltage is auto-adjusting for 100-240 VAC,
50-60Hz power connections. The power cords should be standard 3-wire AC power cords includ-
ing a safety ground. See Table 14, “Replacement Parts Ordering Numbers,” for ordering the cables
compatible with the electrical system of your country.
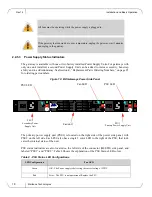
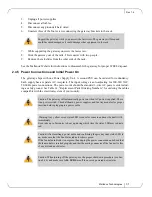
Support the gateway while you unscrew the last screw. The gateway will drop and
could become damaged or it could damage other equipment in the rack.
Caution: The gateway will automatically power on when AC power is applied. There
is no power switch. Check all boards, power supplies, and fan tray modules for proper
insertion before plugging in a power cable.
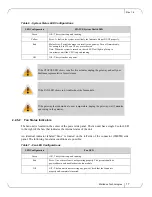
Warning: Any yellow or red status LED is cause for concern and must be dealt with
immediately.
It can take up to 5 minutes to boot up, during which time the status LED may indicate
red.
Caution: After inserting a power cable and confirming the green system status LED is
on; make sure that the Fan Status indicator shows green.
If the fan status indicator is not green then unplug the power connection and check that
the fan module is inserted properly and that the mating connector of the fan unit is free
of any dirt and/or obstacles.
Caution: When turning off the gateway, use the proper shut down procedure (see Sec-
tion 2.4.6) and make sure ALL LEDS are off to ensure a powered down status.

