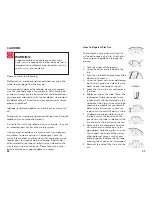
Attachment
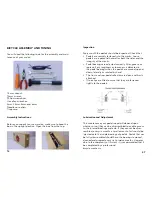
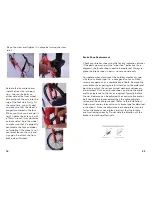
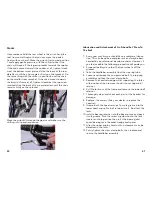
Each pair of pedals has a specifi c right and left pedal. It is
important that a pedal is never forced into the incorrect
crank arm as the thread is different for the two pedal sides.
The right pedal, as indicated by the “R” stamped on the
end of the axle, screws into the crank on the chainwheel
side of the bicycle in a clockwise direction. The left pedal
is marked with an “L” on the axle, and it is attached to the
other side in an anti-clockwise direction.
To attach, place the pedals into the correct crank arm and
wind on by hand as tightly as possible in the appropriate
direction. Use a 15mm wrench to fasten more securely.
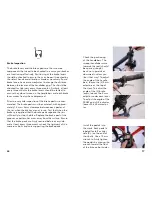
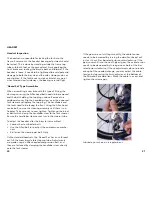
Removing a pedal is the reverse process of attaching. The
right pedals needs to be turned anti-clockwise and the left,
clockwise.
Before fi tting any new pedals ensure that the axle thread
size is compatible with the cranks on your bicycle. The two
types of cranks available each have different axle threads.
Cranks that are a one piece design have no separate axle
and are compatible with pedals that have a 1/2” thread.
Three piece crank sets with a separate left and right crank
use a slightly larger 9/16” thread.
48
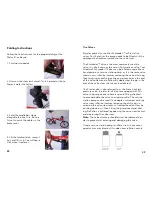
Hand Grip Shifters
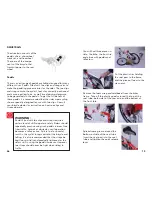
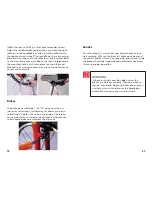
Hand grip shifters are built into the hand grip and attach to
the handlebars. Unlike other types of shifting mechanisms
the hand grip shifters mean you do not need to change
your hand position to select different gears. The rider just
simply twists forwards or backwards dependent upon their
gear selection. By twisting the right shifter toward you, a
lower gear is chosen as a larger rear cog is selected. Twist-
ing this shifter away from you has the opposite effect; a
higher gear is selected as a smaller rear cog is engaged.
Turning the left shifter forward or away from you activates
a smaller, front chainwheel, and a larger, front chainwheel
is engaged by twisting it backwards. The number of gear
changes to occur at any one time corresponds with how
many turns are made of the shifter.
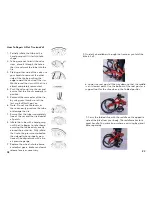
Brakes
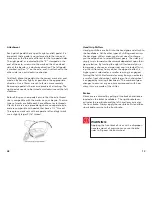
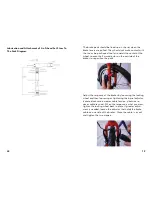
V-brakes are activated by pulling of the brake hand levers
located on the bike’s handlebars. The right brake lever
activates the rear brake and the left hand lever activates
the front brake. Always apply the rear brake fi rst and then
slowly add pressure to the front brake.
WARNING:
Applying the front brake fi rst or with a dispropor-
tionate amount of pressure can cause the bike
rider to fl ip over the front wheel
.
13

