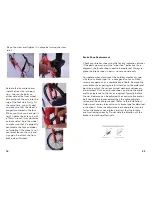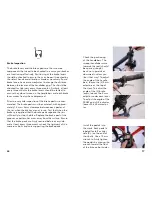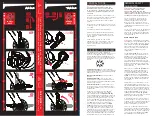
Raise the stem and tighten it in place by turning the stem
joint.
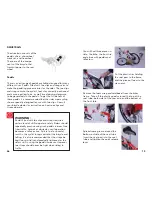
Release the front brake and
slide the front tire into posi-
tion. Loosen the bolts on
either side of the front wheel
axle and push the axle into the
top of the fork slots fi rmly. At
the same time, you will need
to make sure that the wheel is
properly centered in the fork.
When you think you have got it
right, tighten the axle nuts with
a 15mm wrench (turn clockwise
on both sides). Spin the wheel
to make sure that it is properly
centered in the fork and does
not wobble. If the wheel is not
centered, loosen the nuts and
try again. Re-attach the front
brake when fi nished.
16
Brake Shoe Replacement
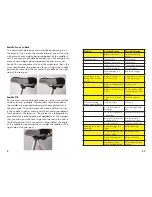
Check your brakes shoes monthly for any indication of wear.
If the pads are worn past the “wear line” indication (See
diagram), the brake shoes need to be replaced. Always re-
place the brake shoes in pairs – never one side only.
For replacement, disconnect the holding mechanism spe-
cifi c to your brake type -i.e. a hexagonal nut or an Allen
screw arrangement, or a combination of both. Remove the
worn brake shoes paying careful attention to the order and
position in which the various curved washers and spacers
are attached. Fit the new brake shoes, and tune the angle
and the clearance to the rim as required. Typically, before
the rim clearance can be adjusted the control cable anchor
bolt needs to be loosened and then the cable adjusters
fasten and the cable tensioned. (Refer to the Installation/
Adjustment section relevant to your brake type for detailed
instructions.) Once the adjustments are complete, securely
fasten the brake shoes in place and test that the brakes
are functioning correctly. Do not ride the bicycle until the
brakes are working effectively.
45

