9
Installation Step 5: Final Assembly
Refer to page 4 for item part numbers, descriptions, and quantities.
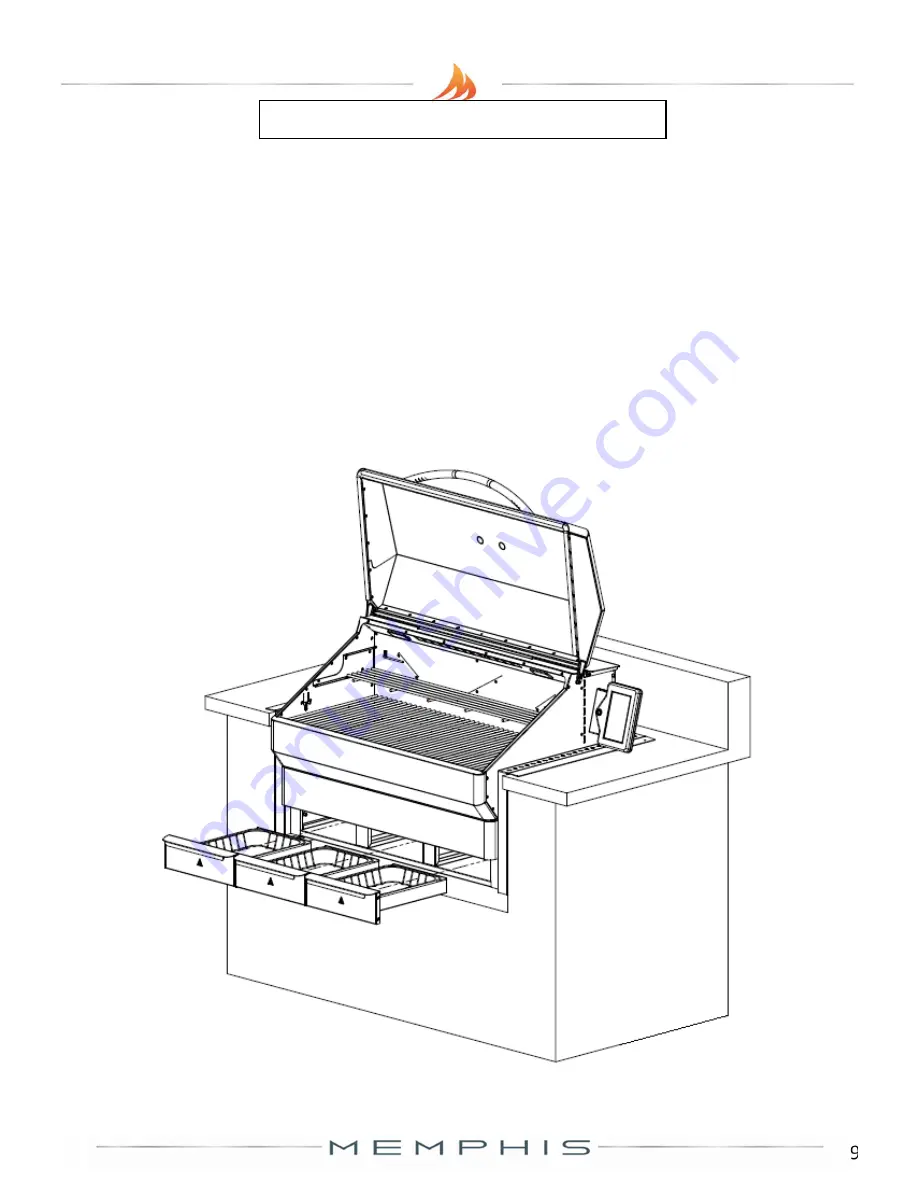
19. Inset the three ash/grease drawers back into the unit.
20. Place Savorizer (item 2) onto the left and right lower brackets found inside the unit.
21. Place the main cook grates (item 1) onto the front and rear supports. Place the upper cook grate (item 1) onto
the left and right upper brackets found inside the unit.
Vent holes on the mounting brackets must remain unobstructed for proper air circulation.
Grill must be accessible (able to slide out) for any future repair or maintenance.
Refer to the Owners Guide for first time use instructions.


