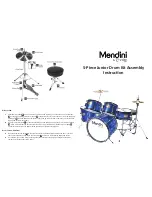
Hi-Hat Stand:
17. Fold the Hi-Hat Pedal
(W)
down and loosen the hi-hat stand leg wing nut. Extend the 3 hi-hat stand legs
(X)
out so that the black pedal brace support
(Y)
is approximately 1 inch off of the floor. Unscrew the pedal
holding peg
(Z)
from the bottom of the brace support, line up the holes from pedal base, reinsert the hold
-
ing peg and secure with the bolt.
18. Remove the Hi-Hat clutch
(a)
by loosening the wing nut and pulling it up off of the hi-hat stand drive shaft
(b)
. Place 1 of the Hi-Hat cymbals, concave side up, on top of the felt pad, metal washer and saddle
(c)
.
The adjustment screw on the bottom of the saddle adjusts the tilt of the high hat.
Drum Throne, AKA Stool:
19. Open the drum throne base
(d)
so that the three legs are extended fully and flat on the floor. Insert the
seat post into the block underneath the throne top
(e)
and secure. Adjust sitting height and secure.
20. Once seated, you can now bring the set together and fully adjust any heights and angles of the drums,
cymbal, and stands to your liking. Enjoy!
5-Piece Junior Drum Kit Assembly
Instruction


