130
Operating Instructions - CPC6050
Modular Pressure Controller
CPC6050
10.6 Calibration Data
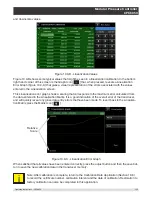
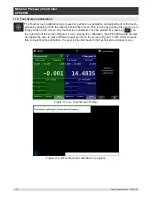
The Calibration Data Application is where the calibration data for each transducer is stored and
amended. The serial number (S/N), Accuracy, zero offset (Zero) and span offset (Span) can be seen in
this screen. The date of calibration, the calibration interval and the certificate number can be entered
by pressing the corresponding button, then saved by pressing the Check [
] button. To revert back
to the factory calibration, press the “Restore Factory Cal” button. To view the calibration data for each
transducer press the “Channel” button at the top and choose a transducer from the resulting channel
selection menu.
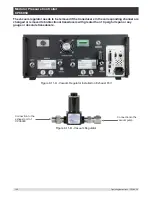
Figure 10.6 - Calibration Data
10.7 One Point Cal Application
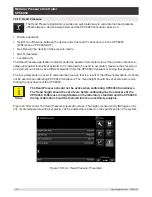
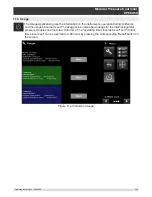
A single point calibration (usually a zero point calibration) of each transducer installed can be
accomplished in “One Point Cal” Application. The transducer channel is chosen by pressing the
“Channel” button at the top of this screen, and then selecting from the list of installed transducers.
For gauge pressure simply expose the reference and the Measure/Control port of the CPC6050 to
atmospheric pressure and then press the “New Value” button and enter zero (0) using the keypad. For
an absolute transducer, apply a known reference pressure between 600 mTorr absolute and 20% of the
active transducer's span to the Measure/Control port of the CPC6050, press the “New Value” button and
then enter the reference pressure (known true pressure) using the keypad. If you want to save the value
in the transducer, press Save.
Notice the reference symbol [ ],
this is the pressure reference level
of the instrument.
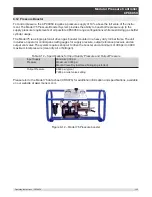
Figure 10.7 - One Point Cal Application

