ENGLISH
159
1.
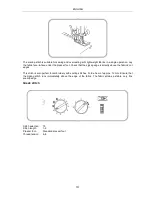
Lift the presser foot and raise the needle to the uppermost position. Place the button on the fabric
where you want it to be located.
2.
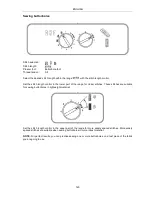
Select the stitch width for zigzag stitches that exactly corresponds to the distance between the two
holes in the button. The stitches must be sufficiently wide that the needle passes exactly through
the button’s holes.
3.
Position the left hole immediately below the tip of the needle and lower the presser foot.
4.
Sew the first stitches using the handwheel to ensure that the needle is not damaged.
NOTE. Position a needle on the button between the presser foot’s “toes” so that you can wind the thread
around more easily when you have sewn on the button.
5.
Sew approximately five stitches and then raise the needle. Leave approximately 20 cm of thread if
you want to attach the button more securely.
6.
Pass the top thread through one of the button’s holes. Wind the thread several times around the
threads between the button and the fabric to ensure the button is securely attached.
7.
Pull the top thread through to the reverse of the fabric and tie a knot.
NOTE. Make sure that you raise the feed dog when you have sewed all the buttons, before continuing
with normal sewing.


