- 6 -
9
9
3
3
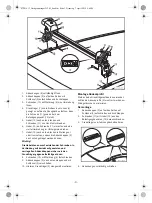
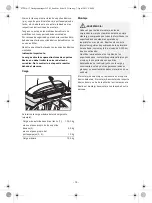
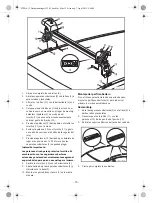
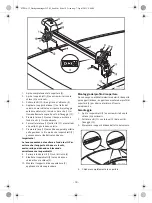
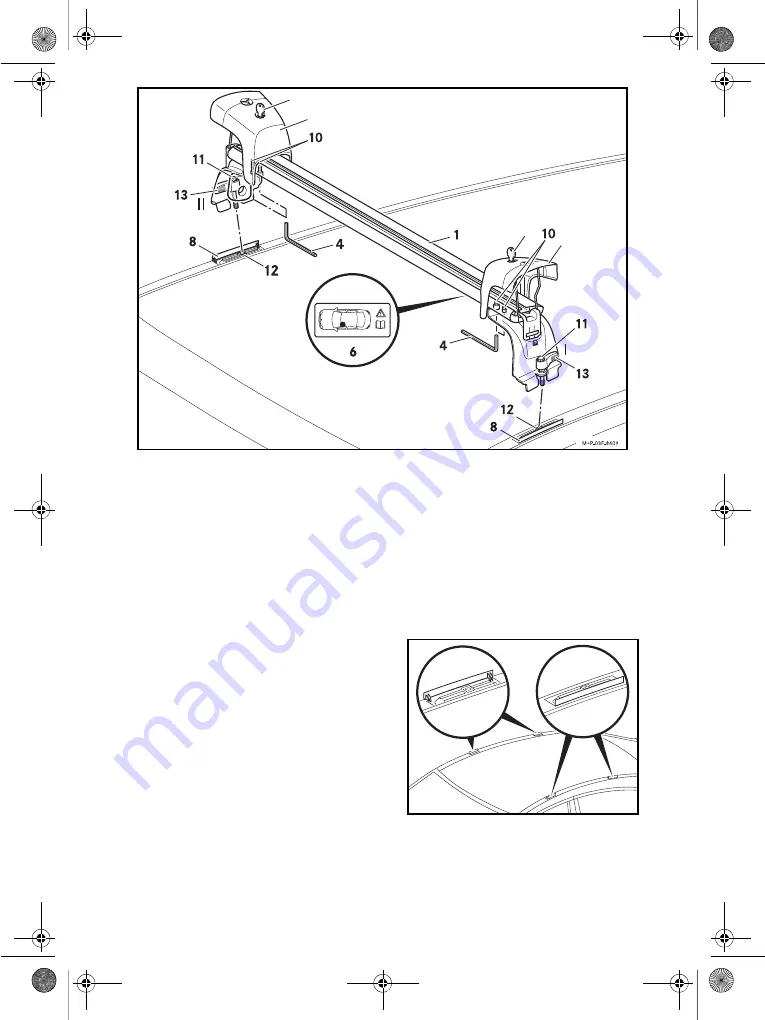
1. Open covers (8) fully.
2. Unlock protective caps (9) on both sides with
key (3) and fold them up.
3. Loosen screws (10) by a single turn using tool (4).
4. Position basic carrier bar (1) as shown here for
front left installation location (6) on the vehicle
roof so that screw (11) is exactly above fastening
point (12).
5. Press lever (13) down and tighten screws (11) by
hand.
6. Engage lever (13) on screw (11) and turn
clockwise by a quarter of a turn.
7. Press lever (13) down into position I or II so that
protective caps (9) can be folded down.
Important
The levers are for tightening the screws. In
conjunction with correctly positioned and locked
protective caps, they secure the basic carrier bar
from coming loose.
8. Tighten screws (10) with tool (4).
9. Fold protective caps (9) down and use key (3) to
lock them.
10. Install rear basic carrier bar (2) in the same way.
Fitting the cover strip
If no additional equipment is fitted to the basic carrier
bars, cover strips (5) should be fitted in order to reduce
wind noise.
Disassembly
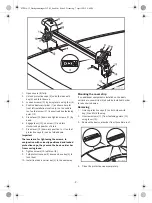
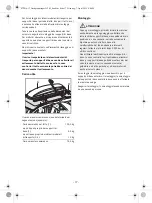
1. Unlock protective caps (9) on both sides with
key (3) and fold them up.
2. Unscrew screws (11) from fastening points (12)
using lever (13).
3. Remove the basic carrier bar from the vehicle roof.
4. Close the protective caps completely.
M+P-03F-5596
03F018-13_Dachgrundträger W205_book.fm Seite 6 Dienstag, 7. April 2015 9:44 09

