background image


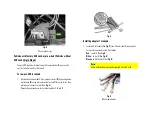
Fig. 3


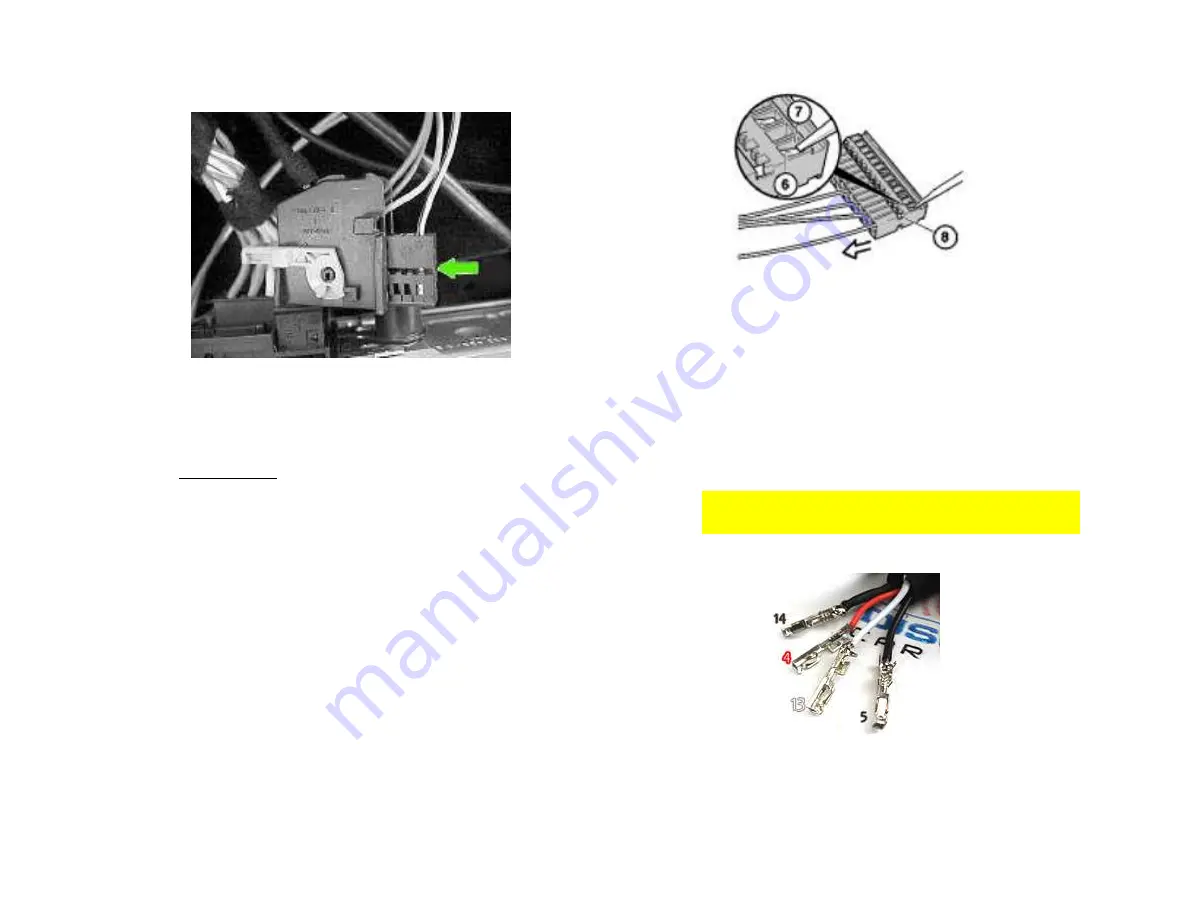
C2 contact carrier 

Vehicles with factory AUX Jack or pre-wired (Vehicles without 
AUX Jack skip to Step 4)


Factory AUX jack wire terminals must be removed from 18-way contact 
carrier to make room for this install. 

To remove AUX terminals

:  

1.


Remove terminal number 4 from contact carrier (

8

) by pushing down 

metal tangs (

6

) using pin removal tool or small flat screwdriver then 

pull wire out contact carrier (See

 Fig. 4

)  

Repeat above procedures for terminal number 5, 14 and 15. 


Fig. 4 

Installing adapter Terminals: 

1.


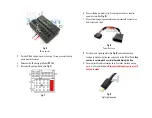
Insert all 4 terminals (See 

Fig. 5

) from Adapter into 18-way contact 

carrier slots vacated in step 3 as follows:  

Red


 to slot 4 (See

 Fig. 6

White


 to slot 4 (See

 Fig. 6

Blacks

- to Slot 5 and 14 (See

 Fig. 6

)  

Notes

:  

Either of the black wires can be inserted in slots 5 or 14 


Fig. 5 

Wires from adapter 


Summary of Contents for IL-CMD

Page 1: ...Courtesy of DiscountCarStereo com IL CMD Quick Start Installation Guide for Mercedes COMAND 2 0 Not for MCS or COMAND 2 5 CreatedOctober10 2015 Revised June29 2019 ...

Page 2: ...uding iPhone 5 X iPod Touch 5G iPod Nano 7G iPad 4G iPad Mini 1G iPad Mini with Retina etc without sacrificing the look and feel of dashboard components Installation Warning This adapter replaces optional AUX jack in glove box or prewiring for AUX passenger side pillar Remove radio from dashboard to gain access to connectors Vehicle specific radio removal instruction are not part of this guide but...

Page 3: ...ushing down metal tangs 6 using pin removal tool or small flat screwdriver then pull wire out contact carrier See Fig 4 Repeat above procedures for terminal number 5 14 and 15 Fig 4 Installing adapter Terminals 1 Insert all 4 terminals See Fig 5 from Adapter into 18 way contact carrier slots vacated in step 3 as follows Red to slot 4 See Fig 6 White to slot 4 See Fig 6 Blacks to Slot 5 and 14 See ...

Page 4: ...e Fig 8 7 Connect remaining plug on adapter power harness to A connector on Radio vacated in step 5 Fig 8 Power Harness 8 Carefully route Lightning cable See Fig 9 to desired mounting location on dashboard glove box console etc within 6 ft of Radio Use caution to not cut pinch or crimp the cable during this step 9 Securely install cable in a location away from heat humidity moving parts or sharp m...

Page 5: ...mains fully functional 3 Can I control Apple device from COMAND Radio buttons or SWC NO control remains with Apple device Radio button adjust volume 4 Which COMAND2 0 Radios were used during your test A 463 820 12 89 A 208 820 31 89 A 203 827 53 42 A 210 820 49 89 A 210 820 52 89 A 210 820 55 89 A203 820 92 89 A203 820 38 89 5 Will this adapter drain car battery NO the adapter is powered only when...

Page 6: ...e re not liable for misuse of this product We recommend professional installation email support discountcarstereo com 1995 Jun 19 Discount Car Stereo Inc All rights reserved Information in this document is subject to change without notice Other products and companies referred to herein are trademarks or registered trademarks of their respective companies or mark holders ...

Reviews: