Test Operation:
1.
Connect Lightning Plug to Apple device and turn COMAND2.0 R
adio “ON”
2.
Apple device will begin charging
3.
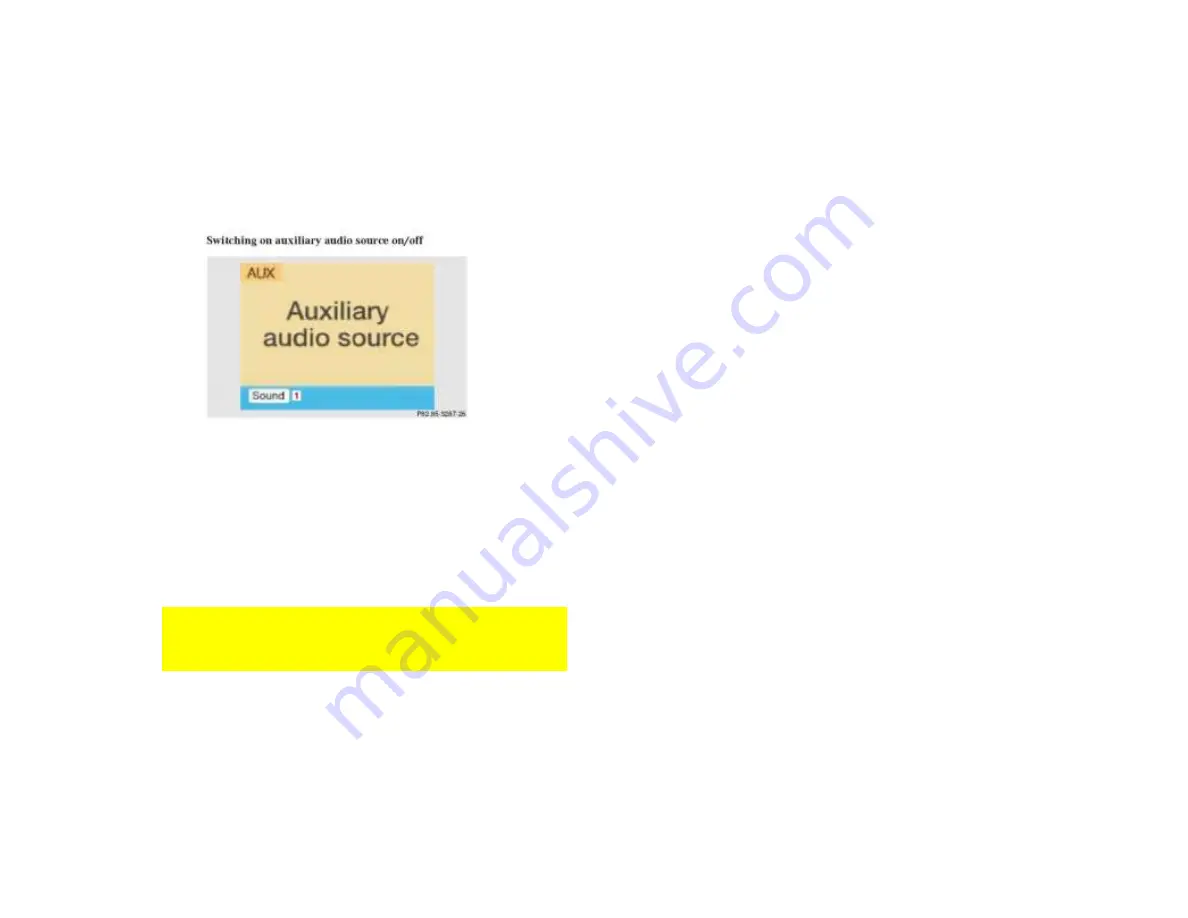
Switch COMAND2.0 Radio to
“AUX” Mode
Turn
right hand rotary/pushbutton to highlight the “AUX” menu field in the main
system settings and press to confirm.
Alternate:
Press
SYS
button to gain access to
AUX IN
menu field or from
Navigation screen scroll to AUX option.
4.
Select music track on Apple device
Warning!
Playlist and Track selection is *NOT* possible from the
COMAND 2.0 Radio. You must use the Audio device built-in controls
to access and select music files.
5.
Selected track will now be heard on car speakers.
6.
Use radio volume control to set playback level
7.
If successful go ahead and Reinstall Radio.
Frequent asked questions
1.
Does this work in Bose systems?
YES
;
works in Bose and non-Bose applications
2.
Is disconnecting CD Changer required?
NO;
CD Changer (if present) remains fully functional
3.
Can I control Apple device from COMAND Radio buttons or SWC?
NO
;
control remains with Apple device. Radio button adjust volume
4.
Which COMAND2.0 Radios were used during your test
A 463 820 12 89
, A 208 820 31 89
, A 203 827 53 42,
A 210 820 49 89
, A
210 820 52 89,
A 210 820 55 89
, A203 820 92 89,
A203 820 38 89
,
5.
Will this adapter drain car battery?
NO
;
the
adapter is powered only when the ignition is “ON”.
6.
Why is playback level from audio device lower than radio or CD?
COMAND volume can be adjusted for AUX device as follows:
• Turn on AM/FM Radio and adjust volume to a comfortable listening level.
• Press “SVC” button on COMAND unit.
• Select “AUX:” setting on COMAND unit.
• Press play on AUX device
• Adjust the volume on the Audio device so
that the audio system output is
at or near the same comfortable level previously set in radio mode.
• Volume can now be adjusted using either COMAND or volume controls on
multifunction steering wheel.
7.
My Mercedes has an MCS System. Will your Adapter work?
NO;
MCS (Modular Control Systems) available in
US market will
not work
with this adapter. (See
Fig. 10
)

