P 12
Please retain product label and instructions for future reference
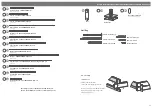
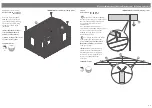
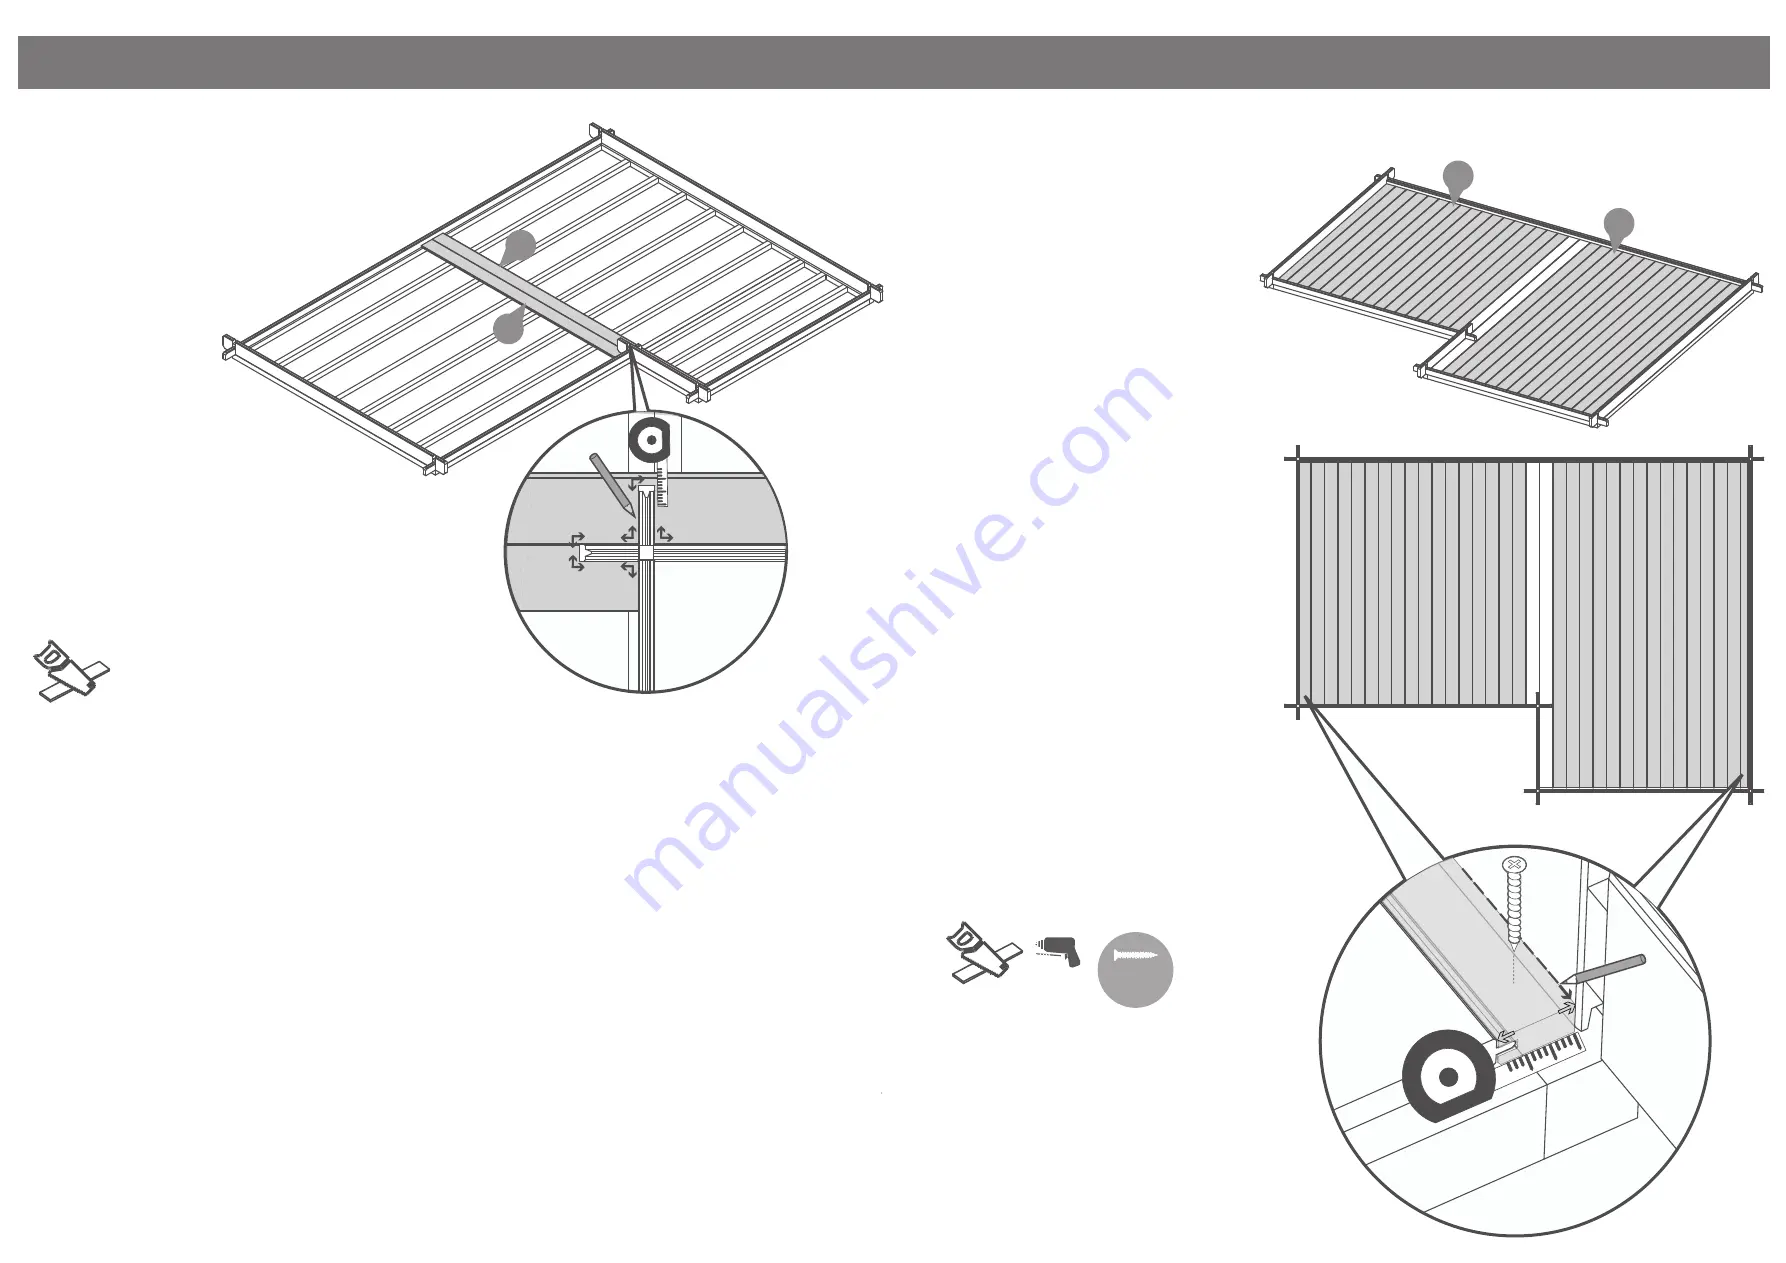
Step 22
Parts needed - No. 30 QTY 17
No. 31 QTY 17
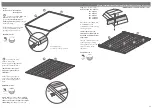
Continue adding the floor boards
(
No’s. 30 & 31
) (
internally
) making
sure to interlock each individual
board.
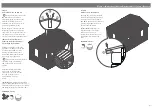
*Do
NOT
secure the boards until
the last board has been measured
and cut.
Following the same method outlined
in
Step 21
measure the gap between
the bottom of the tongue (
on the last
board placed
) and the log board.
Using a straight edge mark out the
measurement onto the last floor
board (
No’s. 30 & 31
) and cut along
the length removing the excess.
**Please note:
Mark the final board
1mm under the measurement; This
will allow the timber to expand and
contract correctly.
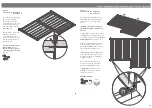
Once all the floor boards are in
position secure each board into
position using 8x40mm screws.
***Please Note:
Ensure to screw
through each of the floor boards
into the floor bearers.
288x40mm Screws
40mm
screw
Pre drill
hole
*
Cut to fit
31
30
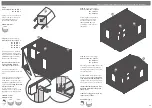
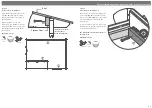
Step 21
Parts needed - No. 30 QTY 1
No. 31 QTY 1
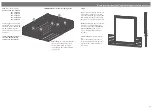
To make the notches in the
floor boards measure
(internally) around the
protruding log boards and
mark the measurements
onto the first floor boards
(
No’s. 30 & 31
).
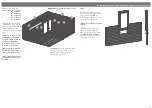
Once marked, cut into the
boards to create the
corresponding notches
and fit the cut floor boards
into position as shown in
the illustration.
*Ensure the tongue of the
floor board A (
No. 30
)
interlocks into the groove
of the longer floor board B
(
No. 31
).
*
Cut to fit
30
31


