P 6
Please retain product label and instructions for future reference
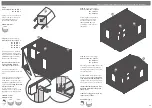
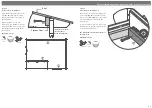
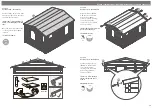
Step 5
(See Pre-Assembly)
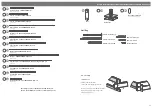
Parts needed - No. 11 QTY 6
No. 13 QTY 6
No. 17 QTY 12
No. 18 QTY 12
No. 19 QTY 12
No. 22 QTY 6
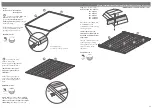
Following the same method
outlined in
Pre-Assembly
, lay
the next 6 boards (
No’s. 11, 13,
17, 18, 19 & 22
) onto the
assembly to create your second
level.
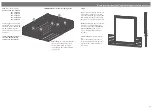
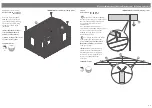
*Doors can be hung once the
boarding has enclosed the
door frame by 12-13 boards,
refer to door installation
instructions, if not, you can
install the door at step 7.
*Ensure that the boards are
level and flush with each
other as you lay each one.
**Doors can be hung once the
boarding has enclosed the
door frame.
***Please Note:
The short boards placed
to create the opening’s for the doors &
windows can be placed either side
depending on your needs.
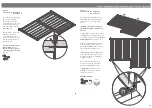
IMPORTANT:
Pre-drill before fixing screws.
17
22
11
19
13
17
18
18
19
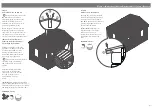
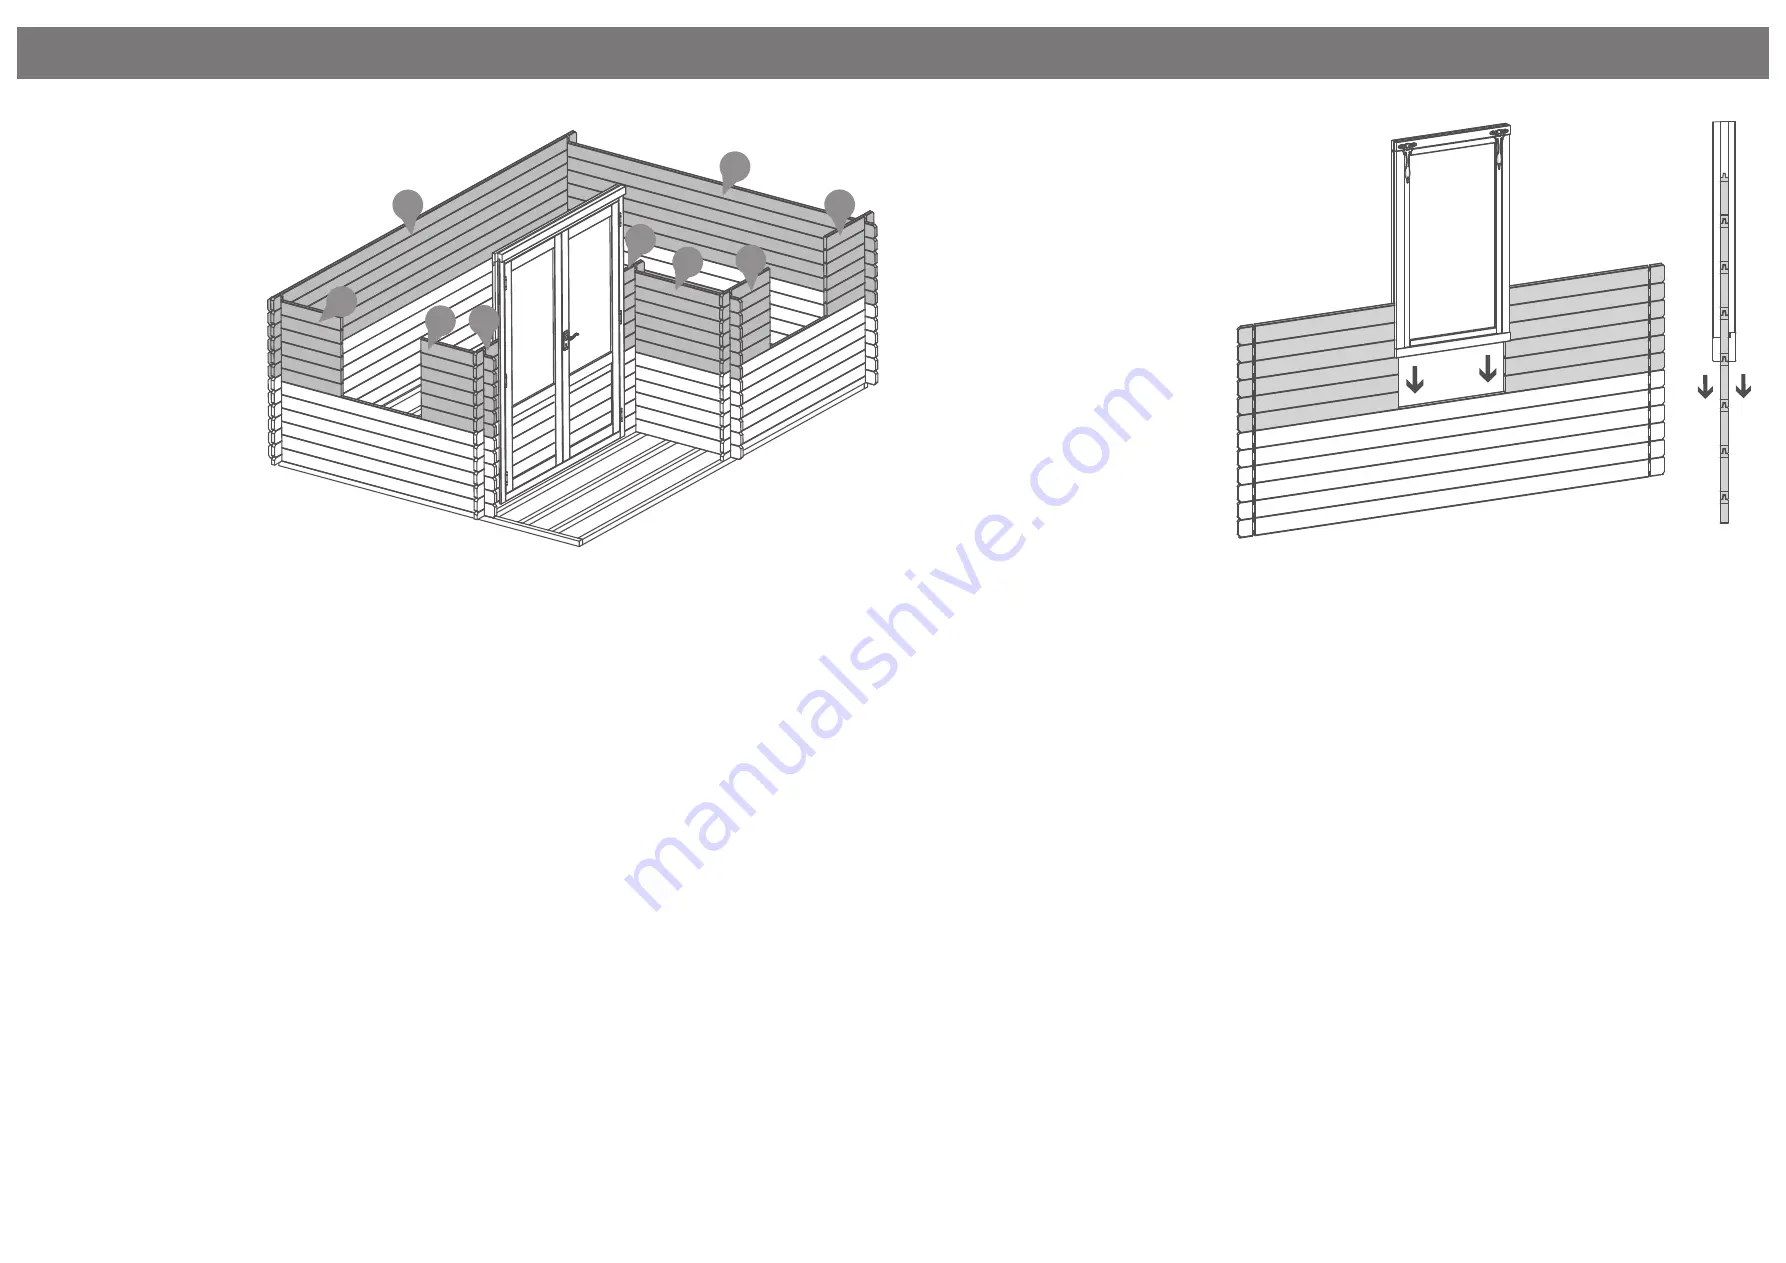
Step 6
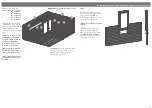
Once you have laid the second
level of boards onto the assembly
slide the window(
s
)
(No. 1)
between the smaller boards and
rest on to the longer board.
*Ensure the boards are level with
each end.
*Please note:
This image is for
illustrative purposes and may
differ from your choice in product
(
regarding window position
).
Nevertheless the process of fitting
the window is the same.


