background image

P 7

Please retain product label and instructions for future reference


10

9

9

13

12

8

13

12

8

6

6

10

11

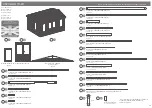
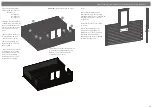
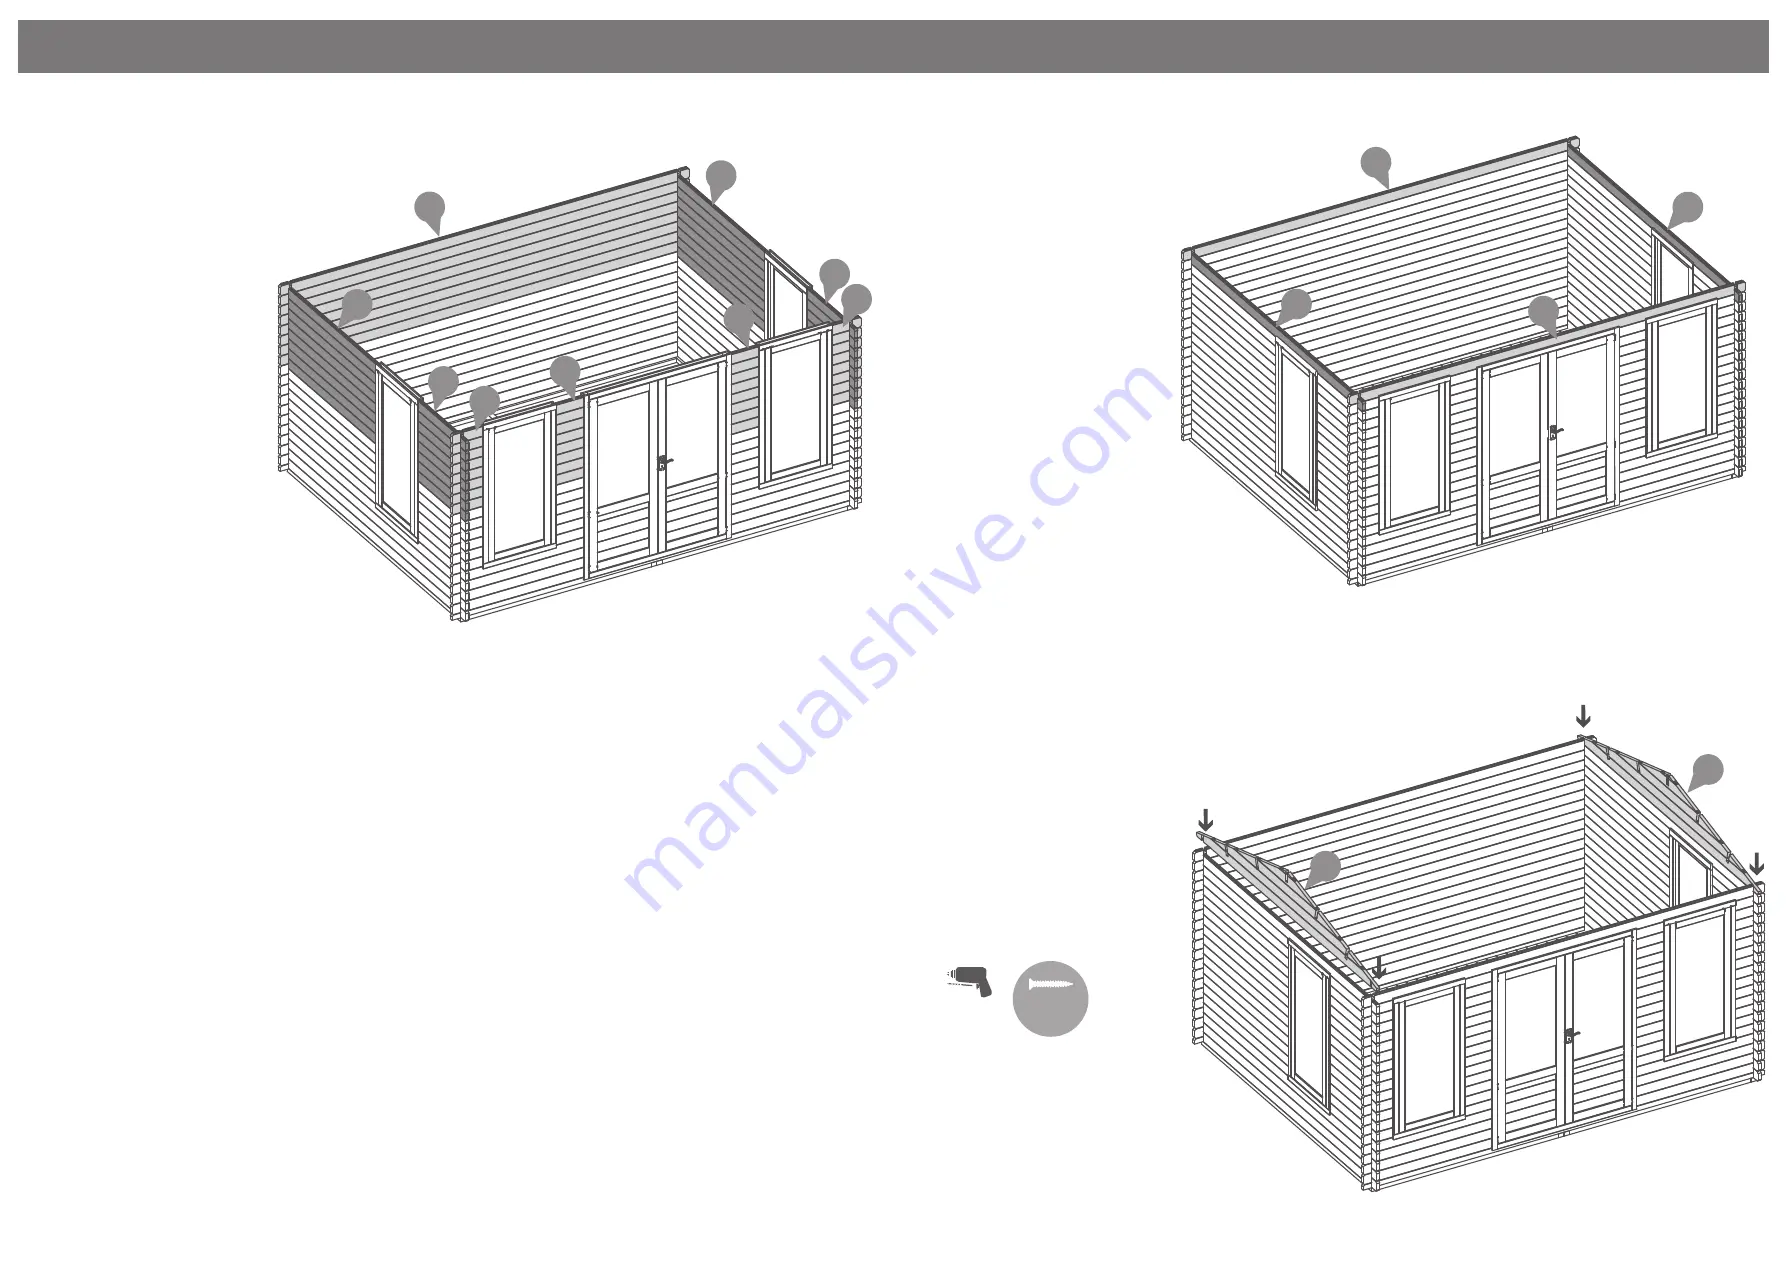
Step 9 

(See Pre-Assembly)

Parts needed - No. 6 QTY 2


  No.10 QTY 2


  No. 11 QTY 1


Following the same method

outlined in 

Pre-Assembly

, lay

the last two boards (

No. 6 & 

10

)


and the board to go above 

the door 

(No. 11) 

onto the 

assembly. 

*Ensure that the boards are

level and flush with each

other as you lay each one.

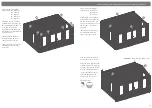
Step 8 

(See Pre-Assembly)

Parts needed - No. 8 QTY 12


No. 9 QTY 12


No. 10 QTY 6


No. 12 QTY 12


No. 13 QTY 6

Following the same method

outlined in 

Pre-Assembly

, lay

the remaining boards 

(No’s. 8, 

9, 10, 12 & 13)

 onto the 

assembly to bring the board 

level to the top of the window 

and door frames.

*Ensure that the boards are

level and flush with each

other as you lay each one.

*Doors can be hung once the 

boarding has enclosed the 

door frame.

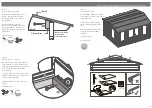
Step 10 

(See Pre-Assembly)

Parts needed - No. 3  QTY 2

Place the gable tops onto the 

assembly. Fix into position by 

screwing through the notches 

as shown in the illustration. 

*Ensure that the boards are

level and flush with each

other as you lay each one.

4x70mm Screws 

Pre drill 

hole

70mm 

screw

3

3

IMPORTANT: 

Pre-drill before fixing screws.

Summary of Contents for 0634LOG174-V4

Page 1: ...occur during excessive dry spells due to an interior moisture loss Unfortunately these processes cannot be avoided but can be helped It is suggested that the outdoor building is sprayed with water dur...

Page 2: ...120x916mm QTY 28 LB34 B 916 13 Log Board 34x120x1832mm QTY 28 LB34 B 1832 14 Roof Board 16x121x1862mm QTY 82 MB16 1862 15 Floor Board 16x121x3238mm QTY 38 MB16 3238 16 Bearer 44x58x2038mm QTY 26 F4458...

Page 3: ...rlocks at either end in a staggered pattern Before securing ensure that the boards are fitted properly in their respective tongues and grooves Nail Bag 40mm Screw x700 30mm Screw x 78 P 3 Please retai...

Page 4: ...retain product label and instructions for future reference 16 17 16 17 16 Step 2 Parts needed No 16 QTY 11 Pre drill hole 70mm screw Step 1 Parts needed No 16 QTY 2 No 17 QTY 2 Lay the bearers No s 16...

Page 5: ...Pre Assembly lay the first 6 boards No s 5 7 10 onto the starter boards to create your first level Ensure that the boards are level and flush with each other as you lay each one 4 5 4 4 5 IMPORTANT Pr...

Page 6: ...ep 6 See Pre Assembly Parts needed No 8 QTY 12 No 9 QTY 12 No 10 QTY 6 No 12 QTY 12 No 13 QTY 12 Following the same method outlined in Pre Assembly lay the next 6 boards No s 8 9 10 12 13 onto the ass...

Page 7: ...2 QTY 12 No 13 QTY 6 Following the same method outlined in Pre Assembly lay the remaining boards No s 8 9 10 12 13 onto the assembly to bring the board level to the top of the window and door frames E...

Page 8: ...o natural occurences of wood shrinkage expansion You maybe required to use the provided spacers and place a space of 2mm to ensure every roof board lines up with the truss Ensure the roof boards meet...

Page 9: ...log board on one side Continue adding the floor boards internally making sure to interlock each individual board Do NOT secure the boards until the last board has been measured and cut Following the s...

Page 10: ...nal space 23 23 Pre drill hole 30mm screw trim to fit Step 15 Parts needed No 23 QTY 6 Inside the building place the closure trim No 23 against the boarding and align with the roof as shown in the ill...

Page 11: ...s frame Ensure the angled cuts meet at the top of the apex 32x40mm Screws Pre drill hole 40mm screw Step 19 Parts needed No 22 QTY 8 Arrange the storm braces No 22 around the building internally Place...

Reviews: