13
Before the first use, go through a sanitization procedure by
scanning the specific barcode and following the instructions
on the screen (details in the maintenance section of this user
guide on page 30).
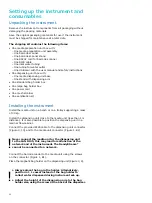
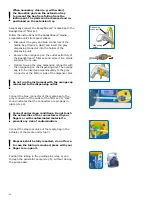
Connect the water inlet tubing to the instrument on the
connector on the left side (Figure 2, L1). Adapt the extremity
of the water inlet tubing to the deionized water faucet using
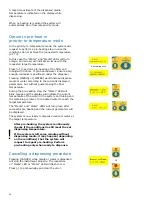
the required adaptors (standard mating CPC coupling body
for the connection to the PLCD200M8 connector on the inlet
water tubing, not provided). Alternatively, if no deionized water
production system is available in the laboratory, the water inlet
tubing can be inserted in a deionized water container. Use a tube
weight (not provided).
• If using a container, ensure that the water inlet
tubing remains in the container during dispensing,
and regularly check the level of the remaining
water to prevent the instrument from running
without water.
• Ensure the water is free of particles >200 µm that
may damage the system and reduce the lifetime
of the filter. If needed, install the provided mesh
strainer on the inlet tubing, respecting the flow
direction indicated by the arrow on the body.
Replace the strainer mesh once a year.
• Damage can occur if the system runs without
water.
• Verify that the pressure, flow rate and temperature
of the deionized water loop are within the range
of the operational conditions of the ReadyStream
®
instrument. Notably, if several instruments are
connected to the water loop, ensure the flow rate is
sufficient to allow the ReadyStream
®
media unit to
dispense at the required flow rate.
Powering the instrument ON and system
initialization
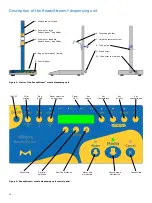
Connect the power cord to the back connector (Figure 1, B3) and
to a wall socket. The cable must be easy to unplug in the unlikely
event of an issue with the instrument.
Use the switch on the back, right side of the media preparation
unit, to power the instrument (Figure 2, R2).
The software revision is displayed, and all the LEDs are
highlighted for 5 seconds.
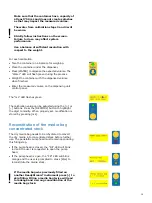
Press the ON/OFF button on the media dispensing unit to start
and initialize the instrument.
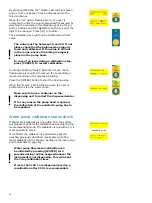
When starting the instrument, the peristaltic pump must be
closed for initialization. If not, the user will be prompted to close
the pump head, and the “Filter”, “Bag” and “Prog” LEDs will
blink in orange.
• During initialization do not attempt to open the
pump head.
• In case the instrument was not shut down properly,
the stopcock actuator (Figure 1, F3) will also turn to
the home position. Do not touch the moving part.
• In order to expand the battery lifetime of the
media unit, it is recommended to leave the main
power switch turned on and keep the instrument in
sleep mode by using the “ON/OFF” button on the
dispensing unit.
!
!
Quick connector
PLCD200M8


