3A-58 - 454 C.I.D. (7.4L) / 502 C.I.D. (8.2L)
90-823224--2 796
Removal
1. Remove valve lifters as outlined.
2. Remove crankcase front cover as outlined.
3. Remove camshaft as follows:
a. Remove timing chain and sprocket or timing
gears as outlined.
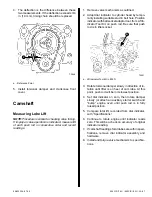
b. Install two 5/16-18 x 5 in. bolts in camshaft
bolt holes and carefully remove camshaft as
shown.
72549
Inspection
Measure camshaft bearing journals with a microme-
ter for out-of-round condition. If journals exceed .001
in. (0.025 mm) out-of-round, camshaft should be re-
placed.
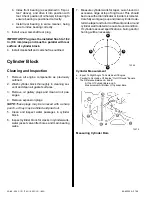
Also check camshaft for alignment with V-blocks and
dial indicator which indicates exact amount camshaft
is out of true. If out more than .002 in. (0.051 mm)
(dial indicator reading) camshaft should be replaced.
72382
Checking Camshaft Alignment
Installation
1. Install camshaft as follows:
a. Install two 5/16-18 x 5 in. bolts in camshaft
bolt holes, then lubricate camshaft journals
with engine oil and install camshaft, being
careful not to damage bearings.
b. Lubricate camshaft lobes with General Mo-
tors Cam and Lifter Prelube or equivalent.
c. Install timing chain or gears as outlined.
2. Install crankcase front cover and valve lifters as
outlined.
Camshaft Bearings
Removal
Camshaft bearings can be replaced while engine is
disassembled for overhaul or without complete dis-
assembly. To replace bearings without complete dis-
assembly, remove camshaft and crankshaft, leaving
cylinder heads attached and pistons in place. Before
removing crankshaft, fasten connecting rods against
sides of engine so that they will not interfere while re-
placing camshaft bearings.
1. With camshaft and crankshaft removed, drive
camshaft rear plug from cylinder block.
NOTE:This procedure is based on removal of bear-
ings from center of engine first, thus requiring a mini-
mum amount of turns to remove all bearings.


