COPYRIGHT © 2000 MERIT INDUSTRIES, INC.
PM0075-03 Rev C
Scorpion™ DX Manual
5
position it over the safety base hook. Place the
target section, HINGE END ONLY, on the floor.
NOTE: DO NOT RESET THE TARGET SECTION
ON THE HOOD END. REST IT ON THE HINGE
END ONLY. FAILURE TO DO SO COULD DAM-
AGE CABLES OR OVERHEAD DISPLAY.
Reassembly of the Target Section to
the Base Section
1.
The reassembly of the target section is
very similar to that of disassembly. Position the
target section so that it is resting on the wood
strip located above the Velcro at the bottom of
the base. Align the hinges of the target section
with the base section hinge pins. Install the hinge
pins, locking them into position. Refer to
Figure 3.
NOTE: YOU MAY HAVE TO LIFT THE TARGET
SECTION SLIGHTLY TO ALLOW THE HINGE
PINS TO MOVE FREELY INTO THE LOCKED
POSITION.
2. Open the control panel door.
3. Make sure that the hinge pins are in the locked
position. Next swing the target section up into its
upright position.
4. Very carefully open the target section front door.
Place the large black assembly knobs and wash-
ers into the hole that they were removed from dur-
ing disassembly. (Refer to “Floor Model Installa-
tion,” Step 3.)
5. Locate the overhead light power cable in the con-
trol panel section. Feed the cable down into the
base and reconnect it to the power supply. Also
reconnect the main harness or harnesses that in-
terconnect between the sections.
6. Close all doors. Reposition the game and connect
the safety chain to the wall. Plug the power cord
into a wall outlet and turn on the power.
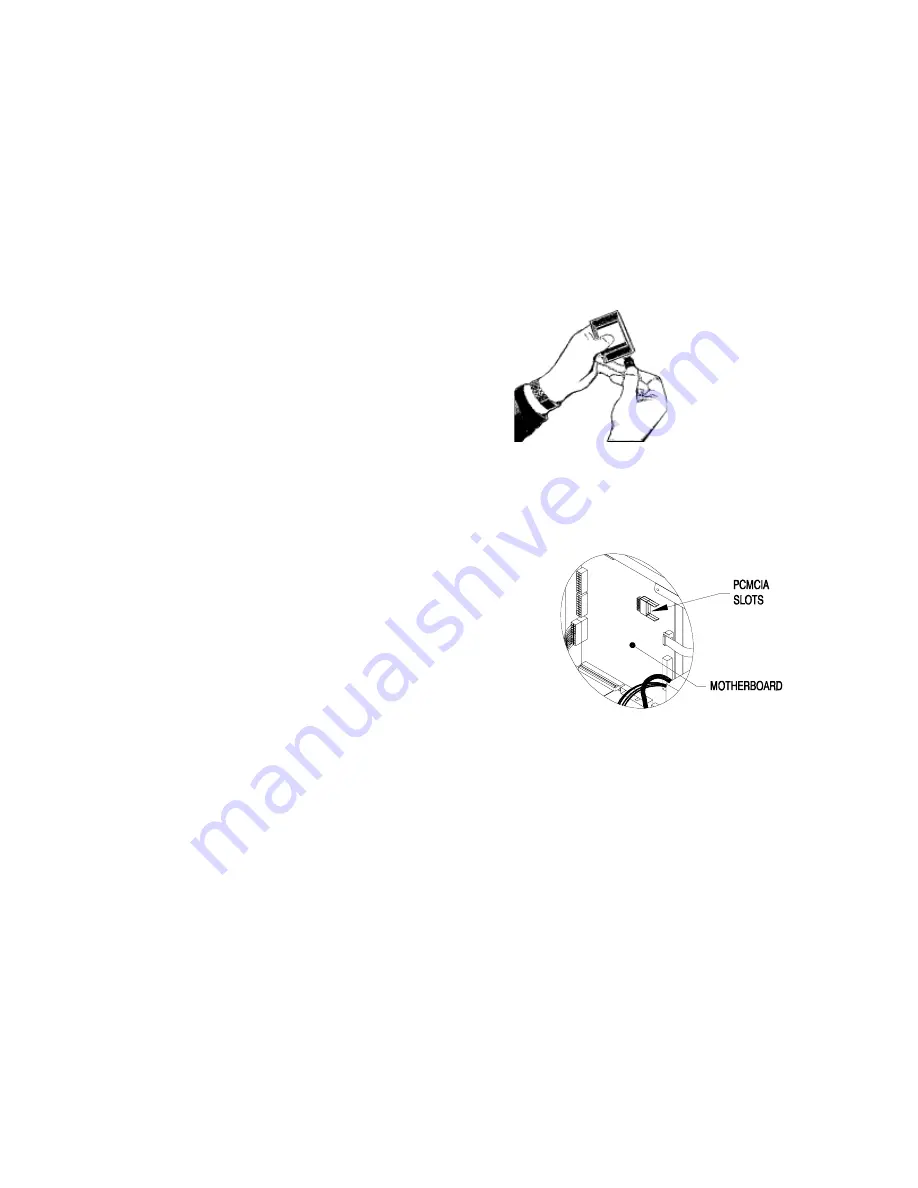
Installing a PCMCIA Modem
1. Turn off the game.
2. Open the control panel door and locate the
PCMCIA slots on the CPU board.
3. Plug the modem phone line adapter cord
(included with the modem) into the modem. See
Figure 4.
4. Install the modem into the rear PCMCIA slot (to
allow the front slot to be used for PC-card data
transfer). See Figure 5.
5. Remove the strain relief plate and run the phone
line through the hole in the communication board
plate and connect it to the phone jack (you may
need to use an adapter to extend the phone line
that comes with the modem). See Figure 6. Re-
place the strain relief over the hole and tighten the
thumbnuts to secure the modem line.
6. Turn on the game.
Figure 5
Install the modem in the
rear PCMCIA slot
Figure 4
Plug the modem
phone cord into
the modem


