Section 3
Installing Replacement Parts
MM-34
Page 16
Revised 11-02
NOTE:
When replacing air dryer components, use
only Meritor WABCO replacement parts.
The exploded view of the air dryer in Section 1
shows the location of the various air dryer
components.
Component Replacement
WARNING
To prevent serious eye injury, always wear safe
eye protection when you perform vehicle
maintenance or service.
Remove all pressure from the air system before
you disconnect any component, including the
desiccant cartridge. Pressurized air can cause
serious personal injury.
Park the vehicle on a level surface. Block the
wheels to prevent the vehicle from moving.
Support the vehicle with safety stands. Do not
work under a vehicle supported only by jacks.
Jacks can slip and fall over. Serious personal injury
can result.
Desiccant Cartridge
1.
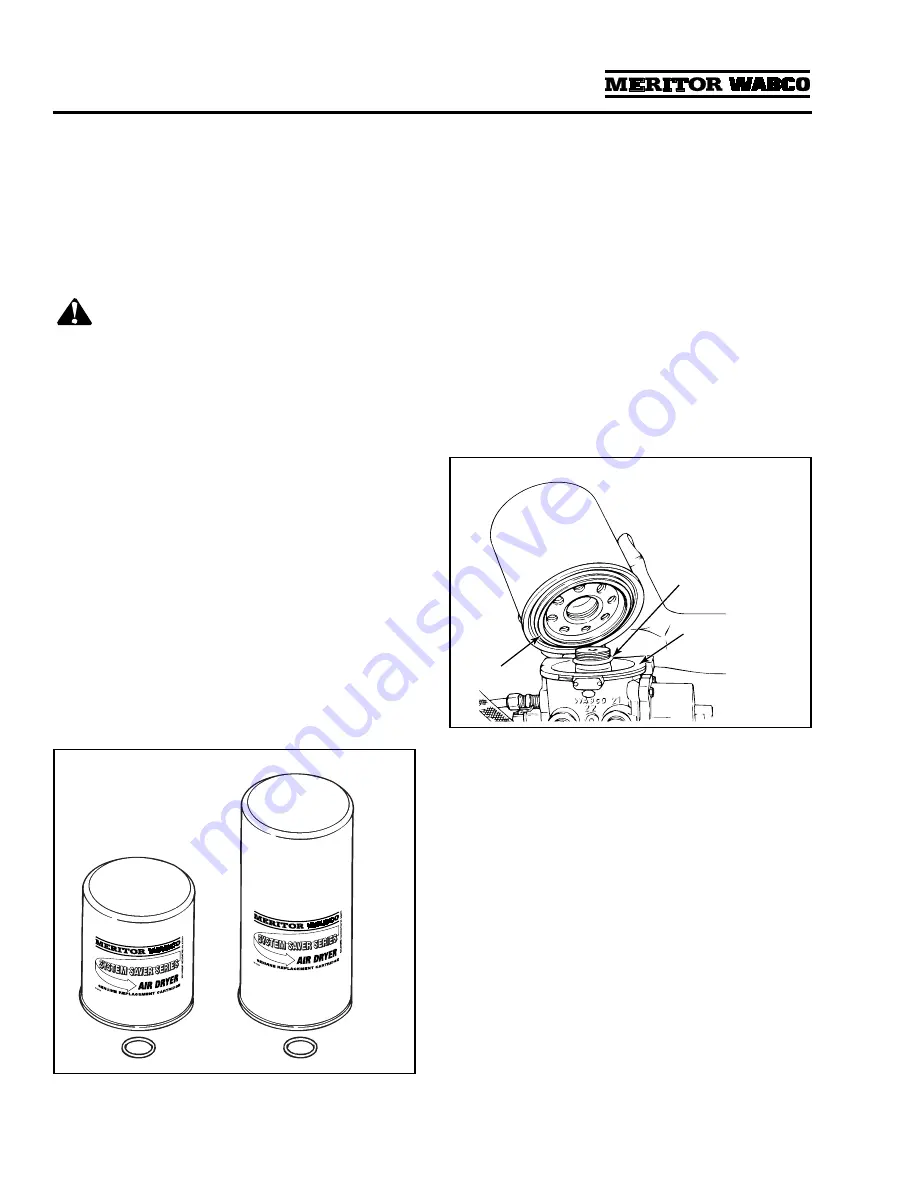
Replacement kit contains one cartridge and
one O-ring.
Figure 3.1
.
NOTE:
Replacement cartridges are marked
“System Saver Series.”
2.
Loosen and remove the old cartridge. Use
strap wrench if necessary.
3.
Remove and discard O-ring from dryer base.
4.
Inspect and clean seal seat. Repair any minor
damage.
NOTE:
If seats are damaged so badly that a
tight seal cannot be maintained, replace the air
dryer.
5.
Lubricate and install new O-ring on stem.
6.
Lubricate cartridge seal.
7.
Thread replacement cartridge onto the base
until the seal touches the base. Then, tighten
the cartridge
ONE
addition turn.
DO NOT
OVERTIGHTEN
.
Figure 3.2
.
Figure 3.1
1002163b
1800
1200
Figure 3.2
1002164a
SEAL
SEAL SEAT
O-RING


