75
Meritor
Wheel end assembly
3
Part 3 - Traditional wheel end with 3-4 planets
Spindle fitted with screws
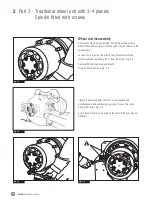
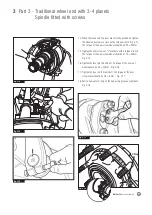
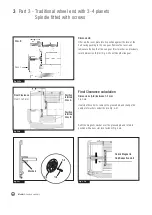
14. When the clevis and the lever are correctly positioned, tighten
the wheel and screws in cross with a torque wrench. Fig. 3.14
The torque of the new screw wheel should be 225 ± 20Nm.
15. Tighten the new screws of "L" brackets with a torque wrench.
The torque of the new screw wheel should be 175 ± 25Nm.
Fig. 3.15
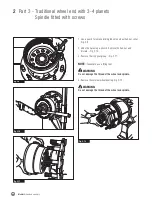
16. Tighten the lever pinch bolt/nut. The torque of the new nut
wheel should be 55 ± 75Nm. - Fig. 3.16
17. Tighten the lever on the camshaft. The torque of the new
screw wheel should be 48 ± 8 Nm. - Fig. 3.17
18. Refit a new outer O-ring on the hub using grease as lubricant.
Fig. 3.18
Fig. 3.14
Fig. 3.15
Fig. 3.16
Fig. 3.17
Fig. 3.18
O Ring
Summary of Contents for MM-0164
Page 20: ...20 Meritor Wheel end assembly ...
Page 30: ...30 Meritor Wheel end assembly ...
Page 38: ...38 Meritor Wheel end assembly ...
Page 54: ...54 Meritor Wheel end assembly ...
Page 62: ...62 Meritor Wheel end assembly ...
Page 63: ...63 Meritor Wheel end assembly pg 2 Part 3 Wheel end disassembly 64 Wheel end disassembly ...
Page 82: ...82 Meritor Wheel end assembly ...
Page 85: ...85 Meritor Wheel end assembly 4 Troubleshooting and Service Tools Mounting tool ...

