Locking the Vehicle Lap-Shoulder Belt, Cont.
Page 26
INSTALLATION
1. After buckling the vehicle seat
belt, engage the retractor as
specified in the vehicle instruc-
tion manual. Usually this is
done by slowly pulling the
shoulder portion all the way
out (Fig. A) and then feeding it
back into the retractor. How-
ever, there may be alternate
methods in some vehicles
(Read your vehicle manual).
2. Slowly pull all of the webbing
out of the retractor (Figure A).
3. Feed all of the excess webbing
back into the retractor (Figure
B).
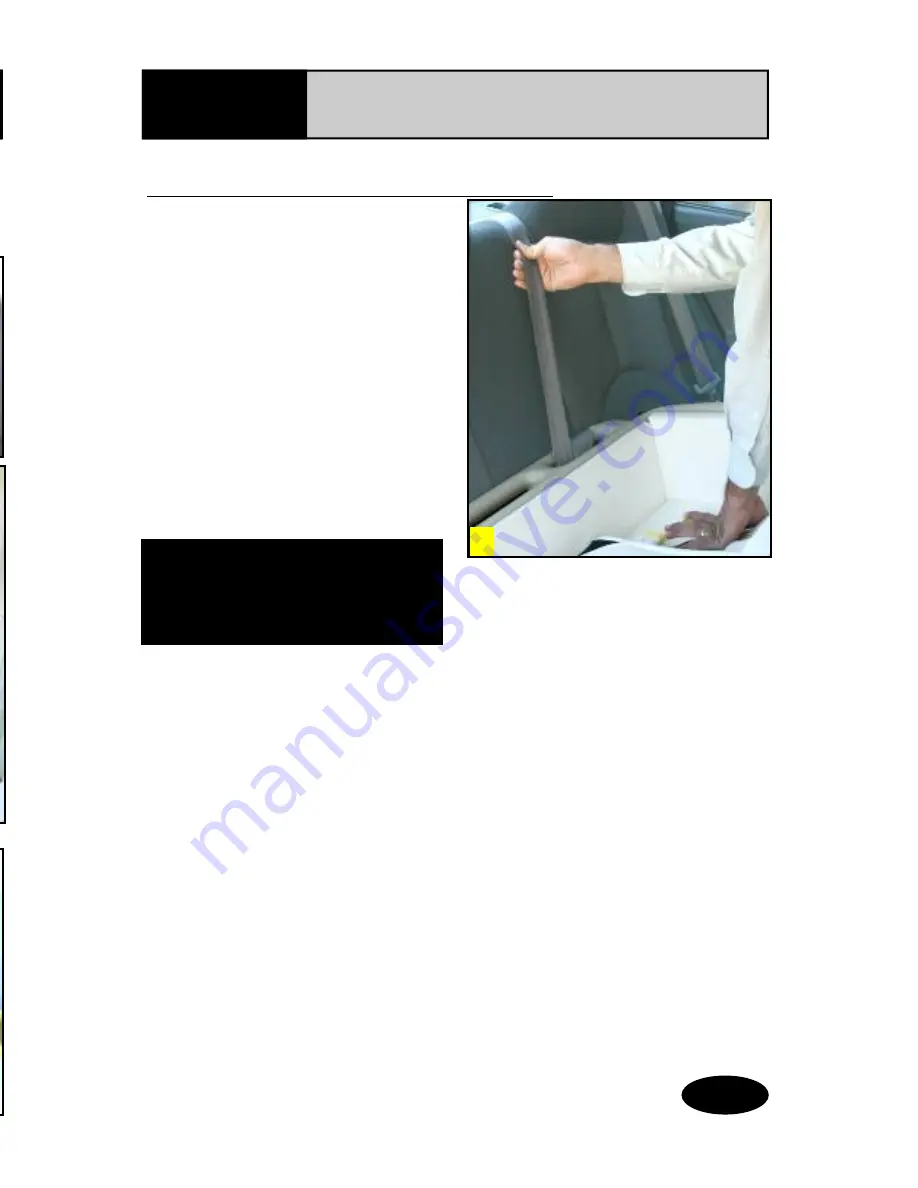
4. While pressing down with your
hand, remove slack from the lap
belt portion of the lap-shoulder
belt by pulling up on the lower
end of the shoulder portion
(Fig. C).
Option 2—Switchable Retractor
A
B
C
•
If your owner’s manual indicates that the vehicle lap-shoulder belt is
equipped with a switchable, then lock the car bed according to the fol-
lowing steps:
Locking the Vehicle Lap-Shoulder Belt, Cont.
INSTALLATION
Page 27
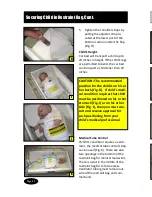
5. While still pressing down with
your hand, feed the excess web-
bing into the retractor (Fig. D).
6. Repeat Steps 4 and 5 until the
car bed is stable as described in
the section “Checking the Sta-
bility of the Car bed” on the
bottom of Page 31. The shoul-
der belt must be locked in
place, not allowing any webbing
to be pulled from the retractor.
Option 2—Switchable Retractor, Continued
D
NOTE: The car bed must be
installed using 2 vehicle seat
belts.


