27
What you can do with the multi-function push-button
‚
The Merten
multi-function push-button with the room temperature
control unit
(called
"push-button"
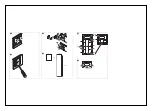
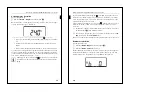
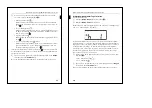
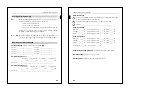
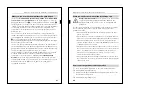
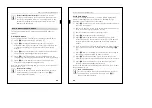
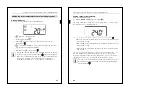
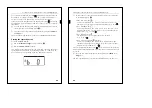
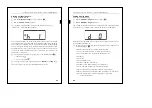
in the following) gives you four (2-
gang push-button, picture
!
) or eight (4-gang push-button, picture
"
)
operating surfaces. The keys can be set to perform various functions, for
example, switching lighting on and off, dimming, controlling the blinds
or retrieving stored scenes. Not only that, but the integrated room
temperature control unit allows you to control temperature in various
different ways.
The control unit can be used for heating and cooling with infinitely
variable INSTABUS positioning drives, or to control switching actuators.
It is equipped with a display, the cover of which is a rocker key (Figure
?
). You can make the most important settings with this.
You can individually identify the keys with the labelling field in the middle.
Each key has its own status LED.
The devices can signal danger and alarm situations with a bell symbol;
the 4-fold push-button even has an integrated buzzer. In addition, the 4-
gang push-button has an integrated IR receiver so that the key functions
can also be triggered using Merten IR remote controls.
The push-button is connected to the EIB by attaching it onto the flush-
mounted module for the multi-function push-button with room
temperature control unit (art. no. 623299, called
"flush-mounted
module"
in the following). Parameterisation is done by the electrical
installer using the EIB tool software (ETS). The stored key functions, the
behaviour of the status LEDs and the buzzer, for example, are
configured in this way.
For the Electrician
What you can do with the multi-function push-button
28
What you need to know about the installation site
¼
Danger! Electric current!
All work carried out on the unit may
only be performed by qualified electricians. Observe the
regulations valid in the country of use, as well as valid EIB
guidelines!
In order for the integrated room temperature control unit to work best,
you should keep in mind the following when selecting the right
installation location:
• Mount the push-button inside the room and opposite the heat
source, if possible.
• If possible, do not mount the push-button on external walls or in
places where it is exposed to draught through windows and doors.
• Mount the push-button in the room in such a way that air can
circulate around it easily, in other words,
not
between shelf units
or behind curtains, for example.
• External sources of heat have a negative effect on the accuracy of
the control unit. Ensure that no external sources of heat reach the
device, for example from direct sunlight or the proximity of
televisions, fires, heating pipes, dimmers, sockets or other
electrical consumers that emit heat.
• Mount the push-button at a height of 110-160 cm. This is where
the temperature of the room air is best recorded, and the display
can be easily read.
1
Press the programming button on the flush-mounted module.
The red programming LED lights up.
2
Load down the physical address and application from the ETS into
the Flush-mounted module.
The red programming LED goes out.
What you need to know about the installation site
How to put the push-button into operation

