37
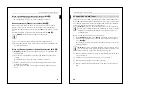
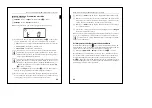
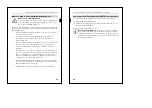
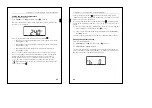
How to mount the push-button
Install the push-button without the protection against
dismantling (Figure
$
)
1
Mount the MF push-button with RTCU onto the FM module.
The retaining brackets
A
must lock into place in the FM module.
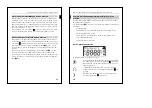
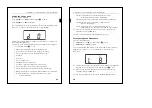
Installing the protection against dismantling (accessory)
(Figure
%
)
If you install the MF push-button with RTCU in the normal way (not flush-
mounted), you have the option of securing it against theft by adding
protection against dismantling. The protection against dismantling (art.
no. 623090) is available as an accessory.
A drilling template is printed on the packaging (
Figure
)
.
|
Note:
Align the drilling template horizontally.
1
Drill four holes into the wall for the protection against dismantling.
2
Affix the protection against dismantling to the wall using the screws
and dowels provided.
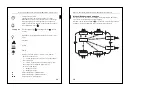
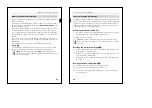
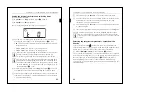
Mounting the push-button with the protection against
dismantling (accessory) (Figure
&
)
1
Unscrew the
middle
screws
B
from the upper and lower front
panel.
2
Mount the MF push-button with RTCU onto the FM module and the
protection against dismantling.
The retaining brackets
A
must lock into place in the FM module.
3
Screw the middle screws
B
back onto the front panels through the
protection against dismantling.
The MF push-button with RTCU is now secured against easy
removal.
38
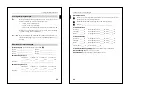
How to label the push-button
Laser-printer labelling sheets (art. no. 623091) are available for the MF
push-button with RTCU, for individual labelling with texts, logos or
symbols. You can use the Merten labelling software (art. no. 615022) to
label these sheets in a professional way.
|
Note:
When installing the film, ensure that surfaces are clean,
and only pick up the glass at the edges to prevent fingerprints
and dust on the rear side of the glass from remaining visible on
the film.
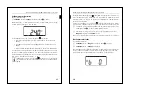
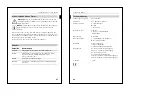
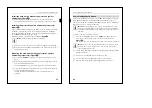
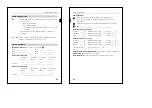
To replace the film, proceed as follows:
1
Unscrew both
outer
screws on the
upper
front panel by about
3 mm (do not remove the screws or lift off the front panel)
(
Figure
(
).
The key for the 2 mm hexagon socket screws is included on delivery.
|
Note:
There are two springs underneath the front panel. If you
unscrew the screws completely, or remove the front panel,
these springs may be lost.
2
Lift the upper front panel slightly and carefully pull out the glass plate
towards the front.
3
Remove the existing film and insert the new film.
4
If necessary, clean the glass plate before re-inserting it.
5
Affix the upper front panel again by tightening the screws.
For the user
How to label the push-button

