User Guide Version 2.60 I-Button
Revision 21_Sep_2015
11
Getting
Started
SECTION 4: Getting Started / Set-Up
Power-On
Attach factory supplied electrical cable to the outlet on the rear panel.
Plug cable into a grounded electrical source.
Turn on SQA-V by pressing the main switch located on the rear panel. The
Power
indicator will illuminate and the following screen will be displayed.
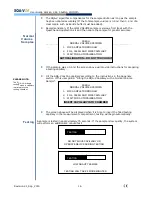
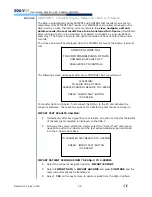
SQA-V VERSION 2.60
STANDBY POSITION
PRESS ON/OFF KEY
TO ACTIVATE THE UNIT
Auto-Calibration and Self-Test
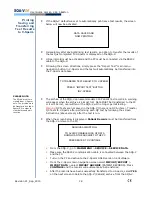
SQA-V VERSION 2.60
PLEASE WAIT
SYSTEM STABILIZATION AND
AUTOCALIBRATION
NOTE:
Do not insert a
capillary/slide into the
device during the
stabilization process.
Do not use any of the
keyboard functions
during stabilization.
Press
ON/OFF
key on the keypad and system stabilization and auto-calibration
will begin.
This process takes 5-7 minutes.
When the system stabilization and auto-calibration processes are complete, a
series of tests will be run.
Do not insert a capillary/slide into the device or use any of the keyboard
functions until instructed to do so by the system.
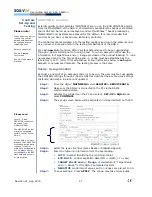
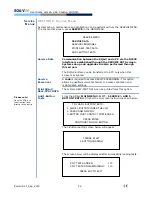
The MAIN menu will appear when the self-test process is complete. The
SQA-V is now ready for use.
MAIN MENU
TEST NEW PATIENT
RUN CONTROLS
SERVICE

