Revision 21_Sep_2015
36
User Guide Version 2.60 I-button WHO 5th
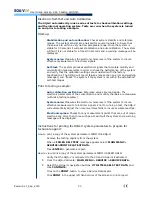
APPENDIX 5: Cleaning the Capillary / Slide
Compartments
When to clean:
DAILY (step 1), WEEKLY (step 2)
Or if SELF-TEST or any other failure occurs
Or if System becomes contaminated with semen
Cleaning kit components:
Long cleaning brush
Blue Dot
capillaries (single use)
Sponge-tipped drying capillaries
Cleaning fluid (single drop dispenser)
CLEANING:
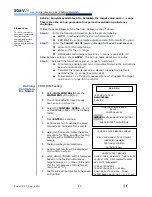
STEP 1
(DAILY)
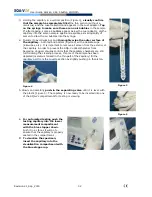
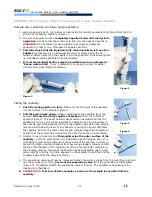
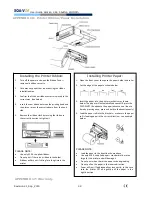
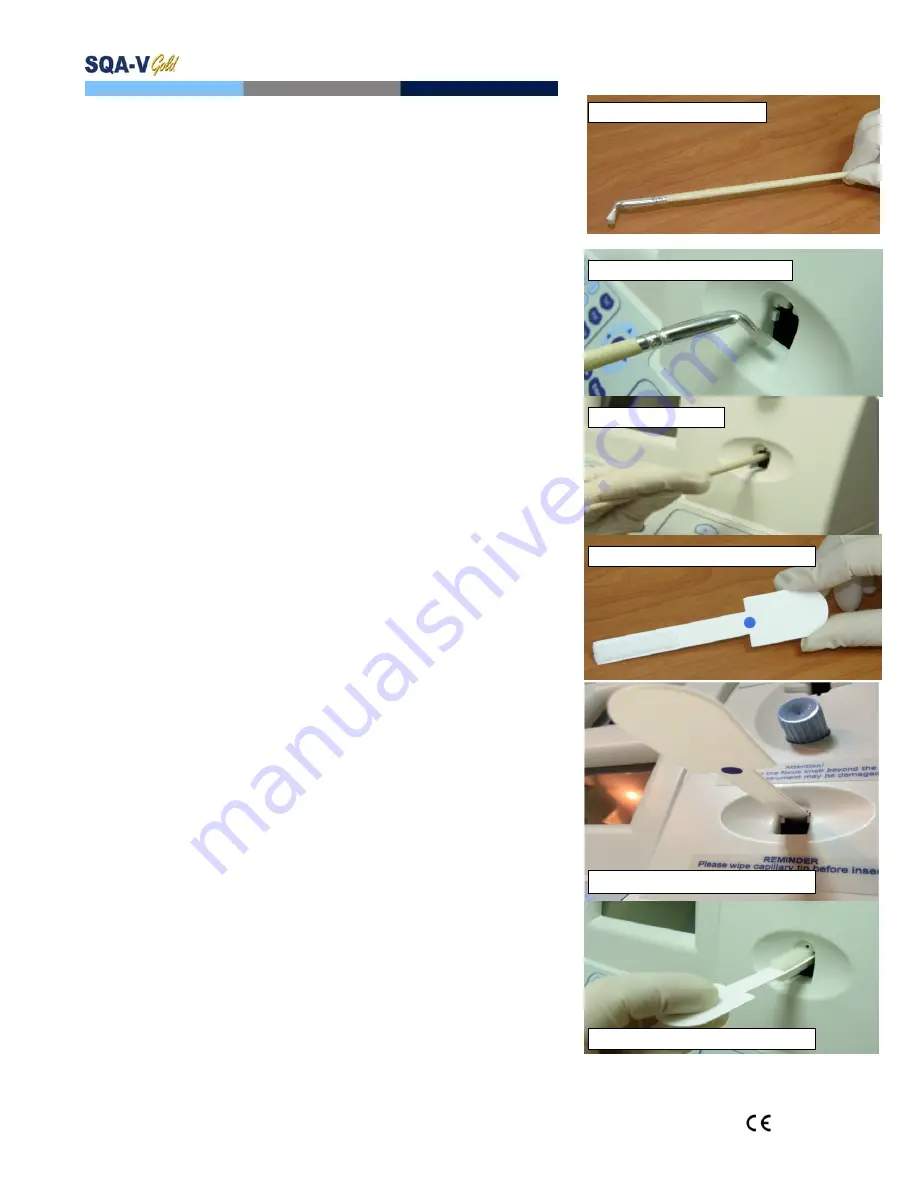
Insert the long brush (bristle side down) into the
upper portion of the lower chamber of the SQA in
the same manner as a testing capillary (Fig 1 and 2).
Pull the brush out, applying downward pressure to
sweep or „dust off‟ the optics (you will feel a „shelf‟ in
the back/top section of the chamber) – (Fig 2 and 3)
Monitor the system’s “REF. 2” parameter. It
should be between 2800 and 3200 mV if possible.
CLEANING:
STEP 2
(WEEKLY)
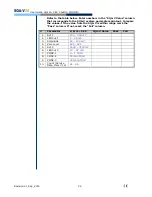
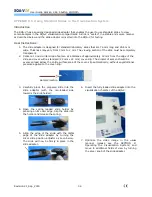
1. Use a
BLUE DOT
fibrous material capillary (fig 4)
Moisten with only
ONE
drop of cleaning fluid.
Shake off excess fluid.
Insert into the measurement compartment with blue
dot and fibrous material facing
DOWN ONLY
(fig 5)
Move the cleaning capillary in and out three times.
2.
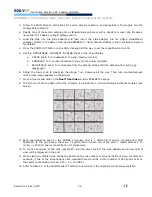
Use a sponge-tipped drying capillary into the testing
chamber and leave it for 10 – 15 seconds (fig 6).
NOTE: Do not move this drying capillary in and out.
Fig. 1: Long cleaning brush
Fig. 2: Cleaning lower chamber
Fig. 3: “Dusting off”
Fig. 4:
BLUE DOT
cleaning capillary
Fig. 5: Insertion-
BLUE DOT
DOWN
Fig. 6: Insertion of drying capillary

