User Guide Version 3.60 I-button
Release: 12_APR_2016
10
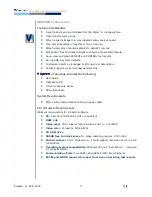
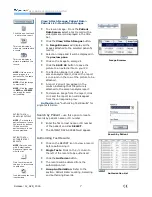
Click
CONTINUE
on the opened V-Sperm Import SQA-V
Archive screen.
Select
YES
or
NO
to delete the SQA-V archive once the
tests have been imported to V-Sperm.
Exporting the SQA-V data:
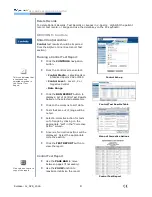
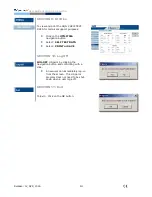
The Export data option allows the user to Export the Patient data
archive and the Controls archive to an external file (Excel format)
on the PC:
Click the
IMPORT/EXPORT
navigation button of the
V-Sperm.
Select
EXPORT DATA.
Select
EXPORT ARCHIVE
(Patient Data) or
EXPORT
CONTROLS.
Enter the path and file name; then click
SAVE
.
SECTION 8: Set-Up
Click the
Set-up
button to select the system
defaults for the:
V-Sperm:
Authorized Users
Report (Test Parameters, Normal
Ranges, Testing Facility and
Language)
Ports
Auto Export
SQA-V
:
SQA-V Defaults
V-Sperm Set-Up
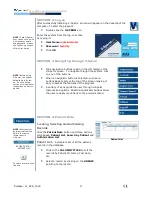
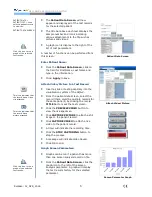
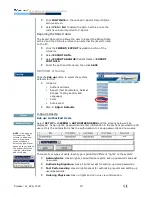
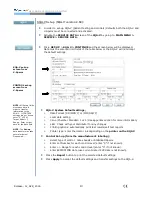
Set-up: Authorized Users
Select
SET UP > V-SPERM > AUTHORIZED USERS
and the screens below will be
displayed. Assign rights, passwords and enter information in the sections provided to add
users. Only the administrator has the authorization to set-up passwords and new users.
NOTE
: Click an open
cell under the "Title"
column to add a new
user. A drop-down
menu will appear.
Select the type of user
based on their rights to
the system. Enter the
required information
and click Apply.
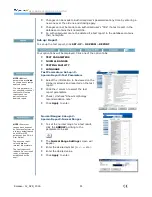
There are four types of users. Each type is permitted different "rights" to the system:
Administrator
: Has all rights, can authorize reports, set-up passwords and add
new users.
Authorizing Signature
: Has all rights except for setting-up users/passwords.
Test Performed By
: Has all rights except for authorizing reports and setting-up
users/passwords.
Ordering Physician
: Has no rights and can only view information.

