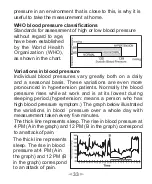
For the DIA, it means that when taking your blood pressure,
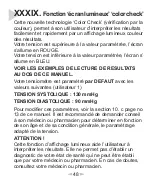
if your DIA is above 90 mmHg, lower part of the screen will
turn RED; if your DIA is below 90 mmHg, then the lower
part of the screen will turn BLUE;
If you want to modify this setting, we recommend you to
check with your doctor to define your own settings based
on your age, general health condition, etc….
To modify the settings of USER 1:
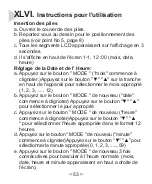
a. Follow all the steps on paragraph B above (Setting date
and Hour) TILL POINT d. If you already set the time and
date, simply press 5 times in a row the M (MODE) key.
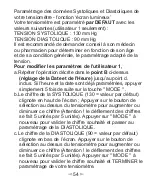
b. The SYSTOLIC figure is now flashing on the upper part
of screen (130 = factory setting) ; Press the selection key
"▲" or "▼" on the side of the unit to adjust up or down
this figure (please note that the adjustment is done by
+/-5 mmHg each time you press the "▲" or "▼" key).
c. Press the "M (MODE)" key to confirm setting and go to
the setting of the DIASTOLIC.
d. The DIASTOLIC figure is now flashing on the lower part
of screen (90 = factory setting) ; Press the selection key
"▲" or "▼" on the side of the unit to adjust up or down
this figure (Please note that the adjustment is done by
+/-5 mmHg each time you press the "▲" or "▼" key).
e. Press the "M (MODE)" key to confirm and complete the
setting of your Blood pressure monitor. The screen now
displays the time and date and the current user number.
IMPORTANT ! FIRST SETTING OF THE SYS and DIA
FOR USER 2 and 3 of your Blood pressure monitor.
39


