40
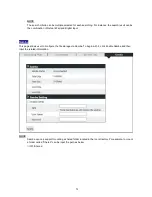
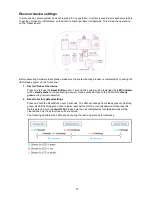
Step 2: Configure Media Type
On the same web page, configure the Media Type. For the following example, the system is
configured to capture 1 picture before (pre-alarm) the event and 2 pictures for the event and
after (post-alarm). For video clip, both pre- and post-alarm are configured for 8 seconds video
record.
Click on “Apply” to save the email server and media settings.
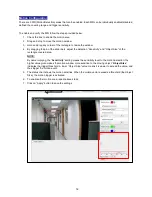
Step 3: Configure Event List
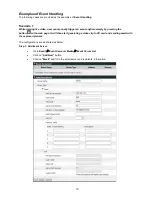
On Even
t List page, click on “Add New” button.
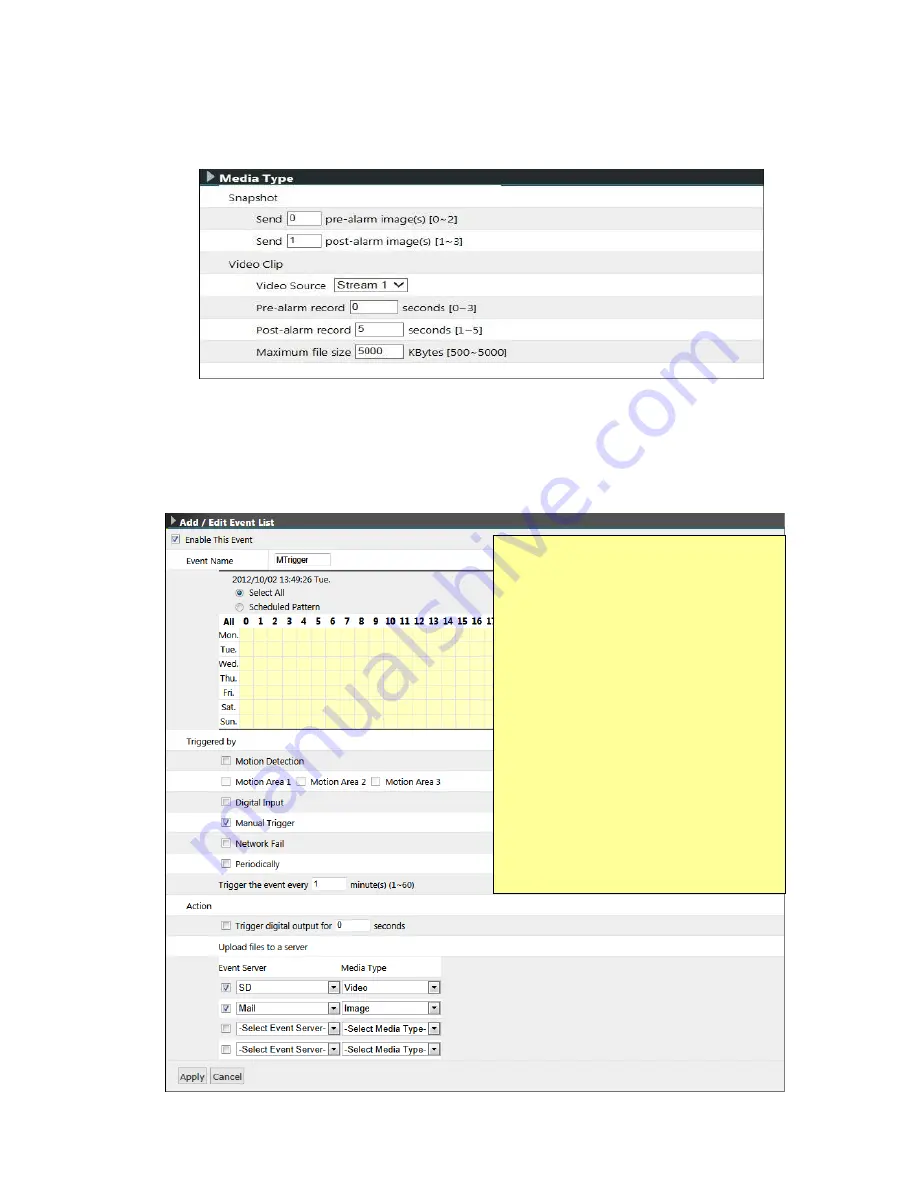
Enable and configure this event
Click on “Apply” to save the settings of this page.
a
b
c
d
e
f
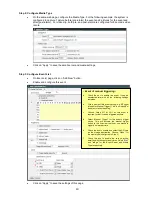
- Event of manual triggering -
a.
Check the box to enable this event. It can be
deselected later with all the following settings
remained.
b.
Give a name of this event setting; e.g. MTrigger
(stands for Manual Trigger). This is an identity of
an object of event handling.
c.
Choose “Select All” for 24/7, as this event is
required for that it can be triggered anytime.
d.
Select “Manual Trigger” for this event’s trigger
source. This will activate the manual trigger
button in the live view that user can manually
trigger an alarm anytime
.
e.
Check the box to enable and select the SD card
as the storage destination. Choose “Video” for
the media type (configured in Step 2).
f.
Check the box to enable the second action;
emailing with the captured pictures. Select
“Mail”
and “image” for the Event Server and Media
Type respectively.


