12
3. Start Data Logging
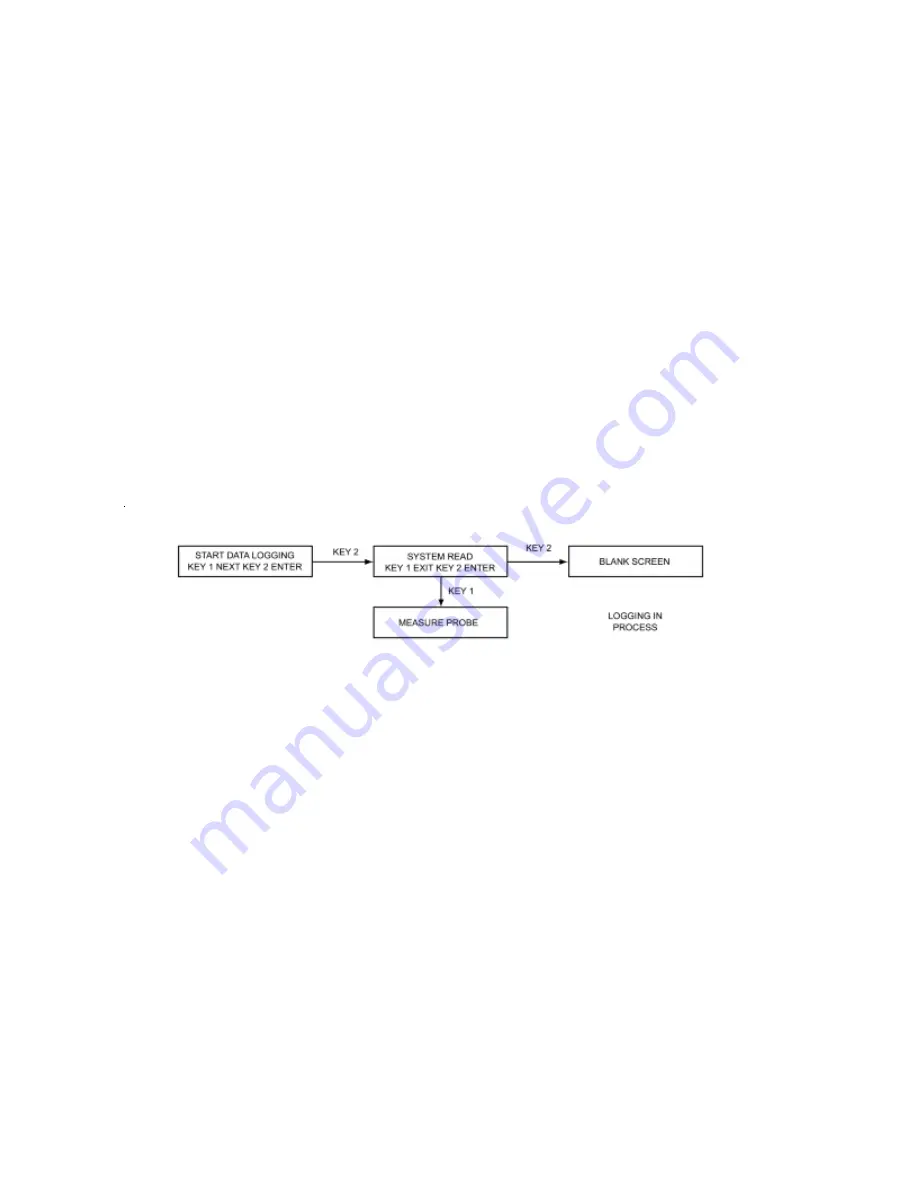
This is the set of commands that starts the logging process:
The submenu is entered from the “START DATA LOGGING” main menu function screen, using KEY
2. The first submenu screen is the “SYSTEM READY” screen, from which KEY 2 will start the logging
process and shut down the screen for power conservation. If, for any reason, the user does not wish to
commence logging, KEY 1 will allow escape to the “MEASURE PROBE” screen of the main menu.
Once logging is activated, it will continue until the user activates the system shutdown routine, or the
batteries discharge. In either event, all data collected to this point will be retained, but no additional data
will be collected. Entering a new probe ID will also stop the logging process and eliminate all existing
probe data from the memory; prior to entering new probe ID, ensure that all useful data is
downloaded.
Should logging continue in an uninterrupted fashion until the memory capacity of the unit is full, additional
data will sequentially overwrite the initial data points stored in memory.
The user should always set a download schedule of sufficient frequency so that no more than
3,100 readings are taken between download operations.
Note: Even at the highest frequency (1 per hour), downloading can be scheduled at
intervals as great as 129 without data corruption by overwriting.
now required to access the “PROBE ID” function and reset/correct the probe ID, the element ID, and
the reading frequency prior to commencing with the data logging process.
Upon entry of the probe element ID, the screen will automatically change to the data collection rate
screen. This allows the user to select the frequency with which the probe should be read. This can be
set in hourly increments from as high as once per hour to as low as once every 2,475 hours. The reading
frequency is set on the screen as days (two digits) and hours (two digits). The default reading is 1 per
hour. Each digit is selected by a KEY 1 scroll, and individually entered with KEY 2. Once the last hour
digit is entered, the next screen will be displayed which shows the reading frequency as entered, which
can then be accepted (KEY 2) or rejected (KEY 1). If accepted, the screen will revert to the “MEA-
SURE PROBE” function screen, and the user can proceed to the “START DATA LOGGING” func-
tion. If rejected, the screen will also revert to the “MEASURE PROBE” function screen, but the user is
now required to access the “PROBE ID” function and reset/correct the probe ID, the element ID, and
the reading frequency prior to commencing with the data logging process.


