8
HKS 230 | Version 3.06
Machine Description
6 Machine Description
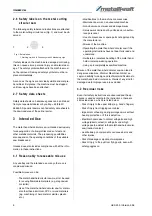
6.1 Illustrations
Figures in this operation manual serve to provide a basic under-
standing and may differ from the actual design.
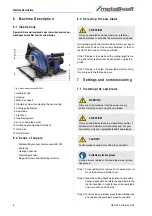
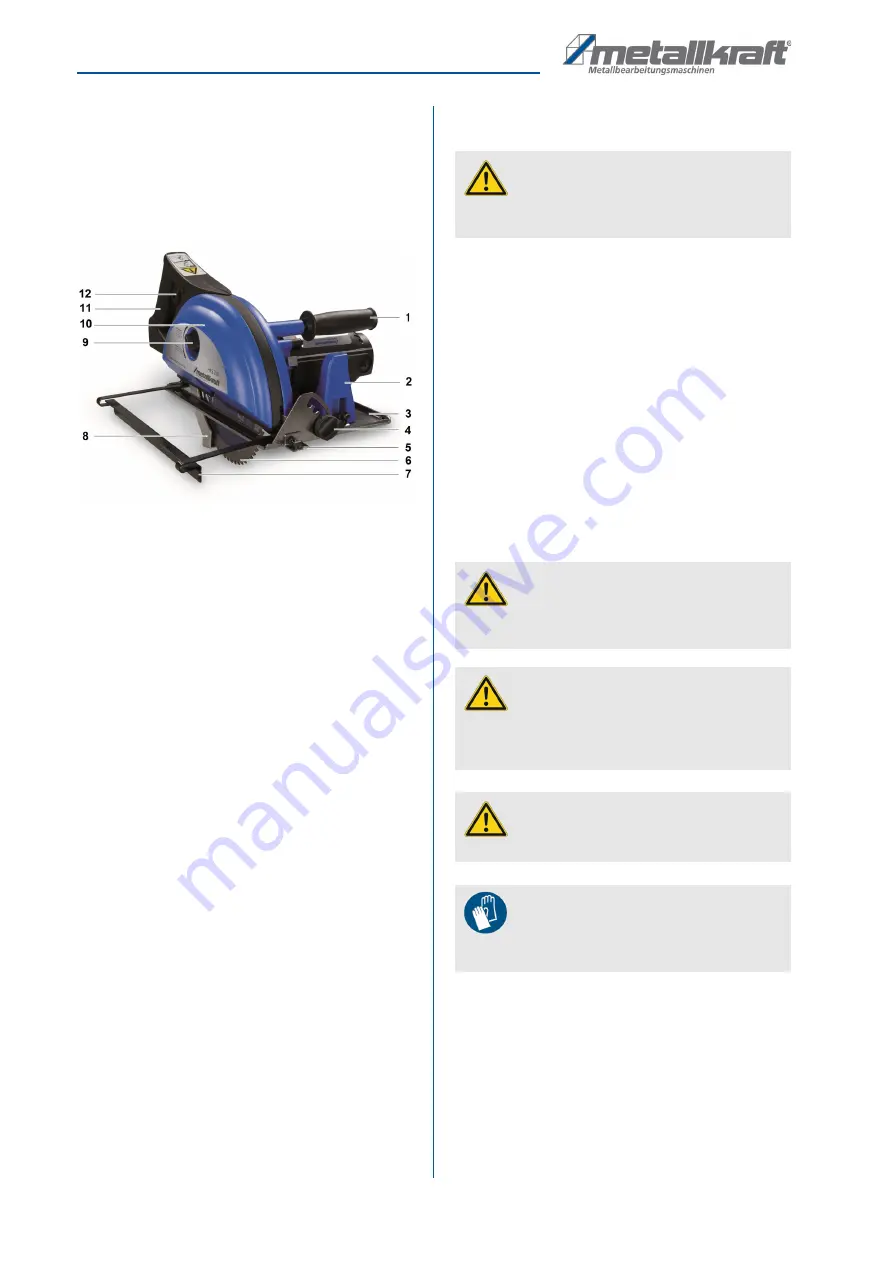
Fig. 3: Machine description HKS 230
1 Handle at side
2 Housing
3 Machine support
4 Clamping screw for adjusting the bevel angle
5 Cutting guide display
6 Saw blade
7 Rip fence
8 Saw blade guard
9 Lock on saw blade cover
10 Cutting depth adjustment (hidden)
11 Hand grip
12 On/off switch
6.2 Scope of supply
- Metal-cutting manual circular saw HKS 230
- Rip fence
- Hexagon spanner
- Operating manual
- Bag with screws and fastening material
6.3 Selecting the saw blade
During sawing with the metal-cutting circular saw, pay at-
tention to the choice of the correct saw blade, or the cor-
rect tooth form and set of the saw blade.
If the TPI value is too small and the cutting length is too
long, the cut material cannot be easily taken up by the
gullet.
If the TPI value is too high, the saw teeth starts to chop;
this can lead to teeth breaking out.
7 Settings and commissioning
7.1 Installing the saw blade
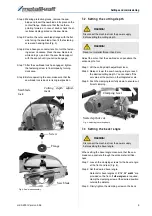
Step 1: For assembly (also removal) it is necessary to re-
move the outer saw blade cover.
Step 2: Open the cutting depth adjustment clamp with a
hexagon spanner and rotate the saw blade to the
top limit position in order to reveal the saw blade
screw connection at the side.
Step 3: To remove a saw blade, press the saw blade lock
and release the saw blade screw connection.
ATTENTION!
Only use saw blades whose maximum rotational
speed matches or exceeds the maximum saw speed.
WARNING!
Disconnect the machine from the power supply
before installing or removing the saw blade
ATTENTION!
Only use saw blades that are permissible in terms of
dimension and maximum rotational speed. For your
own safety, only use original Metallkraft saw blades.
CAUTION!
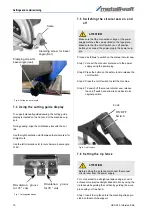
Avoid injuries caused by touching the saw teeth.
Suitable protective gloves
During all work related to the saw blade, wear protec-
tive gloves.

