Settings and commissioning
HKS 320 | Version 1.04
13
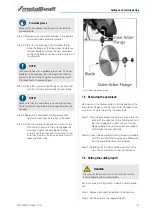
Step 1: Remove all accumulated residue in the guards
and around the assembly mandrel.
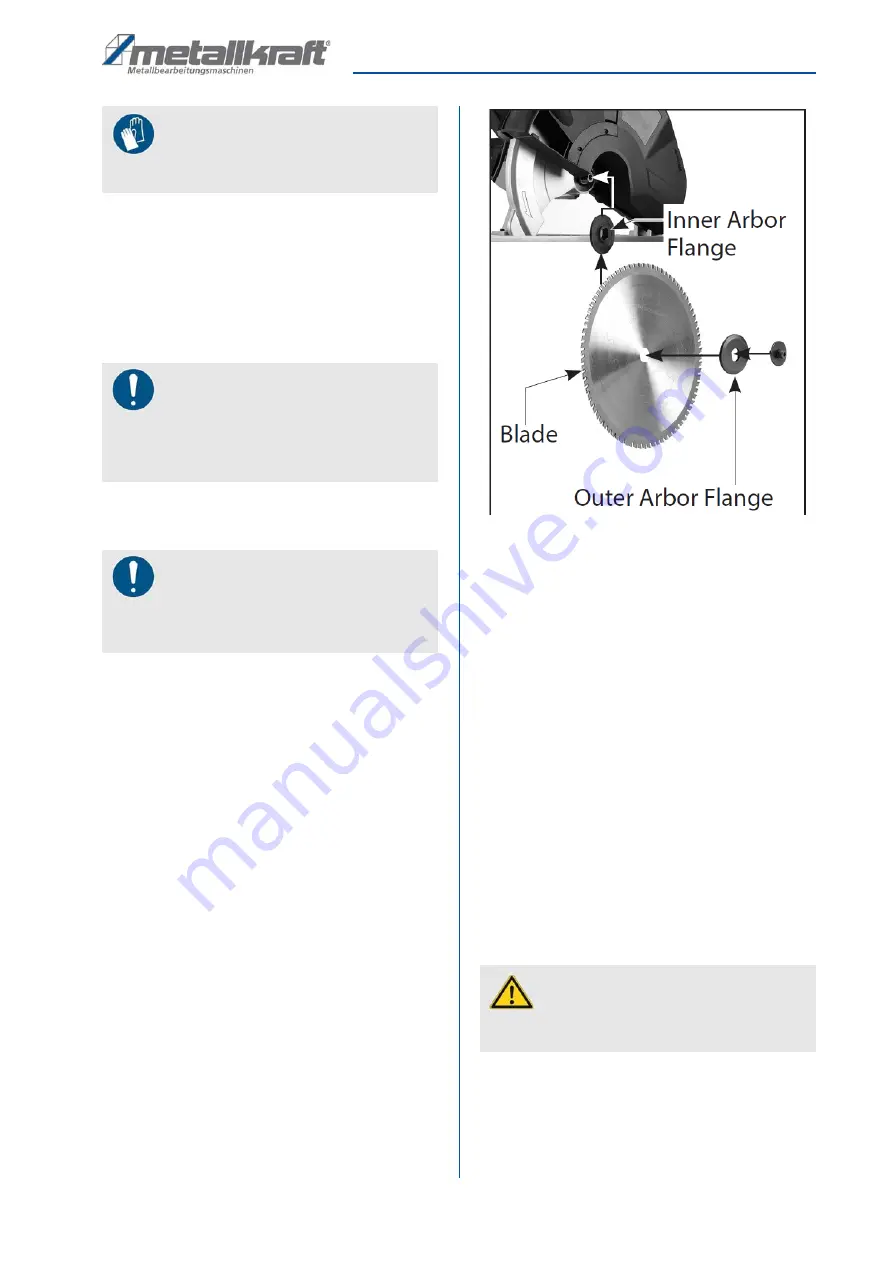
Step 2: Clean the inner flange of the mandrel (Fig.4)
Align the flange so that the correct side faces
the saw blade and place the new saw blade
on the shaft. Make sure that the teeth are poin-
ting forward.
Step 3: Place the outer mandrel flange on the mandrel
with the correct side towards the saw blade.
Step 4:Replace the saw blade holding screw and
tighten it hand-tight by turning it clockwise.
Step 5: Push the mandrel locking lever in and turn the
mandrel by hand until the lock engages the
mandrel. Tighten the saw blade holding
screw. Turn the arbor with the spanner to en-
sure that the arbor lock has loosened and re-
lease the arbor lock.
Fig. 4: Mounting the saw blade
7.5 Removing the saw blade
Removal is in the reverse order to the installation of the
saw blade. However, special care must be taken to en-
sure that no one is injured by the saw blade.
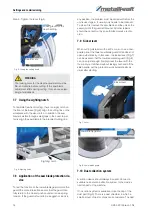
Step 1: Push the saw blade locking lever in and turn the
shaft with the spanner on the holding bolt until
the lock engages the shaft. Loosen the saw
blade holding bolt with the spanner supplied
and release the mandrel lock.
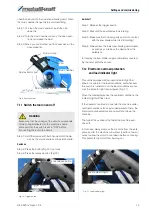
Step 2: Loosen the saw blade holding screw completely
and lift it and the outer flange away. Make sure
that the saw blade does not fall down.
Step 3: Carefully turn the lower blade guard out of the
way. The saw blade can now be removed.
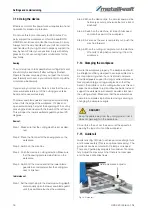
7.6 Setting the cutting depth
Set the required cutting depth. A depth scale is availa-
ble.
Step 1: Release the depth adjustment locking lever.
Step 2: Set the value to the required depth.
Protective gloves
Wear protective gloves for all work connected with
the saw blade.
NOTE!
Use saw blades with a suitable arbor hole. The saw
blade must be designed for the maximum nominal
speed of the machine or higher. Avoid contact with
the blade teeth to prevent injury.
NOTE!
Make sure that the saw blade is centred (it is possi-
ble to tighten the saw blade at an angle between the
flanges).
WARNING
Disconnect the machine from the electrical mains
before adjusting the cutting depth.

