16
HKS 320 | Version 1.04
Settings and commissioning
7.13 Using the device
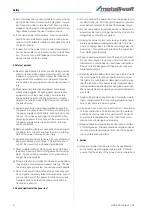
Effective control of this powerful saw requires two-hand
operation for maximum protection.
Do not use this tool continuously for 30 minutes. Pro-
perly support the workpiece and hold the saw BOTH
HANDS to avoid loss of control that could result in injury.
Always hold the side handle with your left hand and the
rear handle with your right hand to properly support the
saw by hand. Protect your eyes from injury with safety
glasses. Do not use cutting fluids or lubricants for the
saw blade.
Sawing
The unit must reach full speed before cutting starts and
should only be switched off after cutting is finished.
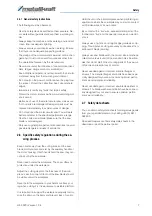
Operate the saw only away from you (push the circular
saw forward) and never in your direction (do not pull the
circular saw backward).
If you saw in your direction, there is a risk that the circu-
lar saw will accelerate out of the cutting groove (kick-
back) and cause serious injury.
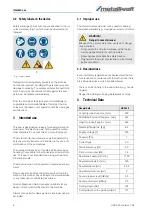
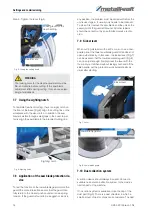
The lower saw blade guard should open automatically
when it hits the edge of the workpiece. If it does not
open automatically, help it at the beginning of the cut by
pressing the kicker lever with the thumb of the left hand.
This will open the lower saw blade guard by about 20
degrees.
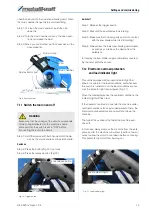
Saw cut:
Step 1: Make sure that the cutting depth is set as desi-
red.
Step 2: Place the front part of the sawing plate on the
workpiece.
Step 3: Switch on the machine.
Step 4: Push the device in cutting direction. Make sure
that the sawing plate remains firmly on the
workpiece.
Step 5: Switch off the device and let the lower blade
guard close completely after the cutting pro-
cess is finished.
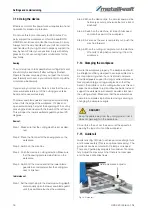
Immersion cut
Step 1: Set the depth stop to the maximum cutting depth
and manually open the lower saw blade guard
until the saw blade touches the workpiece.
Step 2: When the device dips, the circular saw must be
held very securely, otherwise there is a risk of
kickback!
Step 3: Switch on the machine, let it reach full speed
and dip the saw into the workpiece.
Step 4: As soon as the saw is completely cut, push the
machine forward.
Step 5: When the cutting is complete, turn the machine
off and let it stop before removing it from the
workpiece.
7.14 Clamping the workpiece
Secure the workpiece properly. The workpiece should
be straight and firmly clamped to avoid possible move-
ment and jamming when the cut is almost complete.
Provide adequate support for long or wide workpieces.
Never position large or long workpieces so that they
bend in the middle or on the cutting surface, as this can
cause the saw blade to jam and bounce back. Instead,
support the workpiece with several wooden slats near
the cutting surface. Make sure that the saw blade has
come to a complete stop before removing, securing or
changing the workpiece angle.
Do not force the cut. Let the saw cut at the speed all-
owed by the type of cut and the workpiece.
7.15 Guide rail
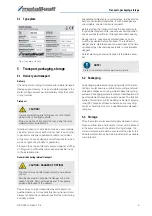
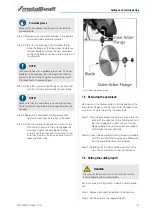
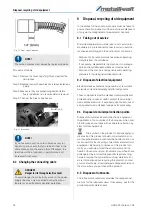
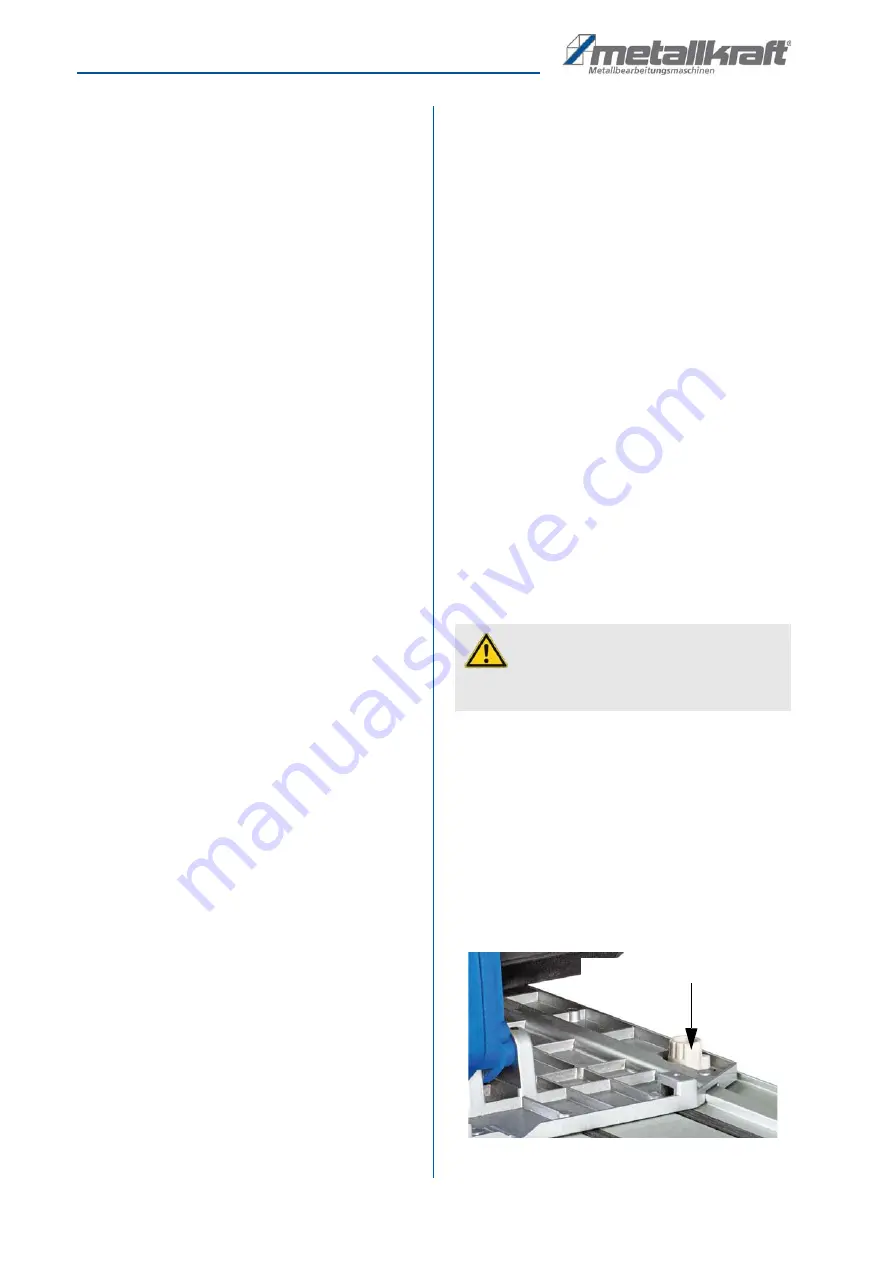
Guide rails (Fig.12) help to achieve precise straight cuts
and increase safety (This is an optional accessory). The
guide rail can be secured with C-clamps on request.
There are 2 guide play adjusters for optimum fit and sa-
fety. Adjust them evenly so that there is no looseness
and the base still slides freely.
Fig. 12: Guide rail
DANGER!
Keep the cable away from the cutting area so that it
does not get caught in the workpiece.
Guide clearance adjustor

