14
KRBS 101 | Version 1.03
Operation
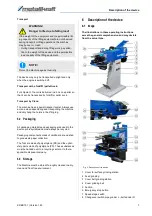
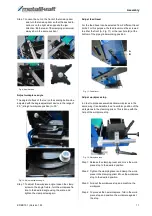
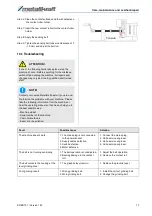
Fig. 18: Check the direction of rotation
Step 15: Check the direction of rotation of the grinding
station. The direction of rotation of the sanding
belt must match the corresponding direction of
rotation arrow after selecting the sanding sta
-
tion.
Step 16: Fold down the pipe grinder protective cover.
Step 17: Start the grinding process. To do this, push the
clamped workpiece forward against the sand
-
ing belt with the feed lever (16, Fig. 3).
Step 18: When the correct radius has been ground, re
-
move the tube from the clamp and remove the
outer ridge with the face grinding surface (2).
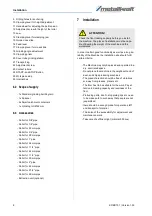
9.2 Working position belt sander
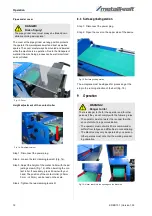
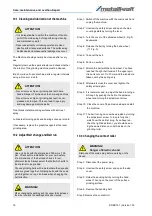
Step 4: Open the cover on the back of the device. To do
this, unscrew the hexagon socket screw (Fig.
19 left, arrow) and open the cover upwards.
Fig. 19: Open the Cover
Step 5: Screw the work surface with two hexagon socket
screws on the side of the unit and align. The dis
-
tance of the work surface to the sanding belt may
be max. 2 mm.
Step 6: Select the desired operating mode:
R for belt sander (L for pipe grinder, L for sur
-
face grinder).
Step 7: Start the extraction system.
Step 8: Start the sanding belt motor by pressing the
green START button.
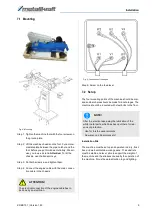
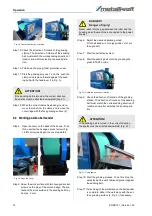
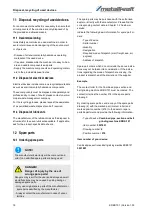
Fig. 20: Check the direction of rotation
Step 9: Check the direction of rotation of the grinding
station. The direction of rotation of the sanding
belt must match the corresponding direction of
rotation arrow after selecting the sanding sta
-
tion.
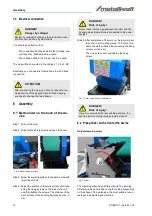
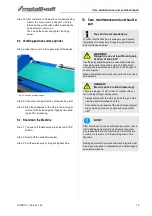
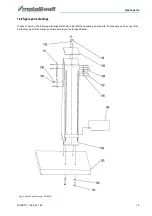
Fig. 21: Flying sparks
Step 10: Start the grinding process. To do this, stop the
workpiece at the work table and guide it against
the sanding belt.
Step 11: If machining of the workpiece on the belt sander
is complete, deburr the workpiece with the sur
-
face grinding surface (2, Fig. 3) if necessary.
ATTENTION!
If the sanding belt is turned in the correct direction,
the sparks must be directed downwards! (Fig. 21)
DANGER!
Danger of injury!
Never reach into the gap between the roller and the
housing when the machine is connected to the power
supply!
ATTENTION!
If the sanding belt is turned in the correct direction,
the sparks must be directed downwards! (Fig. 21)
Summary of Contents for KRBS 101
Page 1: ...KRBS 101 Instruction Manual KRBS 101 KRBS 101 Combined pipe section and belt grinding machine...
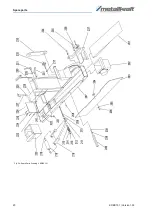
Page 20: ...20 KRBS 101 Version 1 03 Spare parts Fig 24 Spare Parts Drawing 2 KRBS 101...
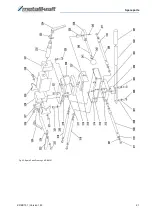
Page 21: ...Spare parts KRBS 101 Version 1 03 21 Fig 25 Spare Parts Drawing 3 KRBS 101...
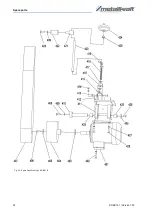
Page 22: ...22 KRBS 101 Version 1 03 Spare parts Fig 26 Spare Parts Drawing 4 KRBS 101...
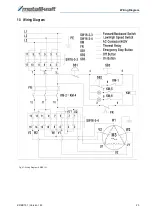
Page 23: ...Wiring Diagram KRBS 101 Version 1 03 23 13 Wiring Diagram Fig 27 Wiring Diagram KRBS 101...
Page 25: ...Notes KRBS 101 Version 1 03 25 15 Notes...
Page 26: ...www metallkraft de...

