Installation
KRBS 101 | Version 1.03
9
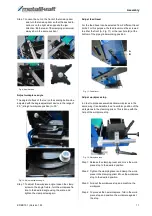
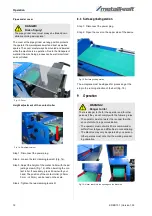
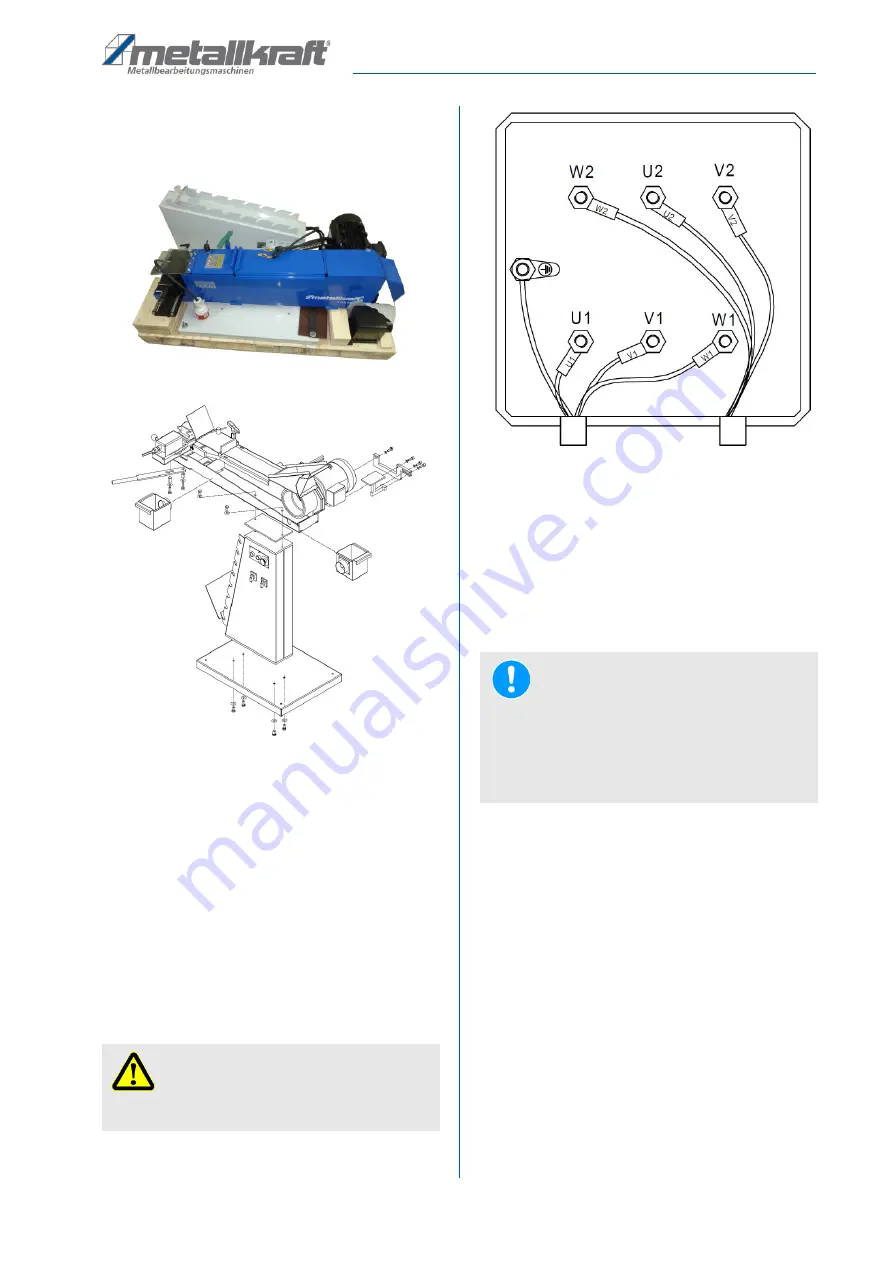
7.1 Mounting
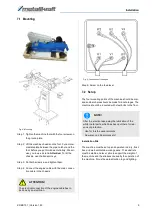
Fig. 4: Mounting
Step 1: Tighten the machine foot with the four screws on
the ground plate.
Step 2: Lift the machine chassis on the foot. Put an inter
-
mediate plate between the pipe notcher and the
foot, before you put him down clefinitely. We acl
-
vise you to use a crane.
Attention:
To litt the
chassis, use the transport eye.
Step 3: Put both screws in and tighten them.
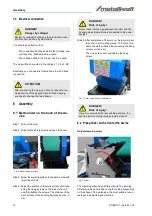
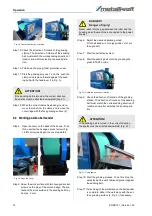
Step 4: Connect the engine cable with the main connec
-
tion cable in the chassis.
Fig. 5: Connection of the engine
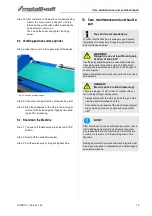
Step 5: Screw on the feed lever
7.2 Set up
The four mounting points of the machine should be mar
-
ked and bare holes should be made for anchorages. The
machine should be rnounted with steel bolts to the floor.
Installation Site
The machine must be set up and operated in a dry, frost-
free and well-ventilated working space. The substrate
must be stable and level, able to support the weight of
the machine and the stresses caused by the operation of
the machine. It must be paid attention to good lighting.
ATTENTION!
The electrical connection of the engine cable has to
be done by an electircan.
NOTE!
After the erection take away the lubrication of the
white rnetal parts, which has been put there for rea
-
sons ot protection.
- Use for this the usual solvents
- No water, no nitrosolvents etc.!
Summary of Contents for KRBS 101
Page 1: ...KRBS 101 Instruction Manual KRBS 101 KRBS 101 Combined pipe section and belt grinding machine...
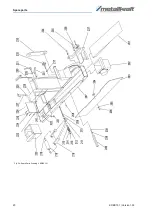
Page 20: ...20 KRBS 101 Version 1 03 Spare parts Fig 24 Spare Parts Drawing 2 KRBS 101...
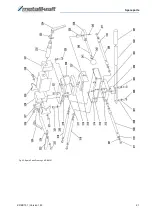
Page 21: ...Spare parts KRBS 101 Version 1 03 21 Fig 25 Spare Parts Drawing 3 KRBS 101...
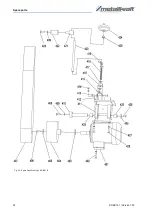
Page 22: ...22 KRBS 101 Version 1 03 Spare parts Fig 26 Spare Parts Drawing 4 KRBS 101...
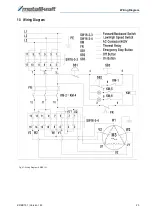
Page 23: ...Wiring Diagram KRBS 101 Version 1 03 23 13 Wiring Diagram Fig 27 Wiring Diagram KRBS 101...
Page 25: ...Notes KRBS 101 Version 1 03 25 15 Notes...
Page 26: ...www metallkraft de...

