

◈
About This Guide
This installation guide contains only essential and simple information for installing the
product. Refer to the Users Guide in the CD that comes with the product for detailed
instructions. The CD contains the following data.
1. Manual: Users Guide (Control Command)
2. Drivers: Windows Drivers, OPOS Drivers
3. Utilities: Logo Download Tool
Metapace makes continuous improvements for better quality and functions of its products,
therefore the specifications and contents of the manual are subject to change without prior
notice for this reason.
◈
Contents of the Package
Metapace T-4
CD
Roll Paper
Power Cord
Installation Guide
Interface cable
(Serial/USB)
◈
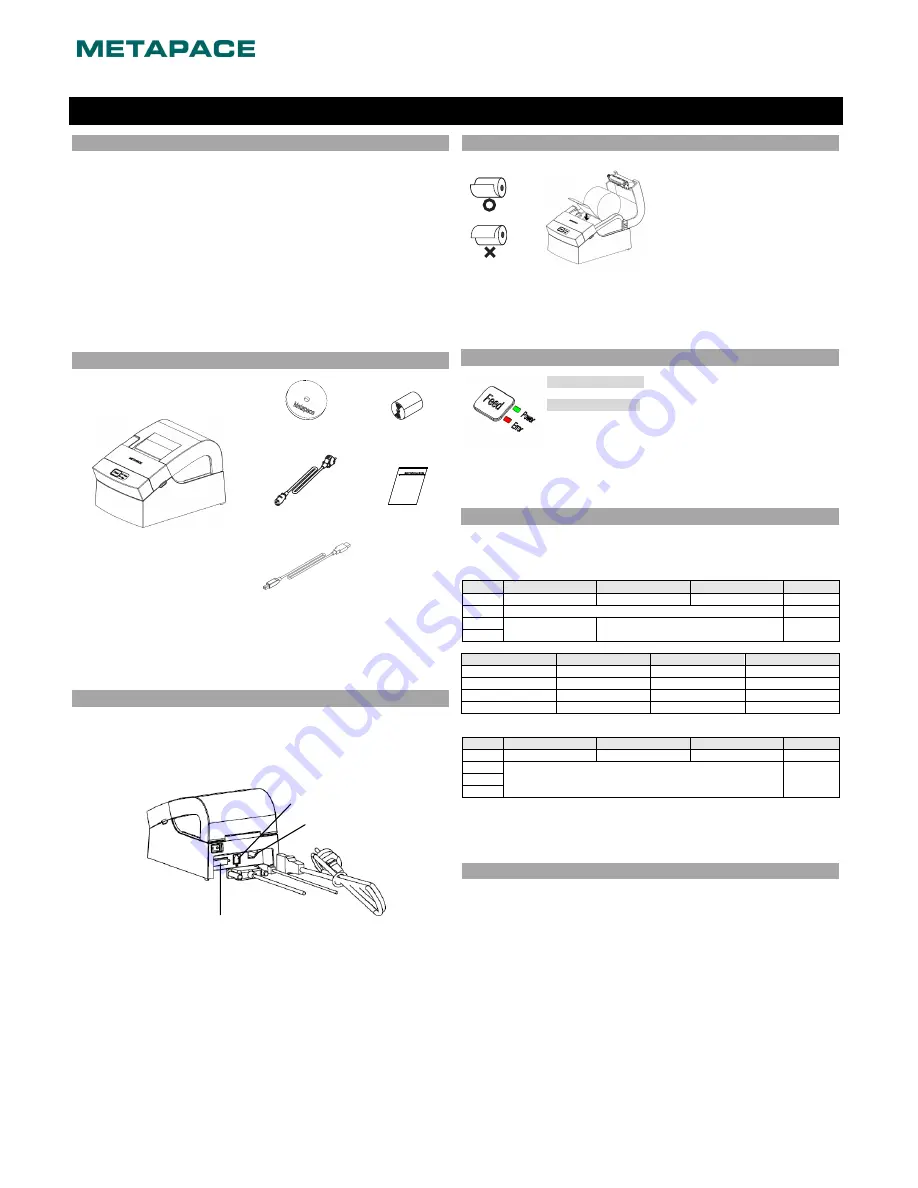
Cable Connection
1. Turn off the printer and ECR (host computer).
2. Connect the power cord to a power outlet.
3. Check the type of interface (serial or USB) on the back of the printer and
connect the proper cable to the interface connector.
4. Connect the drawer kick-out cable to the drawer kick-out connector of the printer.
◈
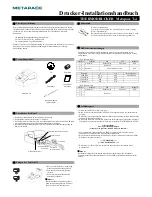
Roll Paper Installation
1. Press the cover-open button and open the
cover.
2. Insert a new roll paper in the right
direction.
3. Pull the paper slightly and close the cover.
※
Note
Hold down the center of the cover when
closing so that the paper adheres to the
roller.
◈
Control Panel
•
Power (indicator lamp)
Green light will be on when the power is supplied to the printer.
•
Error (indicator lamp)
Red light will be on in the event of errors such as no paper or open
cover.
◈
DIP Switch Setting
Changing DIP switch settings must be done while the printer is turned off. Changes made
while the power is on are not recognized.
• DIP switches: Serial
SW
Function
ON
OFF
Default
1-1 Auto
Cutter
Disable
Enable
OFF
1-2 Reserved
-
1-3
Baud rate
Refer to the following table
OFF
1-4
Baud rate
1-3
1-4
Note
9600 bps
OFF
OFF
Default value
19200 bps
OFF
ON
57600 bps
ON
OFF
115200 bps
ON
ON
• DIP switches: USB
SW
Function
ON
OFF
Default
1-1 Auto
Cutter
Disable
Enable
OFF
1-2
Reserved -
1-3
1-4
◈
Self Diagnostic
1. Check that the paper is mounted correctly.
2. Turn on the power while depressing the Feed button. The self test will start.
3. The printer prints out the current status of the printer such as the ROM version and DIP
switch settings.
4. After printing the current status, printing stops after printing the following lines.
(Paper indicator lamp stays ON.)
Self-test printing.
Please press the FEED button
5. Press the Feed button to continue printing. The printer will print all types of characters that
can be printed.
6. Self test stops automatically and the printer cuts the paper after printing the following
line.
*** COMPLETED ***
7. The printer goes back to normal operating mode immediately after completing the self test.
※
Note
The status of the printer can be checked through the self test. Check the printing quality,
ROM version, and DIP switch setting through the self test.
Printer Installation Guide
KN04-00037M (Rev.1.0)
THERMAL PRINTER Metapace T-4
Power cord
Drawer
kick-out
cable
Interface cable
(Serial/USB)
Drawer kick-out connector
Power connector
Interface connector


