4
-
9
.
Frequency
Measurement
1
.
Insert
the
red
or
shield
cable
in
to
the
jack
and
the
black
“
C
OM”
one in to the “ ”jack.
2
.
Set
the
knob
to
frequency
range
,
connect
test
leads
or
shielded
cable crossly to the signal source or the lead which is test.
NOTE
:
①
.
The
meter
can
still
work
if
the
input
value
is
higher
than
10V
effective, but the accruacy is not guaranteed.
②
.
It
noise
environment
,
you
did
better
use
shield
cable
to
measure a low signal.
③
.
when
measuring
high
voltage
circuit
.
Don
'
t
touch
the
high
voltage circuit.
④
.
Don
'
t
input
voltage
higher
than
250V
DC
ro
AC
effective
value
or it may damage the meter.
4
-
10
.
Temperature
Measurement
Select the knob to the “
℃
” range
,
i
insert
the
cathode
(
black
pin
)
of
cold
end
(
free
end
)
of
thermocouple
into
jack
,
anode
(
red
pin
)
into
“
mA
”
“
C
OM”jack
,
put
the
working
end
(
temperature
measruement
port
)
of
thermocouple
on
the
surface
or
inside
the
object
to
be
tested
.
Then
you
can
read
temperature
from
the
screen
,
and
the
data
is
in
Centigrade
.
If
using
the
testing
accessory
,
please
insert
testing
accessory
int
“
C
OM”
and
for
anode
and
for
cathode
.
“
mA
” “
C
OM”
“
mA
”
4
-
11
.
Date
Hold
Press the Hold switch, the pressently measrue value is held on
LCD,press it again and the function is cancelled.
4
-
12
.
Auto
power
off
The meter will be into sleeping mode when it is out of work for (20
±
0
)
minutes
.
press
key
twice
to
restart
the
power
.
“POWER”
4
-
13
.
Backlight
Press
key to turn on the backlight, and it will turn off after 5
“ ”
seconds
.
NOTE
:
When turning on backlight, the working current will be enlarged, it
leads
to
shorten
battery
usage
and
enlarge
accuracy
error
of
some
functions
.
5
.
MAINTENANCE
Do
not
try
to
modify
the
electric
circuit
.
1
.
Keep
the
meter
away
from
water
,
dust
and
shock
.
2
.
Do
not
store
and
operate
the
meter
under
the
condition
of
high
tem
-
perature, high humidity, combustible, explosive and strong magnetic
place.
3
.
Wipe
the
case
with
a
damp
cloth
and
detergent
,
do
not
use
abrasiv
-
es and alcohol.
4
.
If
do
not
operate
for
a
long
time
,
should
take
out
the
battery
to
avoid
leakage.
A
.
When
signal
displays
,
should
replace
the
battery
following
“ ”
the steps.
B
.
Fuse
change
:
When
replacing
fuse
,
please
change
another
same
type and specification fuse.
a
.
Unlock
the
button
and
remove
the
battery
case
.
b
.
Take
out
the
old
battery
and
replace
the
new
one
.
It
is
better
to
use alkaline battery for longer life.
c
.
Fit
on
the
battery
case
and
lock
the
button
.
6
.
If
the
meter
does
not
work
properly
,
check
the
meter
as
following
:
Conditions
Way
to
solve
No
reading
on
LCD
Turn
on
the
power
Set
the
HOLD
key
to
a
correct
mode
Replace
battery
Replace
battery
Replace
fuse
Replace
battery
signal
appears
No
current
or
temperature
input
Big
error
Value
The
specifications
are
subject
to
change
without
notice
.
The
content
of
this
manual
is
regarded
as
correct
,
error
or
omits
Pls
.
Contact
with
factory
.
We
hereby
will
not
be
responsible
for
the
accident
and
damage
caused
by
improper
operation
.
The
function
stated
for
this
User
Manual
cannot
be
the
reason
of
special
usage
.
9
10
11
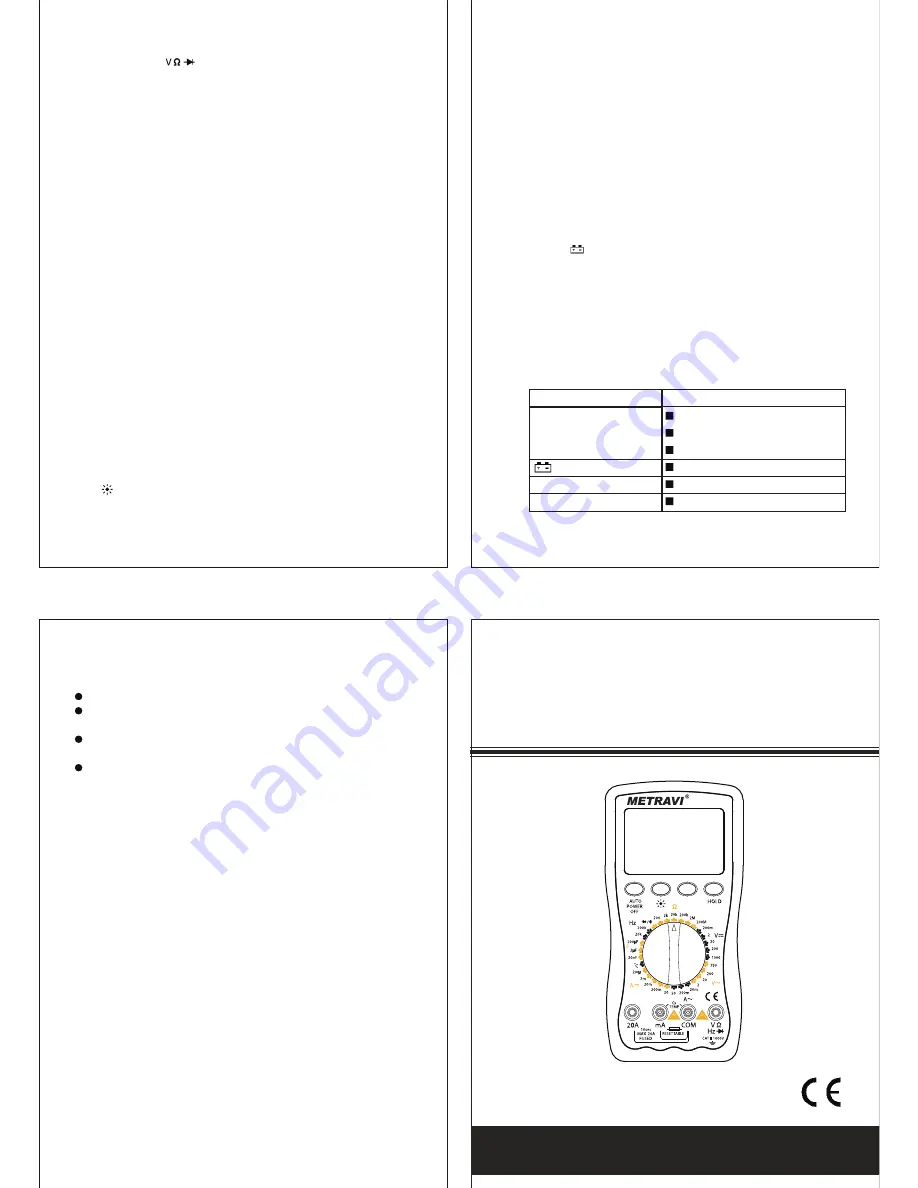
Metravi 23Smkll
DIGITAL
MULTIMETER
OPERATION
MANUAL
23Smkll


