Power and Voltage Quality Trainer
AD 2
– MI 3399
138
9.
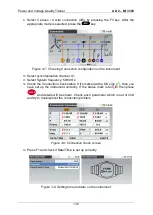
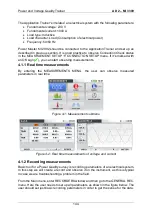
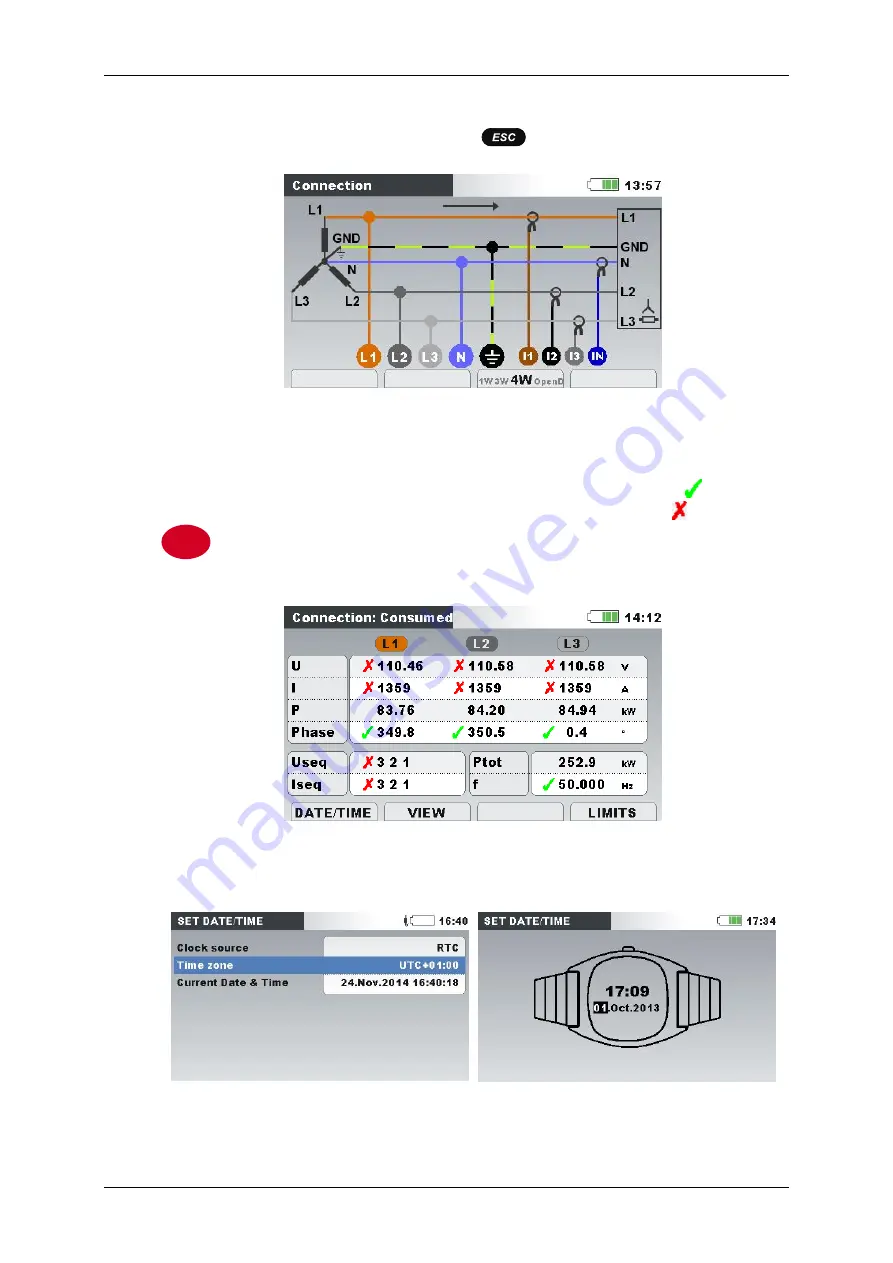
Select 3 phase / 4 wire connection (4W) by pressing the F3 key. After the
appropriate mode is selected, press the
key.
Figure 3-7: Choosing Connection configuration on the instrument
10.
Select synchronisation channel: U1
11.
Select System frequency: 50/60 Hz.
12.
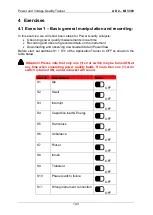
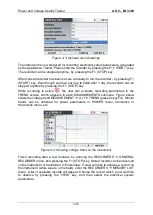
Check the Connection check status. If it's marked with a OK sign ( ), then you
have set up the instrument correctly. If the status mark is fail ( ) then press
and details will be shown. Check each parameter which is out of limit
and try to troubleshoot the connection problem.
Figure 3-8: Connection check screen
13.
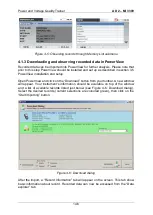
Press F1 and check if Date/Time is set up correctly.
Figure 3-9: Setting time and date on the instrument
ENTER
Summary of Contents for MI 3399
Page 27: ...Electrical Installation Safety Trainer AD 1 MI 3399 27...
Page 46: ...Electrical Installation Safety Trainer AD 1 MI 3399 46 3 Exit settings...
Page 74: ...Electrical Installation Safety Trainer AD 1 MI 3399 74...
Page 197: ...Power and Voltage Quality Trainer AD 2 MI 3399 197 Figure 4 89 Transient Chart view...
Page 204: ...PAT Appliances Machines Safety Trainer AD 3 MI 3399 204...
Page 249: ...PV Photovoltaic Systems Trainer AD 4 MI 3399 249...
Page 250: ...PV Photovoltaic Systems Trainer AD 4 MI 3399 250 AD 4 MI 3399 PV Photovoltaic Systems Trainer...

