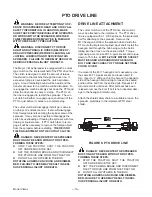
PRE-OPERATION
This spreader is to be operated with 540 RPM PTO only,
unless the spreader is 1000 RPM equipped. The hitch of
the spreader is designed for a standard tractor drawbar.
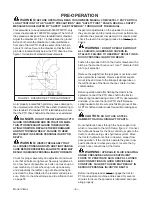
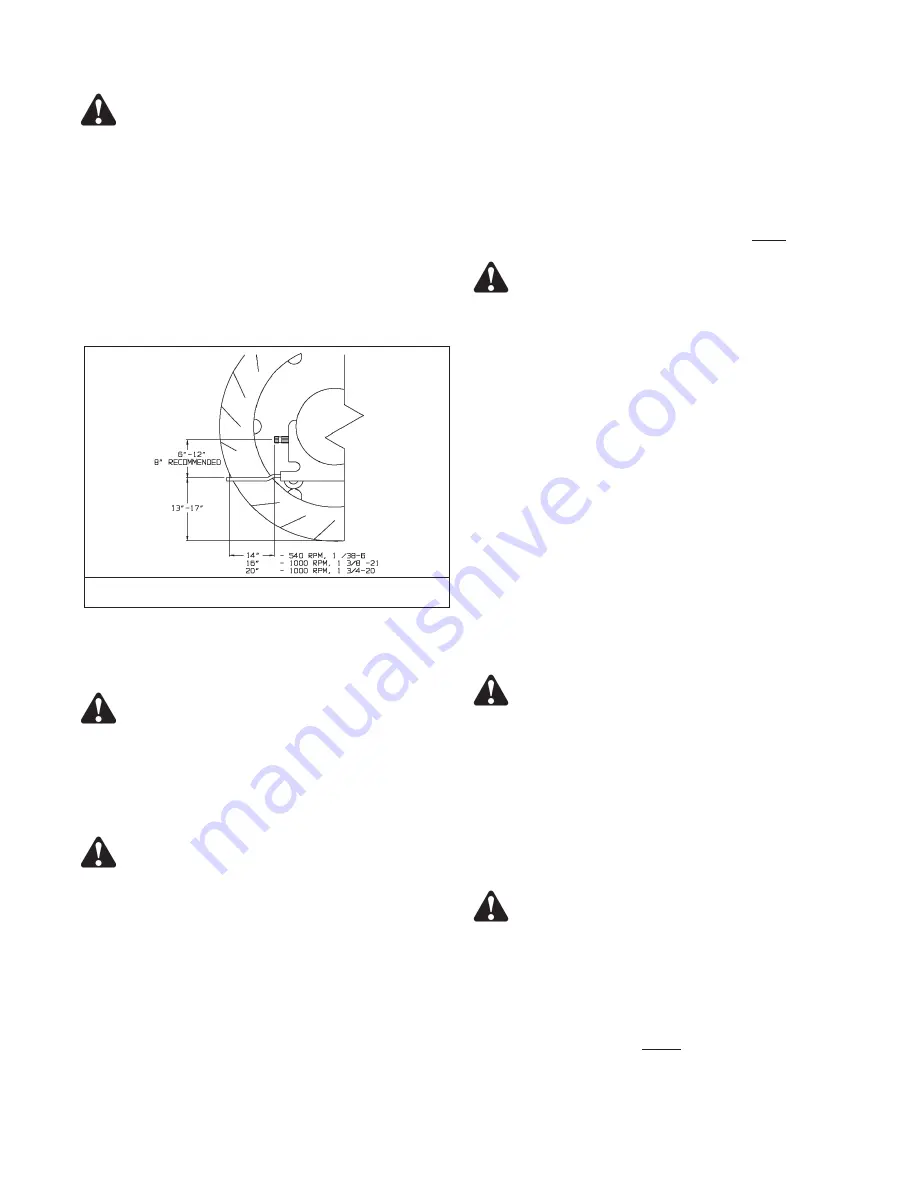
Adjust the drawbar at 13 to 17 inches above the ground.
Extend or shorten the drawbar so horizontal distance
from end of tractor PTO shaft to center of the hitch pin
hole is 14 inches. Secure the drawbar so that the hitch
pin hole is located directly below the PTO drive line. See
figure 1 for location of standard measurements.
An improperly located hitch point may cause damage to
the universal joints of the PTO drive shaft. Conforming to
the standard 14" drawbar & PTO relationship will ensure
that the PTO drive shaft will not become over-extended.
DANGER
:
DO NOT OPERATE WITHOUT PTO
GUARD ON SPREADER AND ON TRACTOR. MAIN-
TAIN PTO DRIVE SHAFT GUARD TUBES IN OPER-
ATING CONDITION. REPLACE THEM IF DAMAGED
AND NOT TURNING FREELY. FAILURE TO HEED
MAY RESULT IN SERIOUS PERSONAL INJURY OR
DEATH.
WARNING
:
INSPECT REGULARLY THAT
ALL CONNECTIONS AND BOLTS ARE TIGHT AND SE-
CURE BEFORE OPERATING. FAILURE TO HEED MAY
RESULT IN SERIOUS PERSONAL INJURY OR DEATH.
Check for proper assembly and adjustment and make
sure that all bolts are tightened. Securely retighten af-
ter a few hours of operation, as bolts can loosen up on
new machinery. Check wheel lug nuts upon delivery
and periodically thereafter. Lug nuts should be tight-
ened and the tires inflated to the recommended pres-
sure. Refer to the wheel torque and tire inflation chart
on page 55
Inspect all adjustments on the spreader to be sure
they are proper and to provide maximum performance.
Lubricate the spreader completely if it is required and
check the level of liquid gear grease in all three gear-
boxes.
WARNING
:
DO NOT OPERATE WITHOUT
ALL SHIELDS, GUARDS AND COVERS IN-
STALLED. FAILURE TO HEED MAY RESULT IN SE-
RIOUS PERSONAL INJURY OR DEATH.
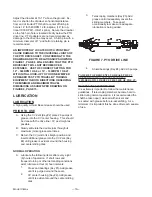
Fasten the spreader hitch to the tractor drawbar with a
hitch pin that cannot bounce out. Use 1" diameter hitch
pin to pull spreader.
Remove the weight from the jack (jack is not to be used
when spreader is loaded). Remove jack from square
mount tube and move to the transport storage tube on
the left front side of the frame channel. Store in a hori-
zontal position.
Before operation and after hitching the tractor to the
spreader, connect the PTO drive shaft to the tractor.
Slide spring loaded locking collar on PTO yoke rearward,
and slide yoke onto the tractor PTO shaft. Release
spring loaded collar. Be sure pins fall into groove of trac-
tor PTO shaft and collar snaps forward into locking posi-
tion.
CAUTION
:
DO NOT USE A STEEL
HAMMER TO AID IN JOINING PTO PARTS.
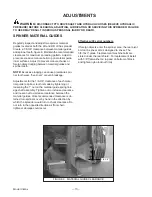
Route hydraulic hoses through the hose support rod
which is mounted to the hitch frame, figure 2 . Connect
the hydraulic hoses for the flow control rear gate to the
tractor’s double acting valve hydraulic system. Move
the tractor hydraulic controls to observe proper flow
gate operation. If the controls operate the gate in op-
posite directions to what you expect, reverse the hy-
draulic hose connections at the tractor.
WARNING
:
HYDRAULIC FLUID ESCAPING
UNDER PRESSURE CAN HAVE SUFFICIENT
FORCE TO PENETRATE SKIN. KEEP ALL HOSES
AND CONNECTIONS IN GOOD SERVICEABLE
CONDITION. FAILURE TO HEED MAY RESULT IN
SERIOUS PERSONAL INJURY OR DEATH.
Before loading spreader, slowly engage the tractor
PTO and operate machine at idle speed for several
minutes to insure the spreader is lubricated and oper-
ating properly.
Model V-Max
—8—
WARNING
:
BEFORE OPERATING, READ THIS OWNERS MANUAL COMPLETELY. PAY PARTICU-
LAR ATTENTION TO THE “SAFETY PRECAUTIONS” AND “SAFETY FIRST” PAGES. READ ALL SAFETY
MESSAGES HIGHLIGHTED BY “SAFETY ALERT SYMBOLS” THROUGHOUT THE MANUAL.
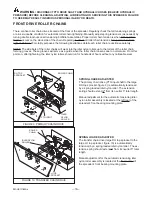
FIGURE 1. DRAWBAR & PTO RELATIONSHIP
Summary of Contents for V-MAX 2636 Operators
Page 24: ...Model V Max 24 REPAIR PARTS OPTIONAL OIL KIT 35 ...
Page 26: ...Model V Max 26 FRONT SHIELD SIDE SHAFT DRIVE ...
Page 34: ...Model V Max 34 BOX AUGERS SIDE SHAFT ...
Page 36: ...Model V Max 36 UNLOADING GATE TRIP PAN DOORS Prior to 08 Serial Nos ...
Page 38: ...Model V Max 38 SPINNERS GEARBOX SHAFT DRIVE PRIOR TO 08 SERIAL NOS ...
Page 42: ...Model V Max 42 OPTIONAL THIRD AUGER Items 10 and 11 are used on two auger units only ...
Page 57: ...Model V Max 57 ...
Page 58: ...Model V Max 58 ...
Page 59: ...Model V Max 59 ...
Page 60: ...E ...


