35
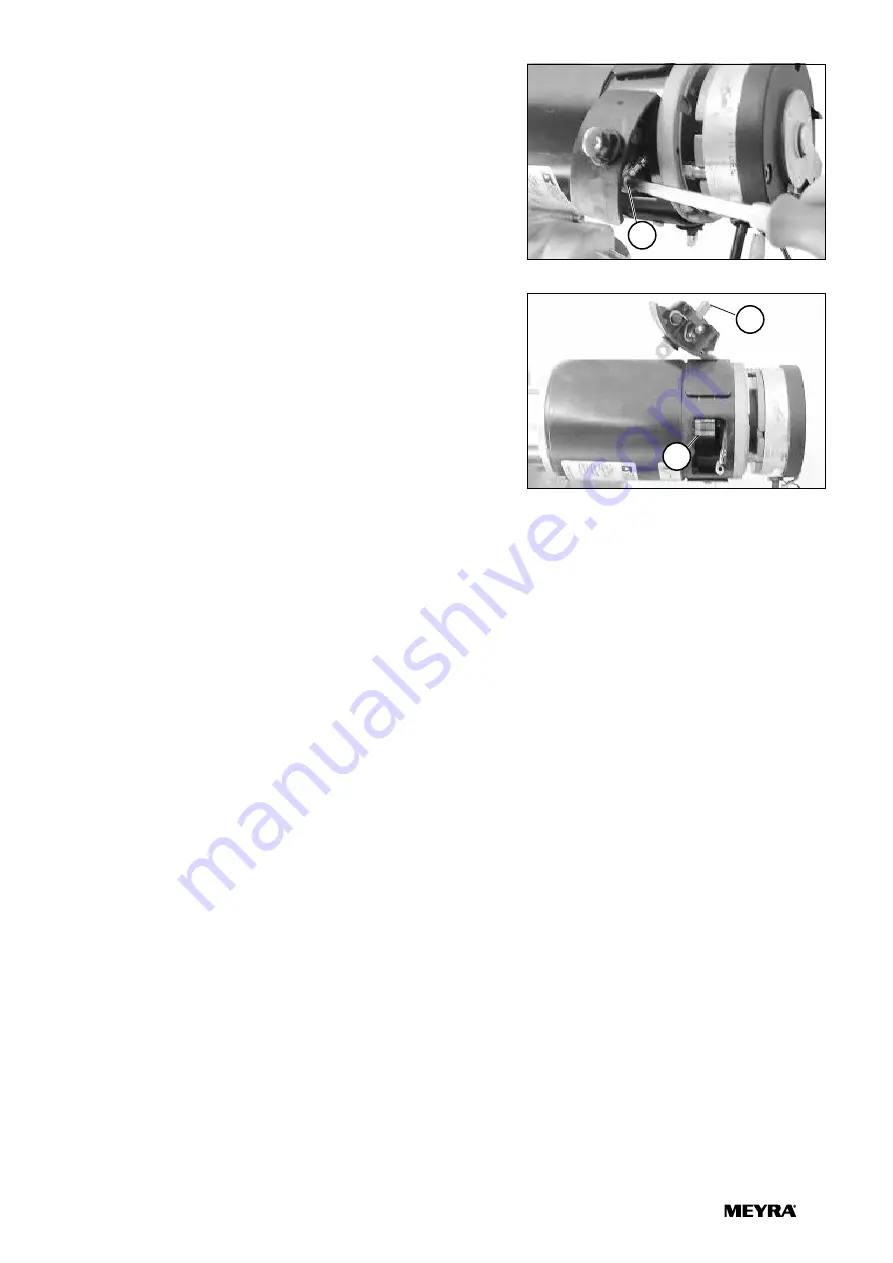
10. Remove the philister head screw (9) of the connecting
cable.
11. Completely remove the carbon brush retainer.
☞
Note:
The carbon brush retainers cannot be pulled straight
out of the opening.
– While pulling out the carbon brush bracket, turn it
slightly.
☞
The carbon brushes are worn when the pressure springs
come to rest on the retainer without the carbon brush-
es reaching over their guide way.
They are also to be replaced when the contacts (10)
appear black and dull. – On intact carbon brushes the
contacts are anthracite coloured and shining.
☞
Do not touch the friction surface of the carbon
brushes!
12. If the carbon brush is completely intact reassemble the
carbon brush retainer and check the next one.
Assembly of the carbon brushes
Assembly of the carbon brush is done analogue in re-
verse order to chapter
Disassembly of the carbon brushes
on
page 34.
☞
When mounting the carbon brush after a visual check,
observe that the carbon brush receives the same posi-
tion as when being removed.
Collector
The collector (11) located between the carbon brushes is
also to be checked for damages. – To check them remove a
carbon brush retainer.
☞
Note:
The slight grinding marks caused by the carbon brush-
es correspond to their normal wear and have no influ-
ence on the performance of the motor. Extreme recess-
es have to be smoothed out. If partial segments have
been broken out or are extremely burnt the drive unit
has to be replaced.
9
10
11
Summary of Contents for 2.322
Page 8: ...8 OVERVIEW Model 2 322 R Net operating module ...
Page 51: ...51 NOTES ...


