7
4. Insert drive key
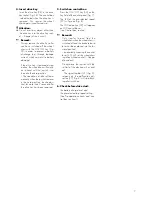
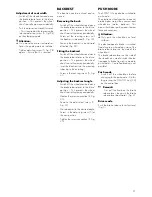
Insert the drive key [28] in the drive
key socket (Fig. 38). The control box
is deactivated when the drive key is
removed. This secures the wheel-
chair against unauthorised use!
!
Attention:
Do not insert any object other than
the drive key into the drive key sock-
et. – Danger of short circuit!
+
Remark:
–
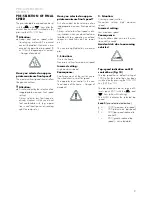
Always remove the drive key after
you have switched off the wheel-
chair with the ON/OFF key (Fig.
39) in order to prevent a battery
discharge (e.g. through leakage
currents which can result in battery
damage!
–
If the drive key is removed during
motion, the wheelchair will contin-
ue to travel until the joystick is re-
turned to the zero position.
– The wheelchair switches off auto-
matically when the joystick remains
in the zero position (centre posi-
tion) for more than 2 seconds after
the drive key has been removed.
5. Switch on control box
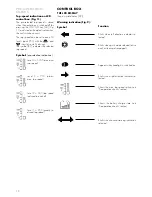
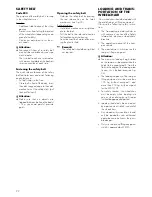
Press the ON/OFF key [34] on the
key field of the control panel (Fig. 7).
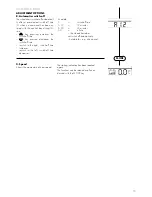
– The LED of the pre-selected speed
[27] will go on (Fig. 8).
– The LCD indication [39] will appear
on LCD control boxes.
(see 'Control box' section).
+
Remark:
–
Only transfer to and from the
wheelchair when the wheelchair is
switched off and the brake release
lever has been placed into the for-
ward position!
– Inadvertently knocking the control
lever [35] will set the wheelchair
in motion without control! – Danger
of accidents!
–
Do not move the joystick until the
self-test of the electronics has end-
ed!
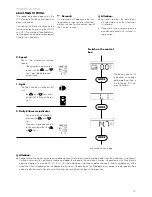
– The signalling bar [41] (Fig. 9),
respectively, the malfunction indi-
cation [37] (Fig. 8) will stop blink-
ing after switch-on.
6. Check before drive start:
– the battery charge level and
– the pre-selected top speed setting.
(See 'Pre-operation checks' and 'con-
trol box' sections!).


