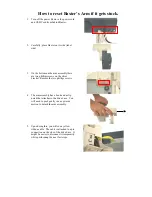
6. Taking the arm assembly in your hand,
look for the small silver motor that has a
white plastic gear.
Using your finger, rotate this gear so that
the arm moves either in an upward or
downward direction.
If you are holding the arm assembly as
pictured, rotating the gear counter
clockwise(pushing away from you) will
cause Baxter’s arm to move down, rotating
the gear clockwise (towards you) will
cause Baxter’s arm to move up It is
suggested to rotate this gear so the arm
moves about an inch from where it was.
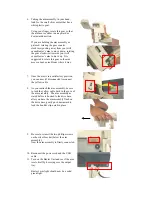
7. Once the arm is in a satisfactory position,
you can now (if disconnected) reconnect
the yellow cable.
8. As you reattach the arm assembly, be sure
to tuck the yellow cable back in the cove of
the arm assembly. The arm assembly as
stated before is hooked to the drive base,
after you have the arm assembly flush on
the drive base, gently push downward to
lock the hook & slip notch in place.
9. Be sure to reinsert the two phillips screws
on the silver bracket (below the arm
assembly),
Now the arm assembly is firmly connected.
10. Reconnect the power cord and the USB
cable.
11. Turn on the Baxter Unit and see if the arm
resets itself by hovering over the output
tray.
Baxter's arm light should now be a solid
green light.

