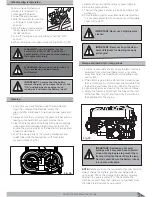
To change the forward speed or the direction of the unit,
follow the steps below.
Lawn Tractor Rear Discharge
20
WARNING:
Before you move the shift lever,
completely push the clutch/brake pedal
forward to stop the unit. If the unit is not
stopped, the gearbox can be damaged.
F U N C T I O N
S H I F T L E V E R
7 S P E E D S
Trimming and Snow Thrower
1 or 2
Bagging Grass
1 to 6
Mulching Grass
1 to 3
Normal Mowing
2 to 6
Easy Mowing and Snow Blade
3 to 6
Transport
7
Pull Behind Attachments
1 to 3
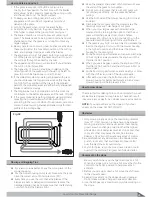
To change the cutting height, raise or lower the lift lever
as follows:
1. To release the lift lever, push the button on top of the
lift lever.
2. Move the lift lever forward to lower the mower housing
and back to raise the mower housing.
3. When you ride on a sidewalk or road, move the lift
lever to the highest position and move the blade
rotation control to the DISENGAGE position.
WARNING:
Before you leave the
operator’s position, move the shift lever
to the neutral (N) position. Set the
parking brake. Move the blade rotation
control to the DISENGAGE position. Stop
the engine and remove the ignition key.
• The position of the attachment lift lever determines the
cutting height. The cutting height range is approximately
3 cm to 9 cm.
• The heights are measured from the ground to the blade
tip with the engine not running. These heights are
approximate and may vary depending upon soil
conditions, height of grass and types of grass being
mowed.
• The average lawn should be cut to approximately 3.6 cm
during the cool season and up to 9 cm during hot months.
For healthier and better looking lawns, mow often and
after moderate growth.
• For best cutting performance, grass over 15 cm in height
VKRXOGEHPRZHGWZLFH0DNHWKH´UVWFXWUHODWLYHO\KLJK
the second to desired height.
To transport the unit, follow the steps below.
1. Move the blade rotation control to the DISENGAGE
position
2. Raise the lift lever to the highest position.
3. Move the throttle control to a position between SLOW
and FAST.
4. To go faster, move the shift lever to a faster speed.
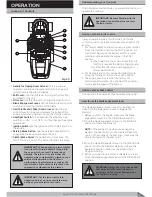
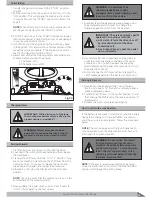
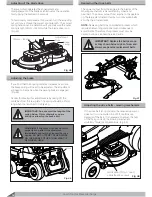
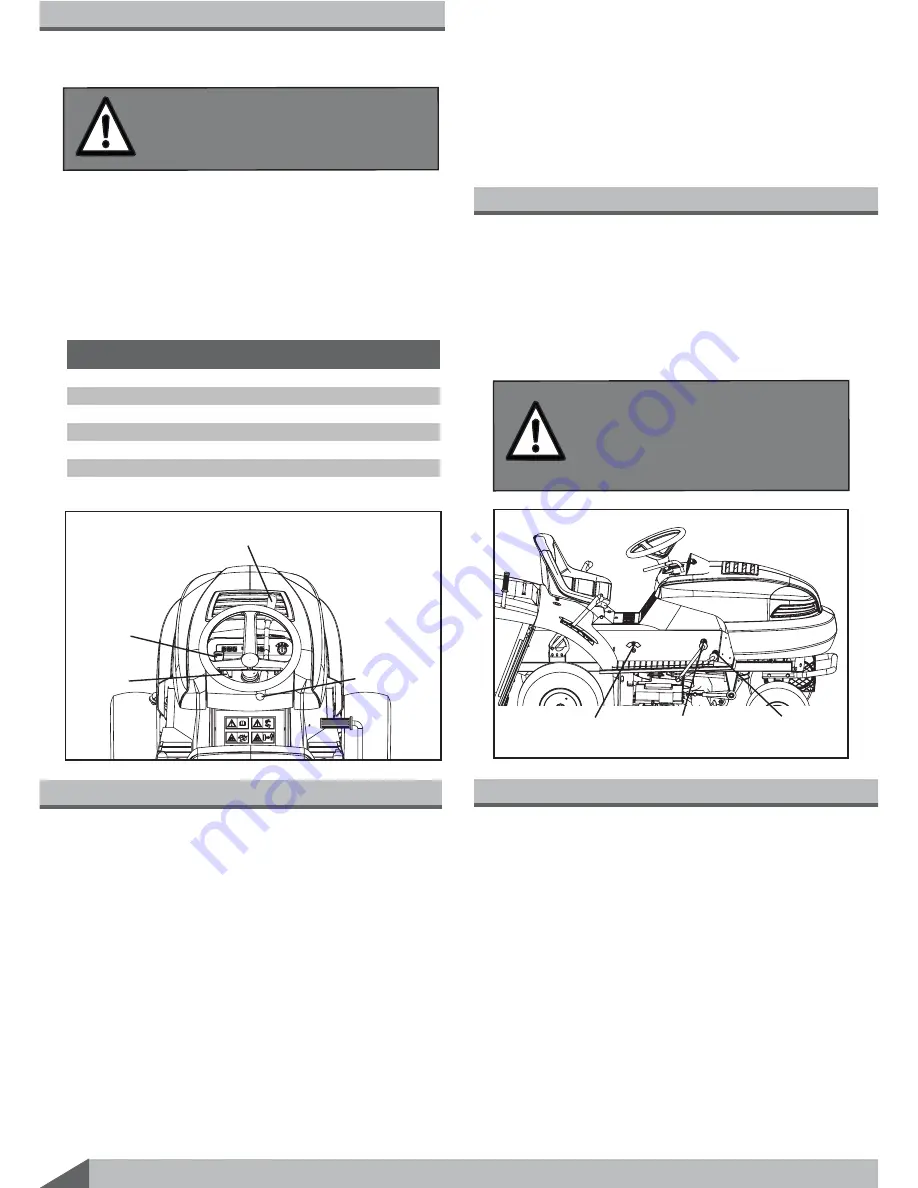
Blade engagement position
Throttle
Choke
Blade
disengage
position
Fig 24
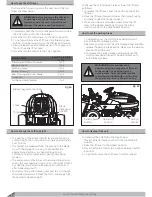
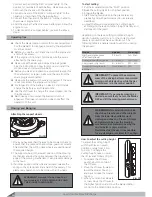
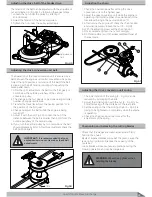
Parking brake
button
Operating
position
Parking
position
Fig 25
How to use the shift lever
How to set the parking brake
How to change the cutting height
1. Completely push the clutch/brake pedal forward to stop
the unit. Keep your foot on the pedal.
2. Move the throttle control lever to the SLOW position.
3. To go forward, move the shift lever to a forward speed
setting. To go backward, move the shift lever to reverse.
4. Slowly release the clutch/brake pedal. Do not keep your
foot on the pedal if not need.
5. Move the throttle control to the FAST position.
1. Completely push the clutch/brake pedal forward.
2. Push the parking brake button.
3. Remove your foot from the clutch/brake pedal and then
release the parking brake button. Make sure the parking
brake will hold the unit.
4. To release the parking brake, completely push the
clutch/brake pedal forward. The parking brake will
automatically release.
How to transport the unit
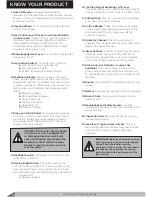
Summary of Contents for Gizmow T130
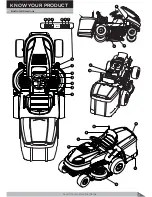
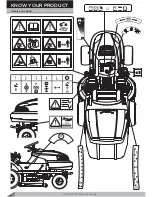
Page 12: ...KNOW YOUR PRODUCT Lawn Tractor Rear Discharge 12 Decals and Labels ...
Page 37: ...PARTS SCHEDULE Lawn Tractor Rear Discharge 37 T130 T140 T160 T180 Lawn Tractor Rear Discharge ...
Page 38: ...PARTS SCHEDULE Lawn Tractor Rear Discharge 38 ...
Page 40: ...Lawn Tractor Rear Discharge 40 PARTS SCHEDULE T130 T160 T140 T180 LAWN TRACTOR 1A ...
Page 44: ...T130 T160 T140 T180 LAWN TRACTOR 1B PARTS SCHEDULE Lawn Tractor Rear Discharge 44 ...
Page 49: ...T130 T160 LAWN TRACTOR 1C Lawn Tractor Rear Discharge 49 PARTS SCHEDULE ...
Page 50: ...T140 T180 LAWN TRACTOR 1C PARTS SCHEDULE Lawn Tractor Rear Discharge 50 ...
Page 53: ...T130 T160 T140 T180 LAWN TRACTOR 1D Lawn Tractor Rear Discharge 53 PARTS SCHEDULE ...
Page 56: ...T130 T160 T140 T180 CUTTING DECK 2 PARTS SCHEDULE Lawn Tractor Rear Discharge 56 ...
Page 60: ...T130 T160 FRONT AXLE 7 PARTS SCHEDULE Lawn Tractor Rear Discharge 60 ...
Page 61: ...T140 T180 FRONT AXLE 7 Lawn Tractor Rear Discharge 61 PARTS SCHEDULE ...
Page 63: ...T130 T160 T140 T180 LIFTING LEVER 11 Lawn Tractor Rear Discharge 63 PARTS SCHEDULE ...
Page 65: ...T130 T160 T140 T180 HUB 14 Lawn Tractor Rear Discharge 65 PARTS SCHEDULE ...
Page 67: ...T130 T160 T140 T180 REAR AXLE 15A Lawn Tractor Rear Discharge 67 PARTS SCHEDULE ...
Page 69: ...T130 T160 T140 T180 REAR AXLE 15B Lawn Tractor Rear Discharge 69 PARTS SCHEDULE ...
Page 73: ...T130 T160 T140 T180 HOOD 24 Lawn Tractor Rear Discharge 73 PARTS SCHEDULE ...
Page 75: ...T130 T160 T140 T180 PANEL 25 Lawn Tractor Rear Discharge 75 PARTS SCHEDULE ...
Page 77: ...T130 T160 T140 T180 ELECTRICAL SYSTEM 27 Lawn Tractor Rear Discharge 77 PARTS SCHEDULE ...
Page 78: ...T130 T160 T140 T180 ELECTRICAL SYSTEM 27a PARTS SCHEDULE Lawn Tractor Rear Discharge 78 ...
Page 80: ...T130 T160 T140 T180 SEAT 32 PARTS SCHEDULE Lawn Tractor Rear Discharge 80 ...
Page 82: ...T130 T160 T140 T180 BUNKER 34 PARTS SCHEDULE Lawn Tractor Rear Discharge 82 ...
Page 84: ...T130 T160 T140 T180 GEAR SHIFTING 35 PARTS SCHEDULE Lawn Tractor Rear Discharge 84 ...
Page 86: ...T130 T160 T140 T180 SEGMENT 36 PARTS SCHEDULE Lawn Tractor Rear Discharge 86 ...
Page 88: ...T130 T160 T140 T180 PLATE 37 PARTS SCHEDULE Lawn Tractor Rear Discharge 88 ...
Page 90: ...T130 T160 T140 T180 DECALS 38 PARTS SCHEDULE Lawn Tractor Rear Discharge 90 ...

